
New Year parties feel more alive when décor invites guests to interact. LED light-up-number walls do exactly that. They look bright, photogenic, and fun. People naturally gather around them, take selfies, tap buttons, switch colors, or enjoy animated effects. This list gives you practical ideas—simple layouts, playful add-ons, and budget-friendly builds—to help you create an engaging backdrop that feels energetic without being complicated. Whether you’re decorating at home, a lounge, or an event space, these ideas keep things hands-on and visually strong.
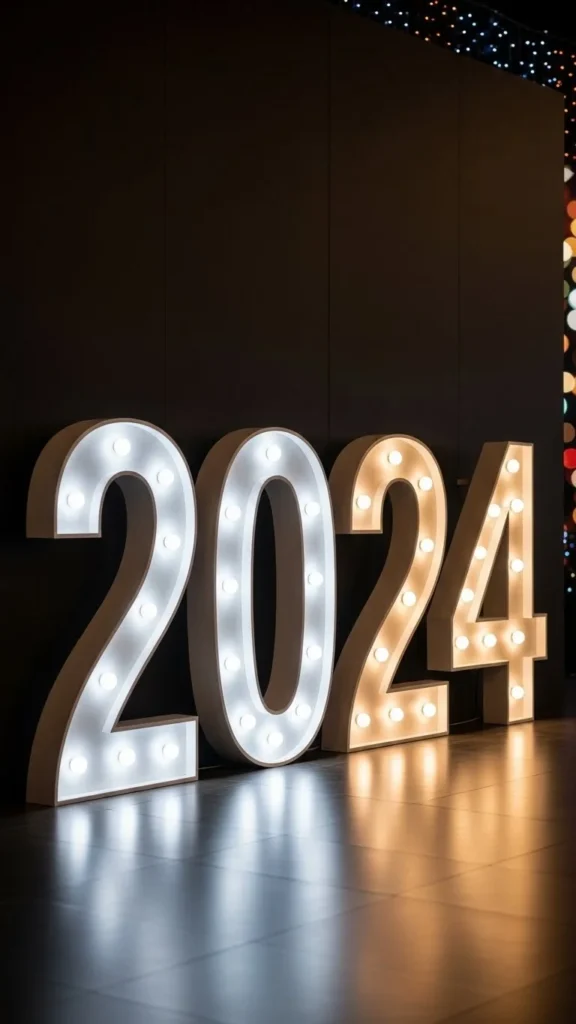
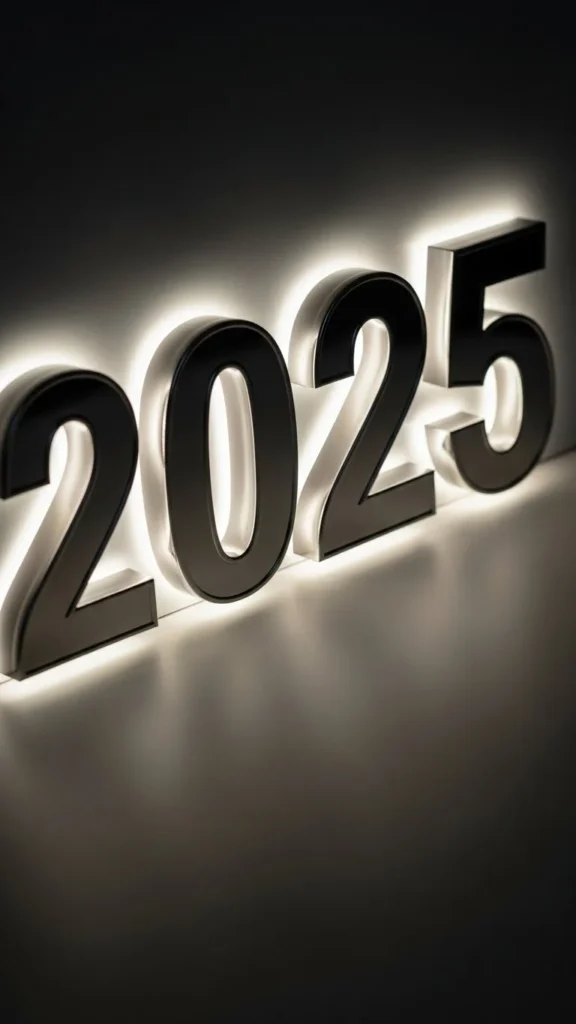
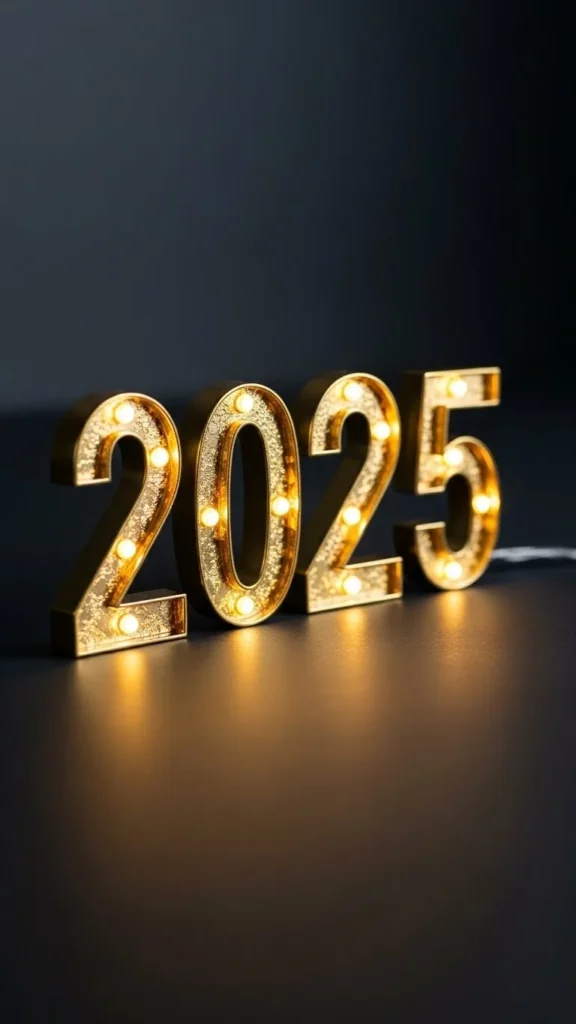
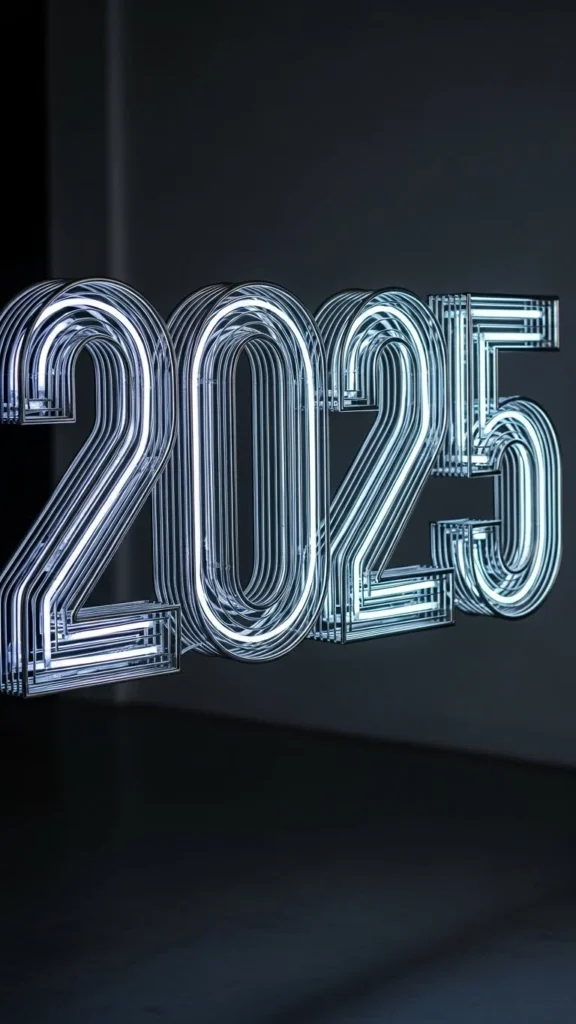
1. Giant LED “2025” Wall with Button-Activated Color Shifts
Create a simple LED “2025” wall that changes color when someone taps a button. Guests love tapping and watching the brightness shift from warm white to cool neon tones. Keep the base structure lightweight by using foam-board numbers wrapped with LED strips. Add a low-cost controller so each press cycles to a new shade. Place the wall near the entrance so visitors interact as soon as they walk in. Add a small rug or small faux-fur mat under the display for warmth. If your party setup is compact, mount the numbers slightly higher to save floor space. Try dimming the surrounding lights to help the LED glow stand out. Keep the wiring hidden using adhesive clips. This idea works well for family events, indoor lounges, or cozy rooftop gatherings. The effect is simple but fun.
2. Neon-Outline Numbers with Touch-Reactive Sparkle Effects
Outline your numbers with thin neon-style LED tubing. Then add a touch-sensor panel behind each digit so guests can tap and trigger short sparkle animations. Use pre-programmed LED controllers; they’re affordable and easy to mount with adhesive tape. Keep the tubing tight so the numbers look crisp on camera. Add a soft black fabric behind the installation to help the glow pop. This setup stays lightweight and easy to reposition if your layout changes. It’s also perfect for small living rooms where you want an eye-catching focal point without taking too much space.
3. Frosted-Acrylic LED Numbers with Motion-Response Glow
Use frosted acrylic cutouts to create diffused numbers that glow gently when someone moves past. A small motion sensor placed at the base triggers the LEDs. This creates a warm, surprising moment guests enjoy. Pair acrylic with battery-powered LED strips if you want a cable-free setup. Keep the frame simple—wood battens wrapped in matte vinyl work well. Place the wall near a walkway so the effect activates naturally as guests move. Add greenery or pampas grass on each side for texture. The diffused light makes photos look soft and cinematic.
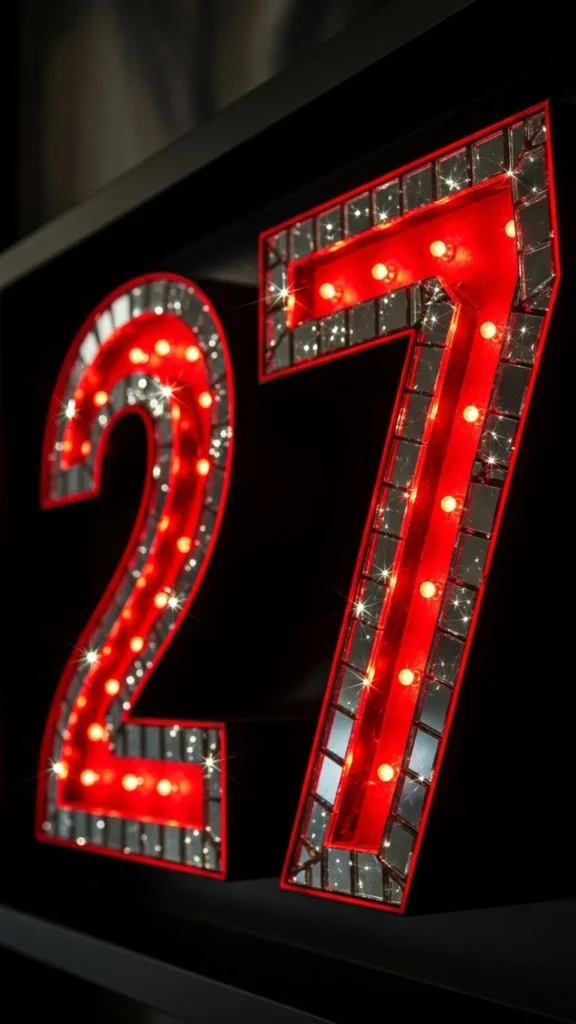
4. Metallic Mirror-Edge LED Numbers with Slow-Fade Animation
Choose mirror-finish borders to create a halo effect. Add LED strips behind the numbers for a floating look. Program the lights to softly fade from gold to champagne to icy white. Keep the stand neutral—matte black or white works best. Use inexpensive stick-on mirror vinyl if you want the effect without buying metal edging. Place the numbers slightly off the wall for deeper shadows. This design creates a photo-friendly background guests can stand beside without harsh glare.
5. Balloon-Framed LED Numbers with Color-Changing Glow
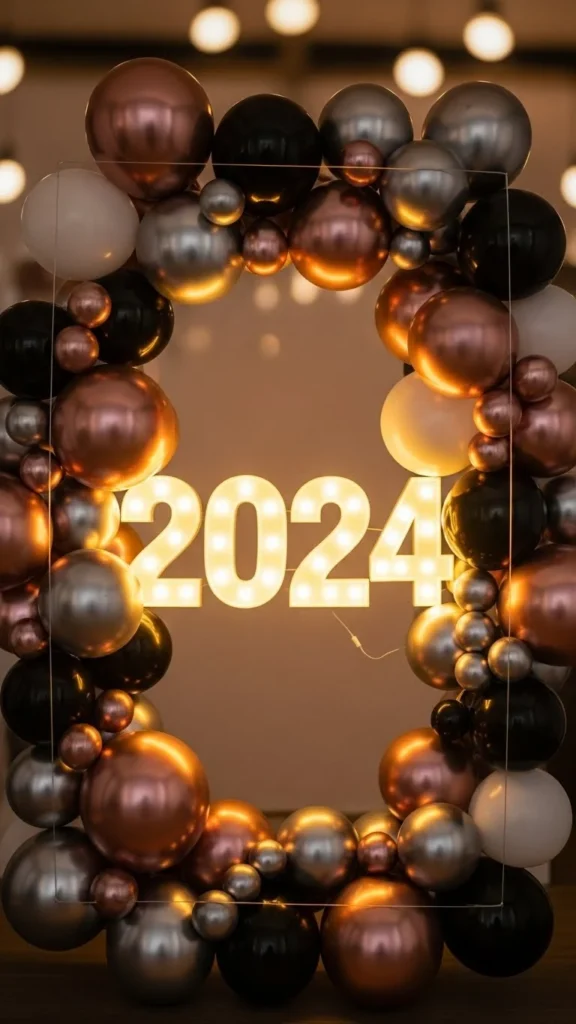
Build a balloon arch around LED digits for a festive look. Use chrome balloons for shine and matte balloons for softness. Keep the LED brightness medium so it doesn’t overpower the balloons. Add a simple remote so guests can switch between warm tones and cool brights. Use a small balloon garland kit for an easy DIY frame. This works well for at-home parties where you want a fuller backdrop without spending much.
6. Rustic Wood-Panel LED Digits with Tap-to-Glow Zones
Attach LED digits to repurposed wood panels. Divide the numbers into zones that brighten when touched. Stick simple touch-sensor LED pads behind each area. Wood texture adds warmth, helping the lights feel grounded. You can sand and stain inexpensive pine boards for a clean finish. Lean the installation against a wall to avoid drilling. Add small lanterns or fairy-light jars nearby to keep the look cohesive.
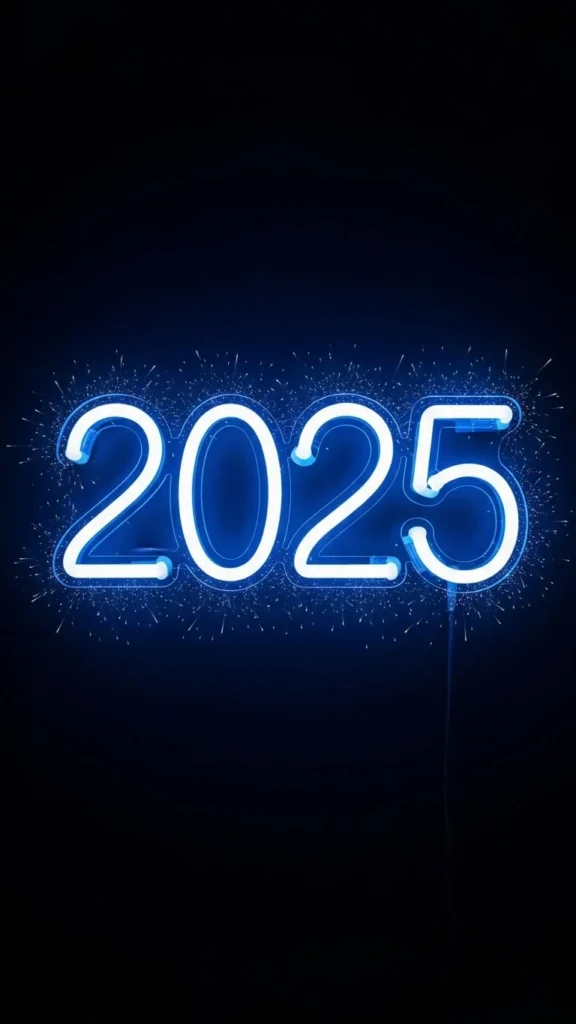
7. Holographic Film LED Numbers with Ripple Patterns
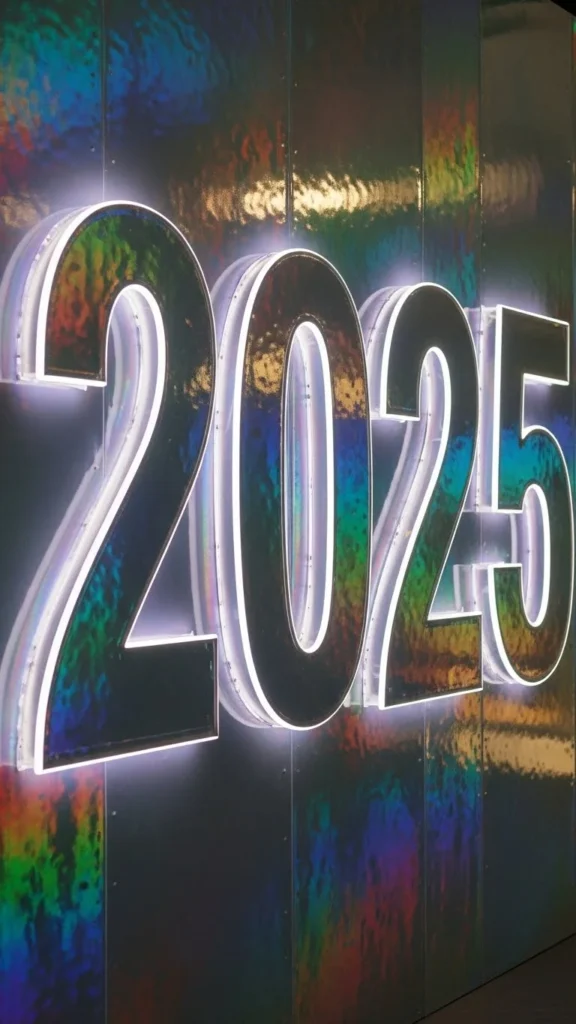
Wrap your number cutouts in holographic film, then add LED strips behind them. When the lights hit the holographic surface, ripple effects appear naturally. This makes the display look active even without user input. Add a small button so guests can switch between soft and fast animations. Keep the background plain so the colors don’t clash. Trim the holographic film tightly around the edges for a clean result.
8. Color-Wheel Dial for Guest-Controlled Lighting
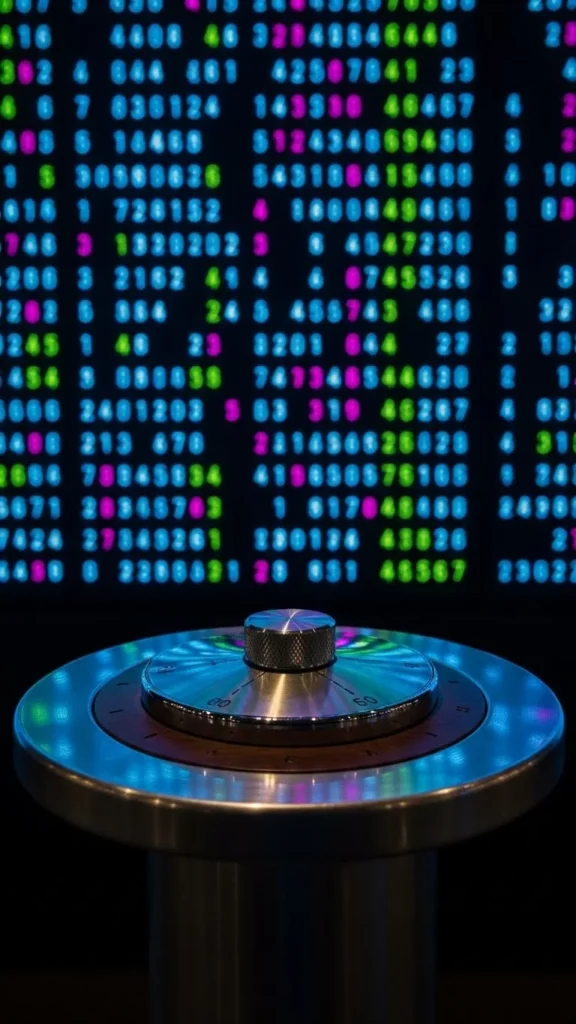
Create an interactive dial that controls the entire wall’s color. Attach a small LED controller inside a decorative box and extend the knob. Guests turn the wheel to shift the hue. Keep the numbers simple—white acrylic or matte board wrapped with LED strips. Since guests control the colors, this backdrop becomes a fun activity. Use a pedestal to place the dial at a comfortable height. Add a soft rug to define the space.
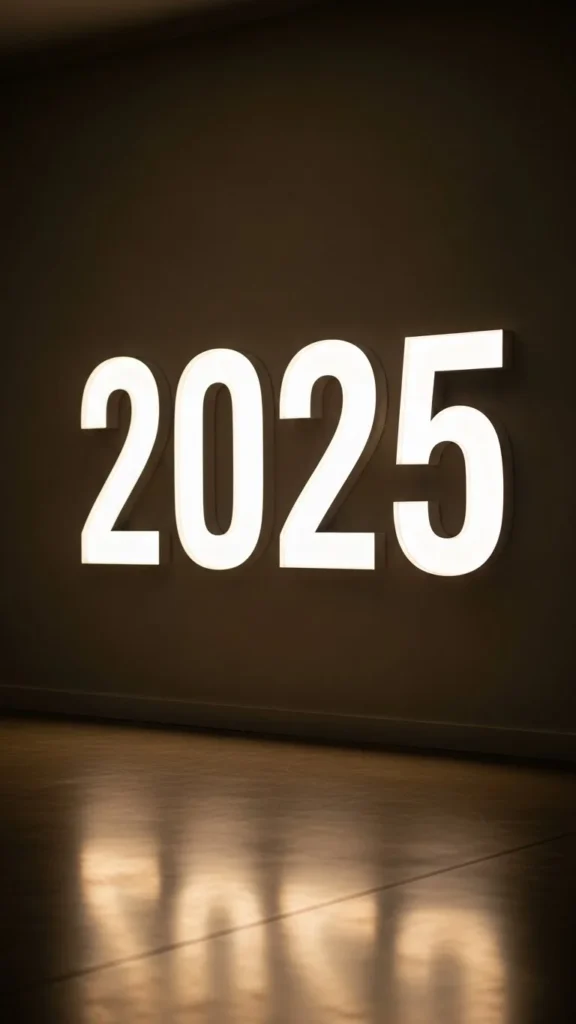
9. Minimal White-Frame LED Numbers with Slow Pulse Modes
Use clean white frames to create a simple display. Add LED strips inside the frame edges for a soft pulse effect. Guests can tap a hidden button to pause or switch the speed. Keep the design minimal to fit modern spaces. If you’re on a budget, use foam board and stick-on LED channels. Lean the display against a plain wall for a crisp look.
10. Cascading Fairy-Light Net Around LED Numbers
Hang a fairy-light net around your LED digits for a layered glow. Keep the lights warm to soften the scene. Add a small remote so guests can adjust the twinkle speed. Use clear adhesive hooks to hang the net without damaging walls. This idea works well for small rooms where you want height without clutter. Add a velvet curtain behind the setup for depth.
11. Color-Block Panels with LED Numbers Embedded
Create two-tone panels—such as black and champagne—and embed LED digits inside cutouts. Use LED strips behind the cutouts so the light escapes evenly. Guests can switch between color blocks using a simple wall switch connected to alternate LED channels. This creates a playful moment for photos. Use peel-and-stick wallpaper to get crisp color blocks on a budget.
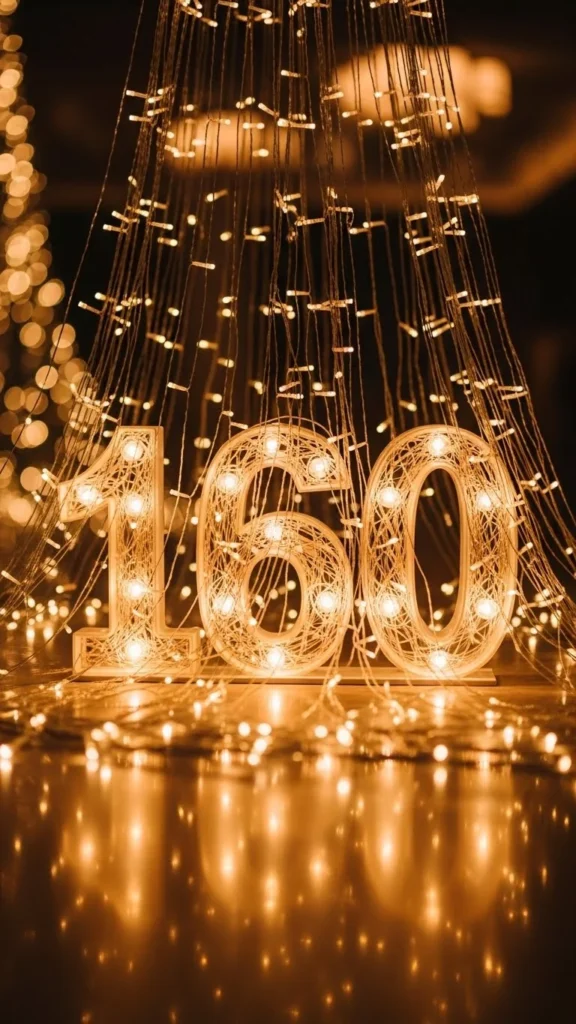
12. Gold-Leaf Edged LED Numbers with Sparkle Mode
Apply gold-leaf sheets or gold metallic paint to the number edges, then add LEDs behind them. This creates a warm reflection that looks premium without heavy cost. Add a sparkle setting that flickers lightly when tapped. Use battery-powered strips if you want the wall free from cables. Keep the background neutral so the gold stands out.
13. Interactive Step-Pad That Activates LED Numbers
Add a floor pad that triggers brightness when stepped on. This works great for kids and adults. Use a small pressure switch under a foam mat. Connect it to your LED controller so the numbers brighten for a few seconds. Keep the mat simple—matte black or gray works best. Add small star decals on the floor to guide guests toward the pad.
14. Glitter-Dust LED Numbers with Edge Light Animation

Coat your number cutouts with fine glitter, then add LED strips behind them for a shimmering edge. Program a slow wave animation so the glow moves softly around the digits. Keep the glitter tone neutral—silver or pale gold pairs well with LED whites. Use a handheld remote that guests can pass around. This setup works nicely for low-light rooms.
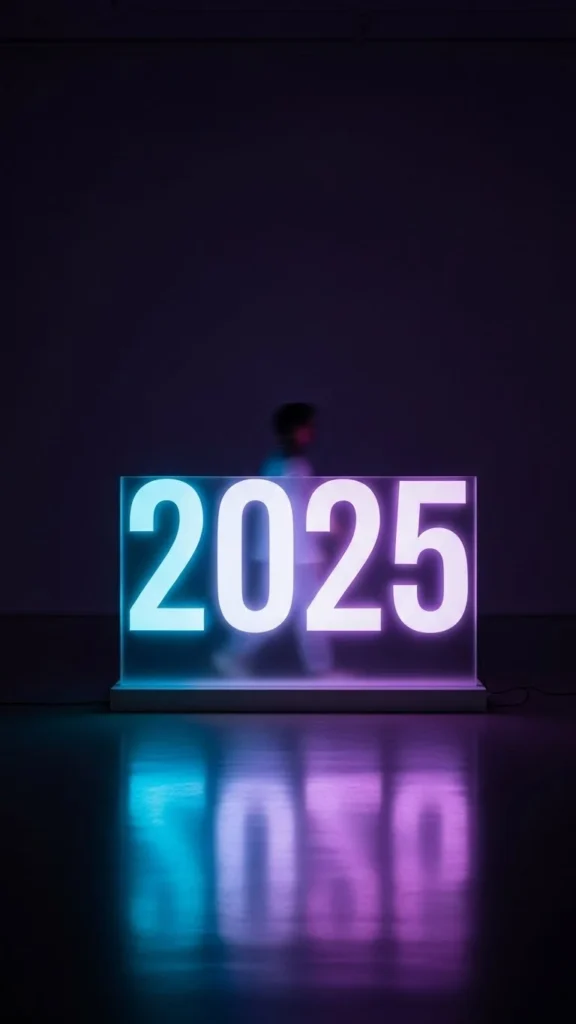
15. LED Numbers Inside a Transparent Box Frame
Suspend LED digits inside a clear box frame using fishing wire. This gives a floating look. Add LEDs along the frame edges so the glow spreads evenly. Guests can tap the frame to rotate through modes. Keep the frame large enough so the numbers feel spacious. Add a soft black fabric behind the frame for contrast.
16. Curtain-Style LED Strips Forming Number Shapes
Arrange vertical LED strips like a curtain, shaping them into numbers. This keeps the display lightweight and easy to install. Add a small controller box so guests can switch between static and wave modes. Use removable adhesive hooks to hang the vertical strips. Add a soft sheer curtain behind the lights for a layered effect.
17. LED Numbers Wrapped in Tinsel for Holiday Texture
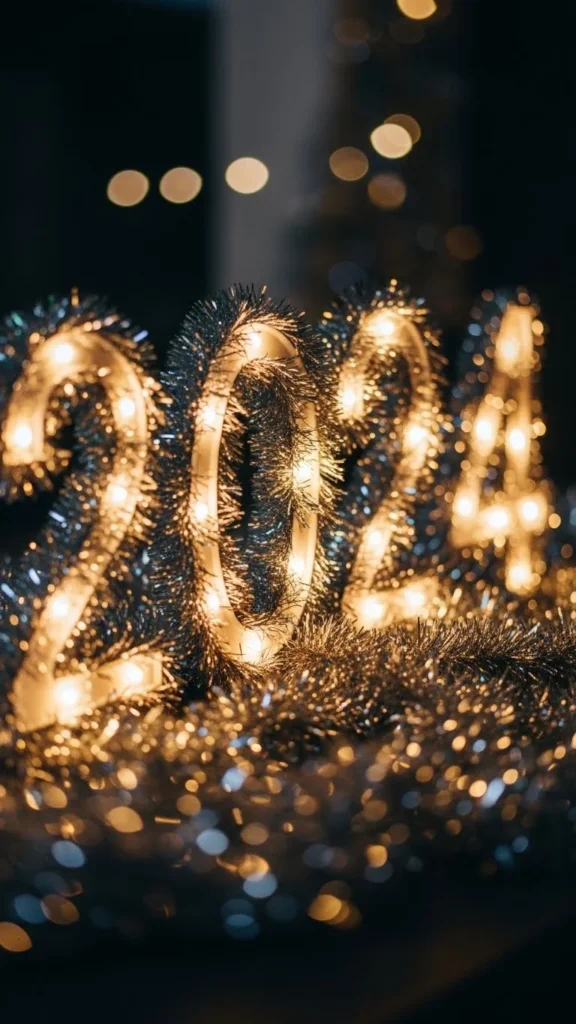
Wrap tinsel around foam-board numbers and add LED mini-lights through the gaps. This creates a cozy holiday texture. Keep the LED brightness medium so the tinsel doesn’t overpower the shape. Add a remote so guests can switch between steady and twinkle patterns. Use inexpensive craft-store tinsel to keep this project affordable.
18. LED Numbers with Mirror-Tile Borders
Apply small mirror tiles around the number edges. When the LEDs glow, the mirror tiles create tiny spark reflections. Add a touch button so guests can change the light temperature. Keep the numbers matte so the mirror borders stand out. Add a small floor spotlight angled upward for extra shine.
19. Open-Frame Numbers with Floating LED Lines
Use thin metal rods to create open-frame numbers, then suspend LED lines inside the shapes. This gives a sculptural look that feels light. Add a tap button that changes the LED direction pattern. Place the structure on a simple matte pedestal. For a budget version, use wooden dowels painted metallic gold.
20. LED Numbers Surrounded by Sheer Ribbon Curtains
Hang long sheer ribbons around the LED digits so guests can brush them aside as they approach. This creates movement and softness. Add a soft rainbow mode to the LEDs for a dreamy feel. Use small tension rods to hang the ribbons without drilling. Keep the ribbons neutral in tone so the numbers stay clear.
21. Interactive “Freeze Frame” Mode for Photo Moments

Add a simple remote that “freezes” the LED animation for a cleaner photo. Guests click the button before posing. Use LED strips with preset static colors for consistent results. Mount the remote on a small stand so people notice it easily. Keep the numbers large enough for group photos, and place a small floor marker to show where to stand.
Conclusion
LED light-up-number walls add a lively, hands-on moment to any New Year celebration. You can keep the build simple or add interactive features depending on your space and budget. Each idea helps your guests engage, create photos, and enjoy the atmosphere without needing complex setups. Pick one design, gather a few materials, and your New Year backdrop will feel energetic, fun, and ready for memorable moments.
ChatGPT can make mistakes. Check important info.
Leave a Reply