
Metallic-fringe table-skirting carries instant New Year energy. It turns any basic table into a spotlight surface perfect for food displays, drink stations, or photo props. The shimmer catches light from every direction, making even small setups feel lively. Whether you like gold, silver, rose-gold, iridescent, or layered tones, fringe brings motion and shine without complicated crafting. These ideas help you pick a style that matches your space, your budget, and the vibe you want for your celebration.
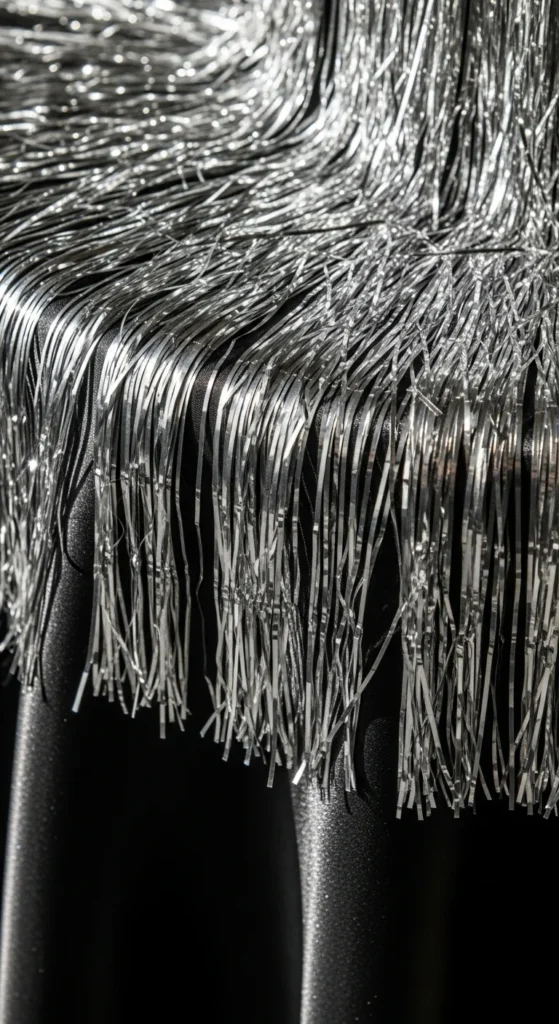
1. Gold Tinsel Full Wrap
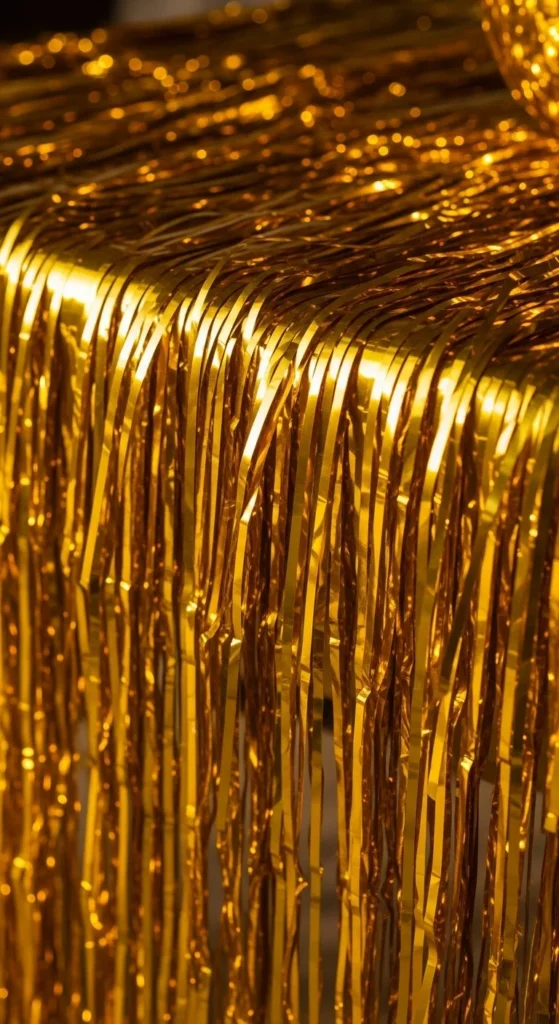
A gold tinsel wrap gives your table instant shine. Start with one or two gold tinsel curtains. Cut them to size and wrap the table from edge to edge. Tape the top border under the tabletop using double-sided tape so the seam stays hidden. Trim the bottom while the curtain hangs so the line stays neat.
This style works well for dessert bars or drink counters because it sparkles even under dim lighting. If you want a fuller look, overlap the curtains by a few inches.
For a budget-friendly version, cover only the front and sides, leaving the back plain. Add a white or black runner on top to keep the surface clean and structured. Gold fringe pairs well with clear jars, glass risers, and metallic trays. The simple wrap keeps setup easy while giving the table a high-shine finish.
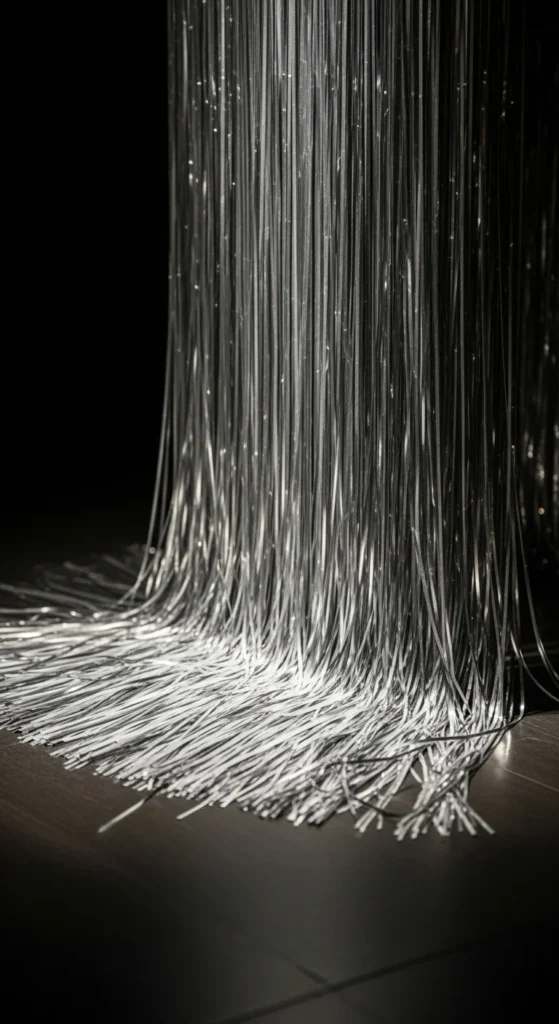
2. Silver Mirrored-Look Fringe
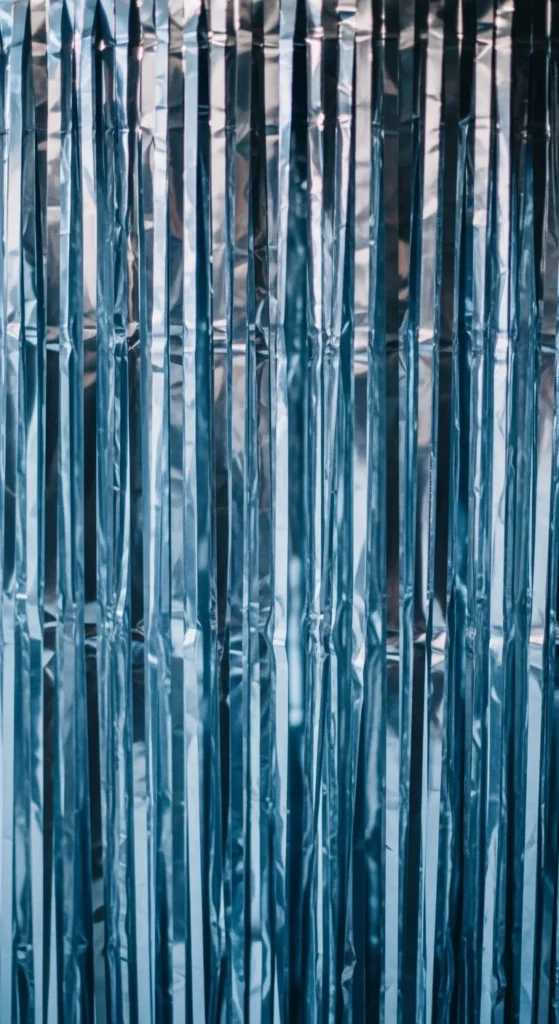
Silver fringe feels sleek and modern. Apply a silver foil curtain to the table edge, pressing the top seam firmly into tape. Let the strands fall naturally so they stay straight. If the fringe arrives wrinkled, gently smooth it with your fingers while it hangs.
Silver works especially well with monochrome setups—black plates, glass candleholders, and chrome accents. It reflects nearby lights beautifully, helping even a small table feel brighter.
For a simple DIY upgrade, add a narrow second layer of silver fringe halfway down for a subtle double-tier effect. This adds depth without changing the overall palette. If you want a softer glow, place fairy lights behind the fringe so they peek through the strands. The mirrored look fits well for countdown-themed spaces or drink tables.
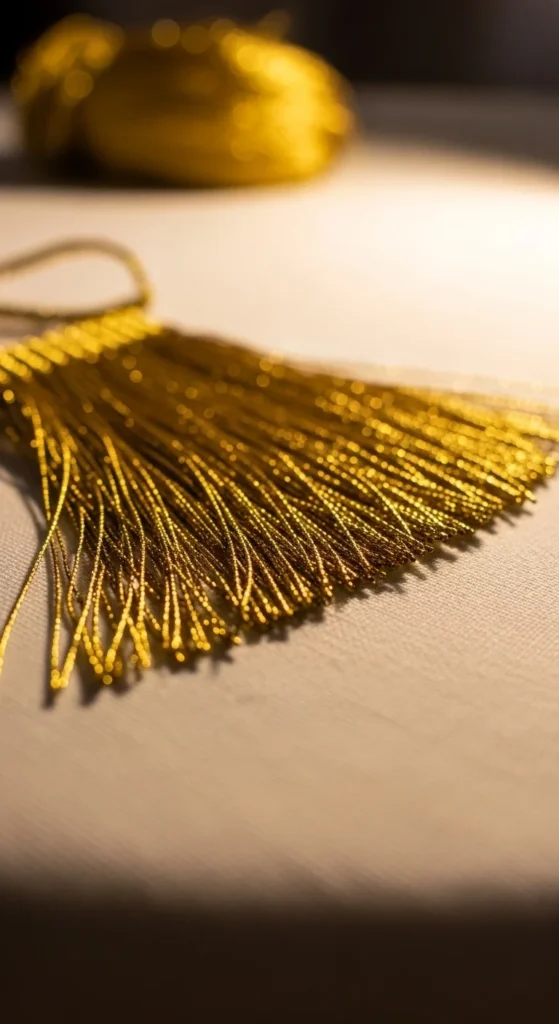
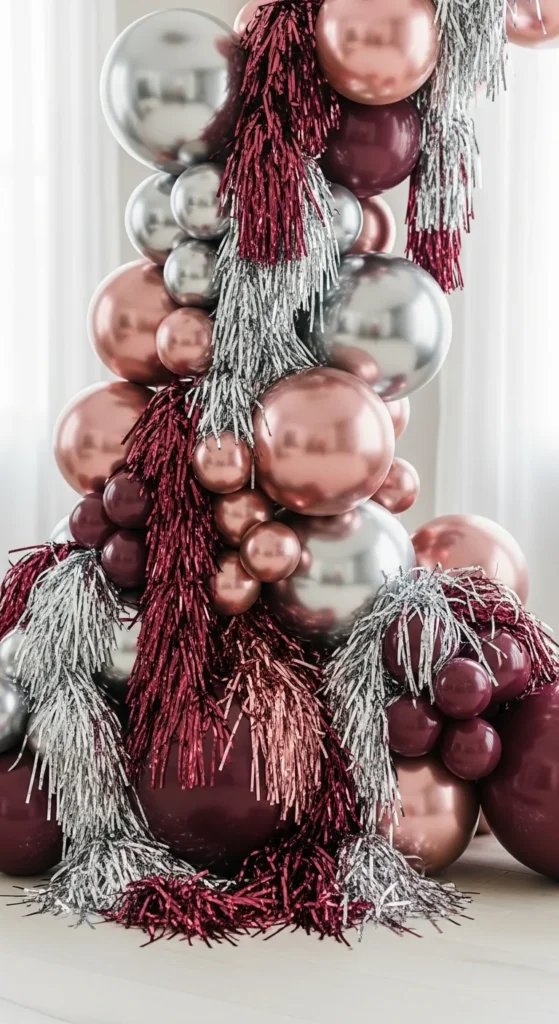
3. Rose-Gold Soft Glam Skirting

Rose-gold fringe brings warm glamour. Hang a rose-gold tinsel curtain around the table using removable hooks or tape. Smooth the top edge so the strands fall evenly. Rose-gold looks especially good with soft cream décor or champagne glasses.
If you’re working on a tight budget, cut a single curtain in half and use it on two sides. You can also add a thin gold fringe strip beneath the rose-gold layer to give a gentle contrast.
This style works beautifully for dessert displays or a champagne station because the color feels warm and inviting. Add small candles nearby to bring out the metallic shine. A white table runner helps keep the overall look soft and balanced. Rose-gold fringe provides shine without being overwhelming.
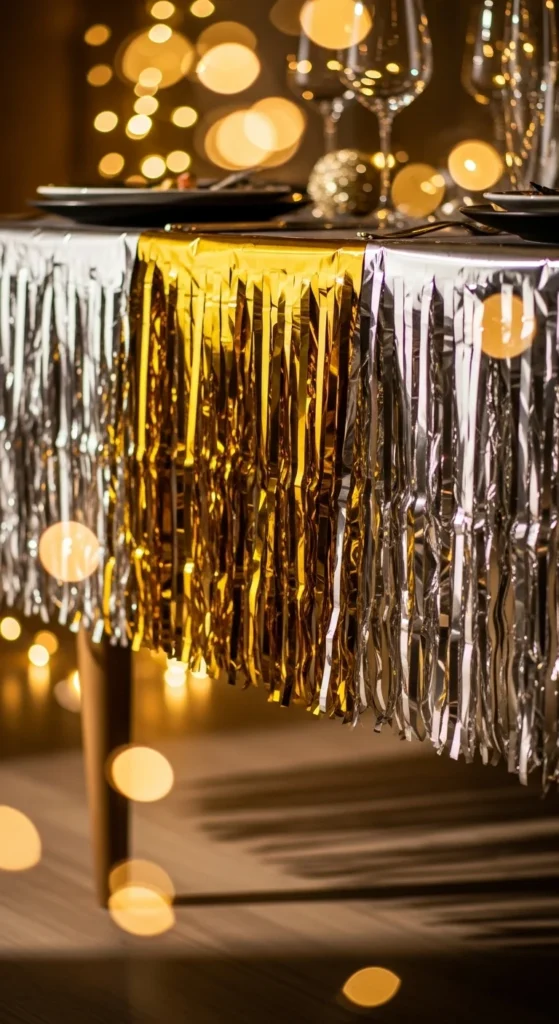
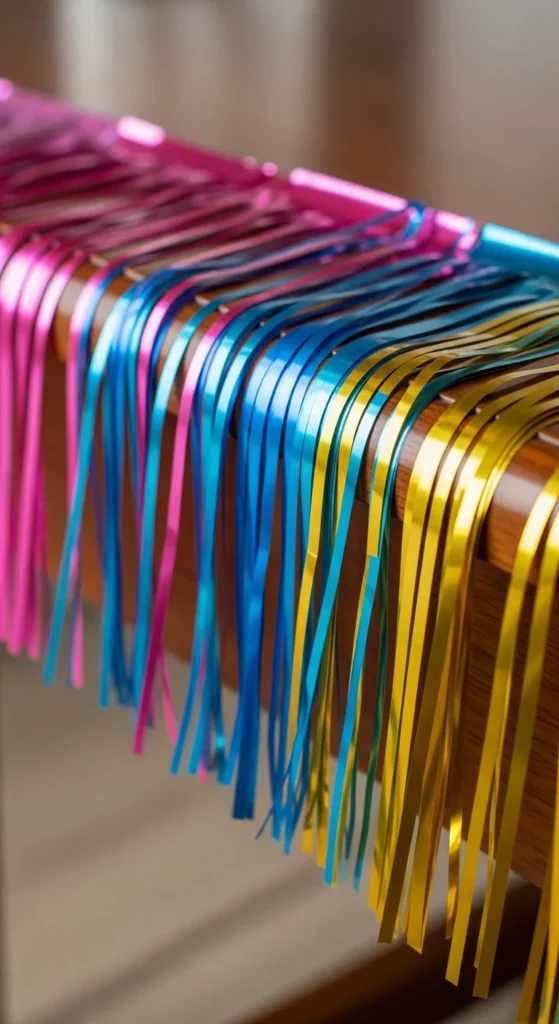
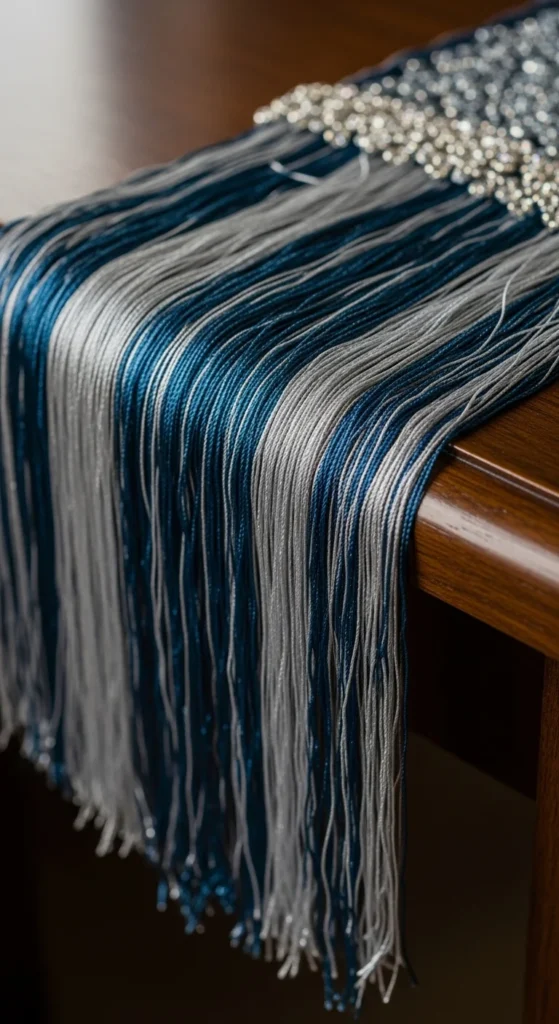
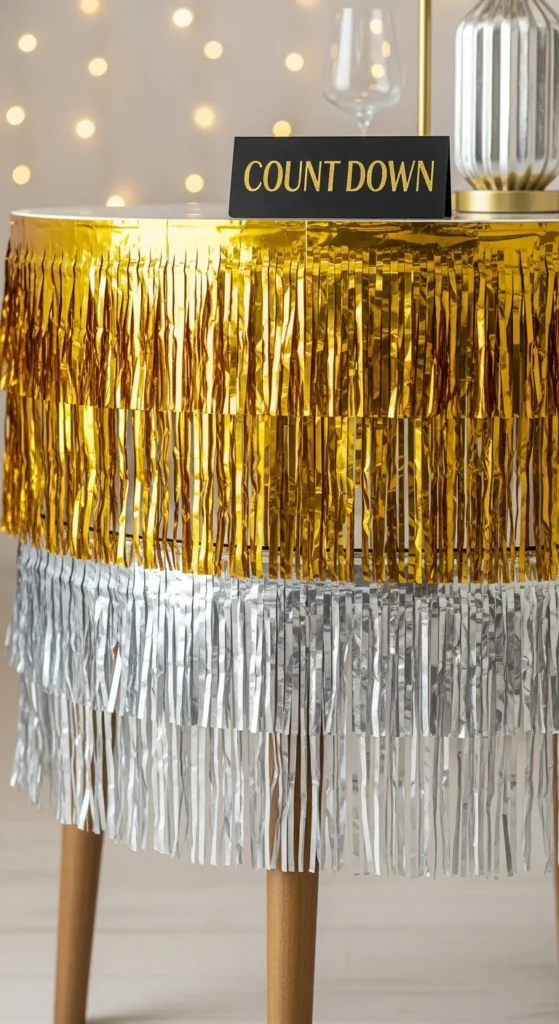
4. Two-Tone Gold and Silver Split
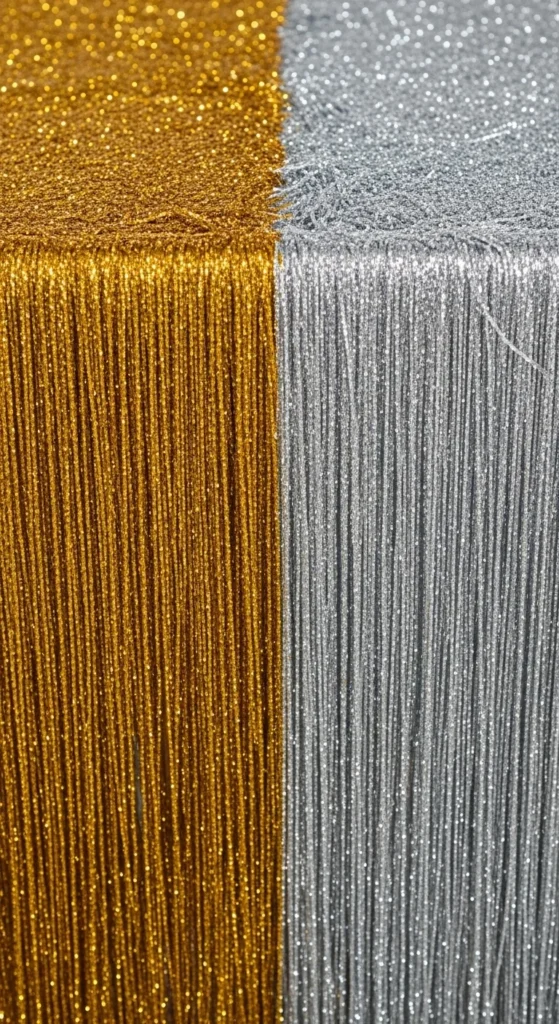
A two-tone split creates a dramatic effect without extra tools. Hang gold fringe across half the table and silver fringe across the other half. Meet them cleanly at the center for a sharp visual divide. This setup gives a dynamic look ideal for countdown parties.
To make alignment easy, mark the tabletop edge with a light pencil line so both colors meet evenly. Add a neutral runner on top so the split remains the focal point.
This approach works well on long buffet tables because the color block shows clearly from a distance. If you want a more blended look, overlap the center by an inch. For quick savings, buy two inexpensive curtains and cut them down rather than purchasing special two-tone fringe.
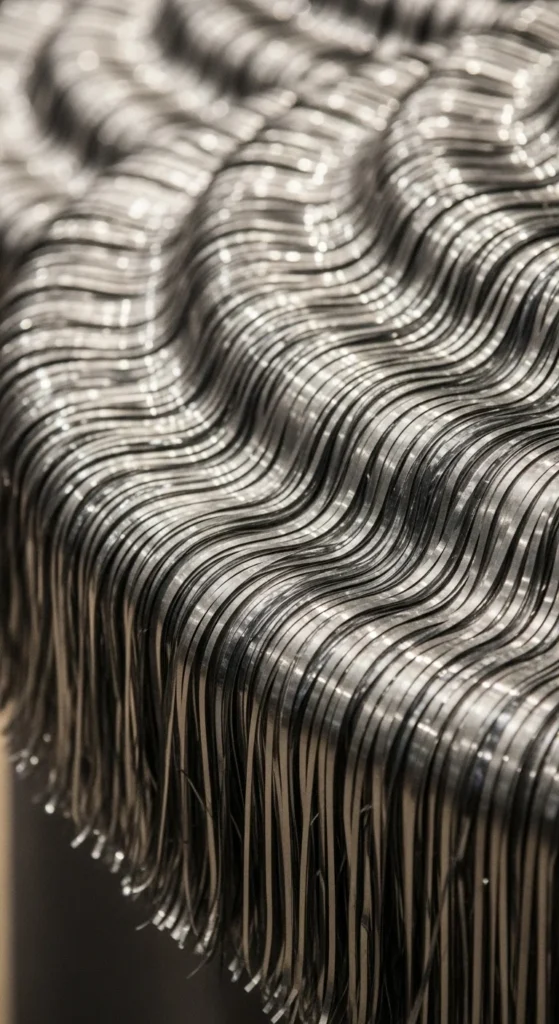
5. Iridescent Holographic Fringe
Iridescent fringe gives playful color shifts. Hang the curtain around the table edge and trim to your preferred length. The foil reflects different tones depending on the room lighting. Under warm bulbs it looks soft; under cool LED lights it becomes more colorful.
This style works well for candy tables or photo corners because it changes appearance throughout the evening. For a lighter look, cut the curtain into spaced strips so the tablecloth underneath shows through.
Add a white top cloth to keep things clean. If you want even more movement, tape a second short strip of fringe behind the top layer so the strands sway independently. Iridescent fringe brings motion and shine without needing extra décor.
6. Ombre Metallic Dip Fringe
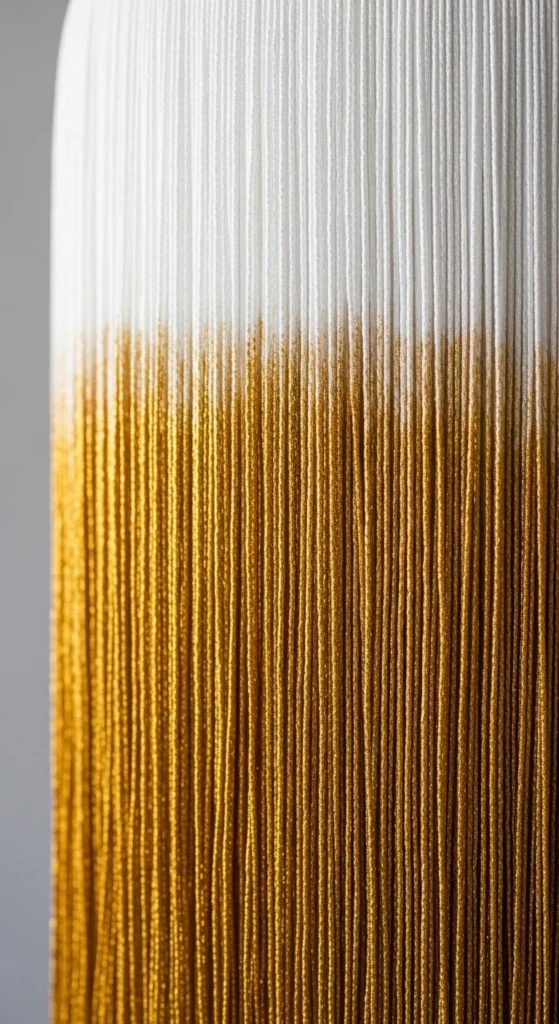
An ombre fringe skirt looks custom-made but is simple to DIY. Start with white or silver fringe. Lay it outdoors and spray the lower half with gold metallic spray. Let it dry fully. Apply a lighter mist slightly above to soften the transition.
Hang the fringe so the gradient sits evenly around the table. This gives a soft fade perfect for more refined New Year setups.
For a budget version, use a basic tinsel curtain and a single can of metallic spray. Only paint the lower section to save product. Pair the skirt with matching ombre candles or a gold-and-white centerpiece. The gradient keeps the look interesting without overwhelming the table.
7. Fringe With Fairy Light Back-Glow

Adding fairy lights behind fringe creates a soft halo. Tape fringe first, then attach fairy lights directly underneath the top border. Let the light reflect through the foil strands. Battery-powered lights make this easy to set up without messy cords.
This style works best for evening parties where gentle illumination matters. Silver and iridescent fringe reflect light best.
To save money, use one long strand of lights and zig-zag it behind the curtain so the glow spreads evenly. Keep the tabletop simple with clear glasses or a metallic tray. The back-glow makes the table look special even with minimal decoration.
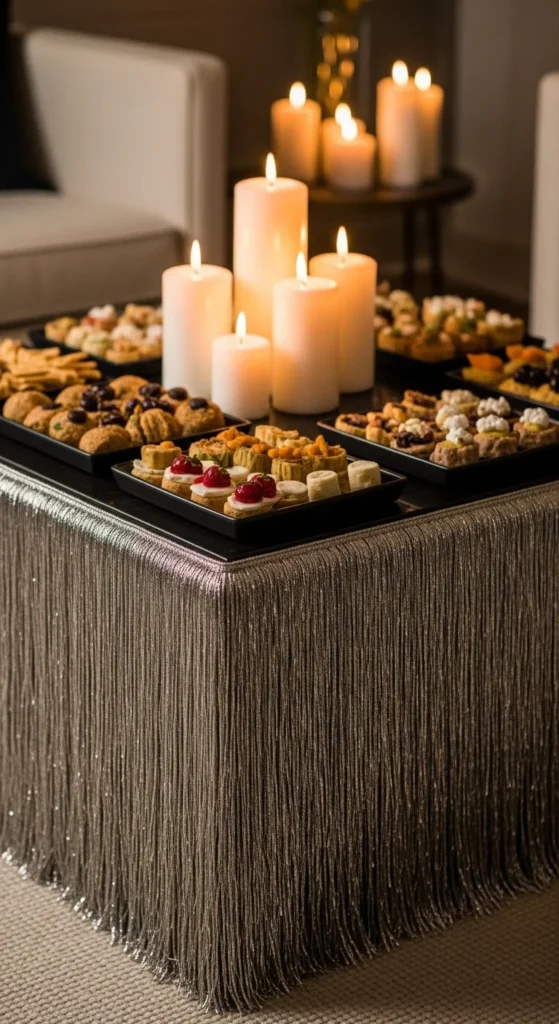
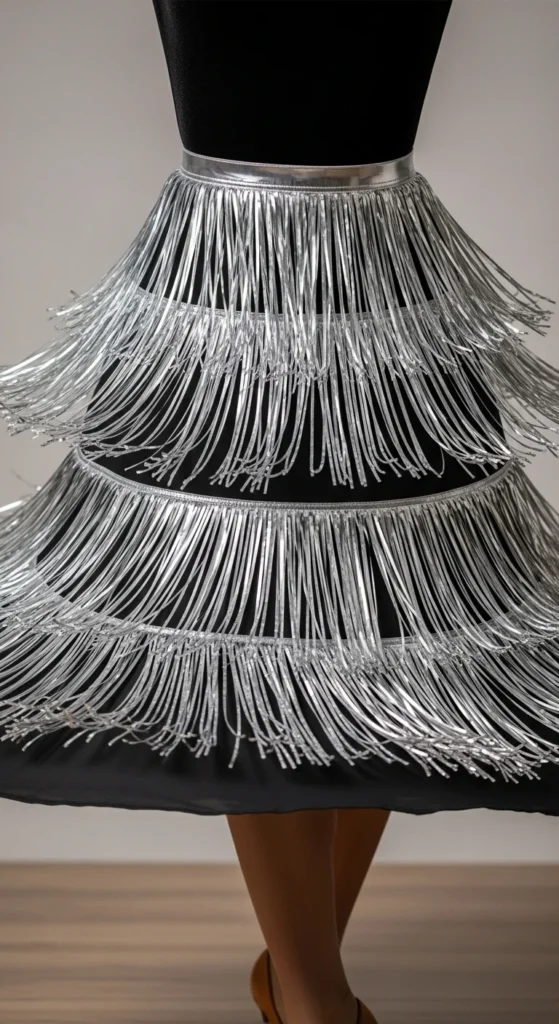
8. Layered Fringe Stacked Rows
Layering fringe creates fullness. Start with the longest fringe at the bottom. Add a shorter layer above it, overlapping slightly. Use double-sided tape at each layer so the fringe stays in place. Two or three layers are usually enough for a rich look.
This style adds depth and movement. It works well for dessert displays or main event tables.
For savings, cut a single curtain into multiple horizontal strips and attach them individually. Pair contrasting tones like gold and silver, or keep one color for simplicity. A matte table runner on top keeps the look grounded. The stacked rows give a textured finish without complicated DIY steps.
9. Fringe Over Sheer Panel
A sheer underlay softens the shine. Cover the table with a sheer white panel first. Then tape metallic fringe across the top edge so it hangs in front. The sheer layer diffuses the brightness while adding depth.
This look fits well for sit-down dinners or calmer spaces where you still want sparkle.
For a cost-saving option, use a plain white curtain panel as the underlay. Keep the fringe slightly shorter so both textures are visible. Add candles or a neutral centerpiece to let the layered textures stand out. The sheer-plus-fringe combo feels polished and easy to assemble.
10. Corner Waterfall Fringe
Corner waterfalls create drama with minimal material. Cut long fringe strips and attach them only at each corner. Let them fall longer than the main skirt. Then add shorter fringe along the edges between corners.
This creates a flowing effect that draws attention to the table shape.
Use two inexpensive curtains and cut them strategically. You can also create double-corner waterfalls by adding a second layer behind the first. This style is perfect for photo areas or display tables where the corners are visible. Keep the tabletop clean so the corner cascades stay the center of attention.
11. Mini Fringe for Coffee Tables
Short fringe works well on low tables. Trim fringe to about 6–8 inches and tape it just under the tabletop rim. Because the table is low, shorter fringe prevents tangling or sweeping the floor.
This approach adds subtle party charm to living rooms or lounge areas.
Use one curtain to create multiple mini skirts for matching side tables. Add a tray of snacks or candles on top so the fringe frames the setup. Short fringe gives sparkle without overwhelming small spaces and keeps the table functional during gatherings.
12. Black Cloth With Gold Fringe Trim
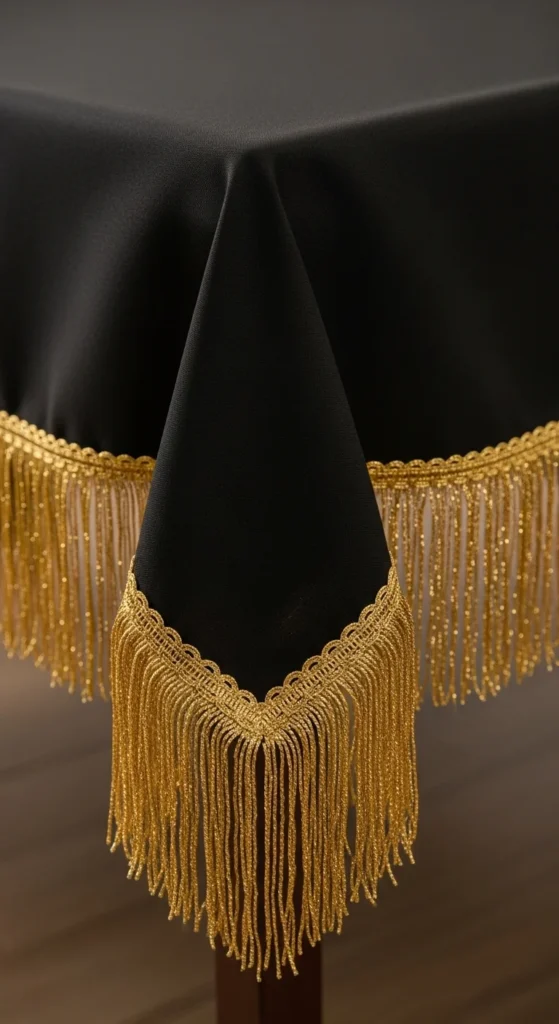
A black cloth with gold trim gives a sharp, luxurious contrast. Cover the table with a black cloth first. Then attach gold fringe along the lower edge using clips or safety pins inside the hem. The dark background makes the gold shine clearly.
This is a great choice for dinner tables or formal drink stations.
A cost-friendly option is to glue the fringe onto a wide ribbon and pin the ribbon to the cloth. Add black plates and glass candleholders on top to keep the color palette clean. The trim effect looks structured without much effort.
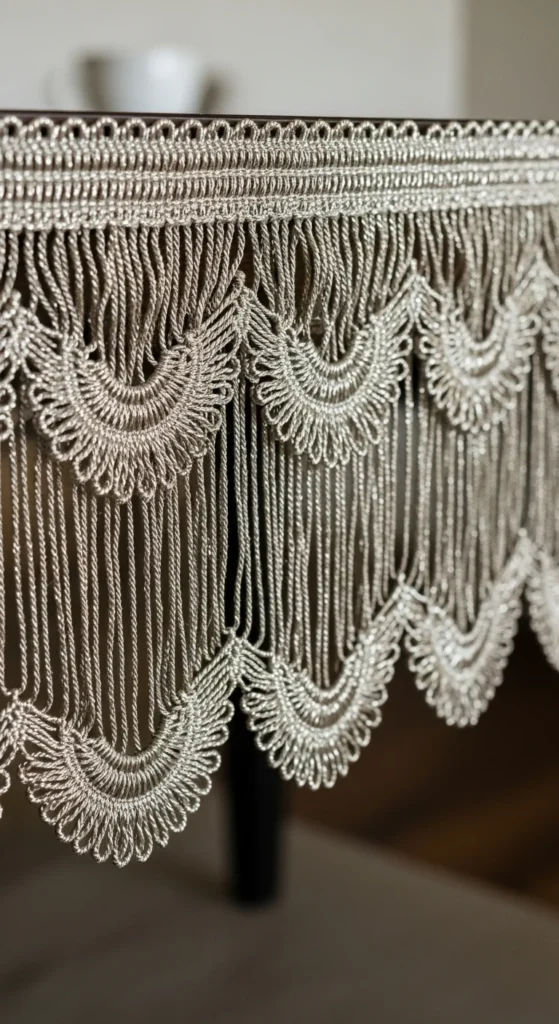
13. Metallic Scalloped Fringe Rows
Scalloped fringe adds a soft decorative curve. Start by cutting strips of fringe and forming gentle arcs along the table edge. Pin or tape the high points first, then secure the dips. Add a second row below if you want more volume. This look works well for dessert tables or entry setups because the shape feels festive without being overwhelming.
For a low-cost version, cut tinsel pieces into shorter lengths and create your own scallops instead of buying pre-made garlands. A single metallic color helps keep the design clean.
Pair the scallops with a simple table setup—white plates, clear jars, and a minimal centerpiece. The curved lines draw the eye naturally along the length of the table. Scallops offer movement, shine, and soft structure with only a few minutes of assembly.
14. Double-Layer Countdown Fringe
A double-layer skirt creates defined depth. Apply a long fringe layer first. Then attach a shorter layer about halfway down. The overlap makes the rows sway independently. This setup is ideal for countdown tables or snack stations because it reads festive from a distance.
To save money, cut one curtain into two segments. Use the longer section for the base layer and the trimmed section for the top.
Pick colors that pair well—silver over black, gold over white, or rose-gold over champagne. Keep the tabletop neutral so the skirt carries the main visual weight. This layered approach feels lively while staying easy to maintain through the night.
15. LED-Tipped Fringe Border
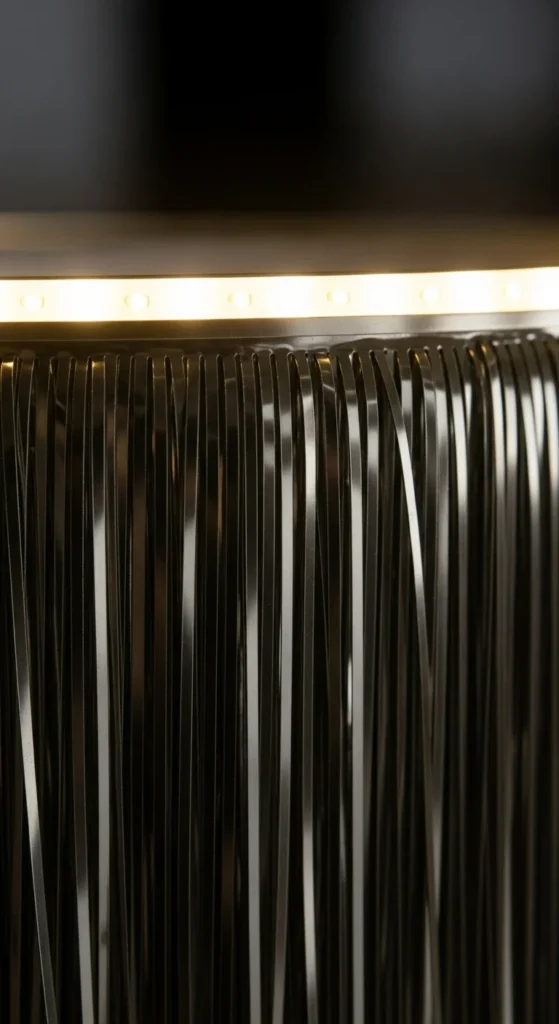
An LED border turns your table into a low-light showcase. Tape fringe around the edge. Then attach a small LED strip right above the fringe line, hiding the wire behind the cloth. The lights cast a soft glow onto the foil strands, making them stand out.
Battery LED strips or fairy lights work well and stay hassle-free. This is ideal for evening gatherings or dimly lit spaces.
A budget idea is using a single LED strand and weaving it across the top edge instead of using a full strip. Keep the tabletop simple with glassware or a metallic tray. The glowing border gives the table a subtle party effect with very little setup.
16. Metallic Fringe Pleated Corners
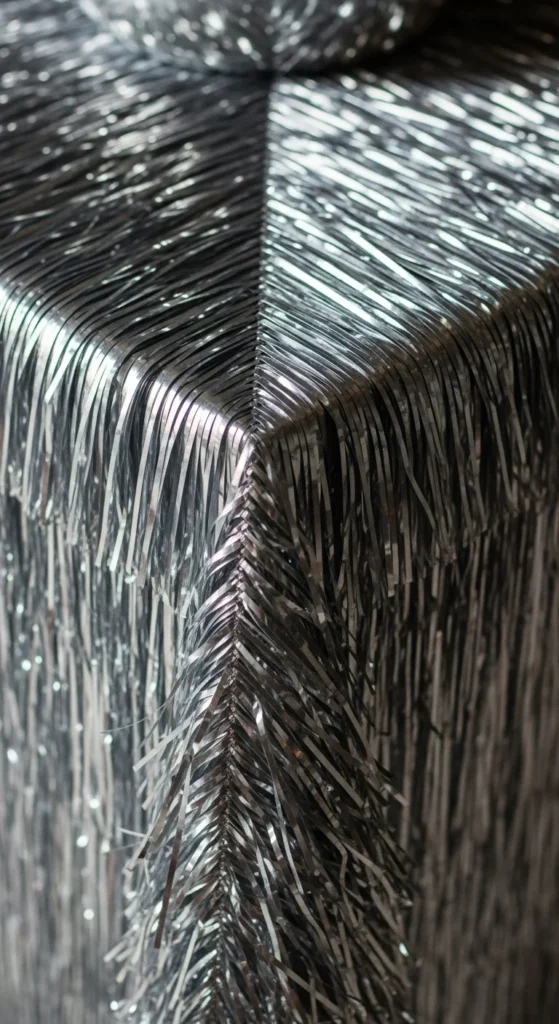
Pleated corners add polish. Start by hanging fringe normally along the edges. At each corner, gather the strands into a soft fold and pin or tape them to create structure. This gives the table a shaped look without needing special materials.
Pleated corners help visually anchor the skirt, especially on large tables.
For a budget-friendly approach, use one curtain and cut it into long strips. Pleat each strip at the corner to add volume. Pair with neutral dishware and tall candles so the corner details stay visible. Pleats make the skirt feel more intentional while staying simple to create.
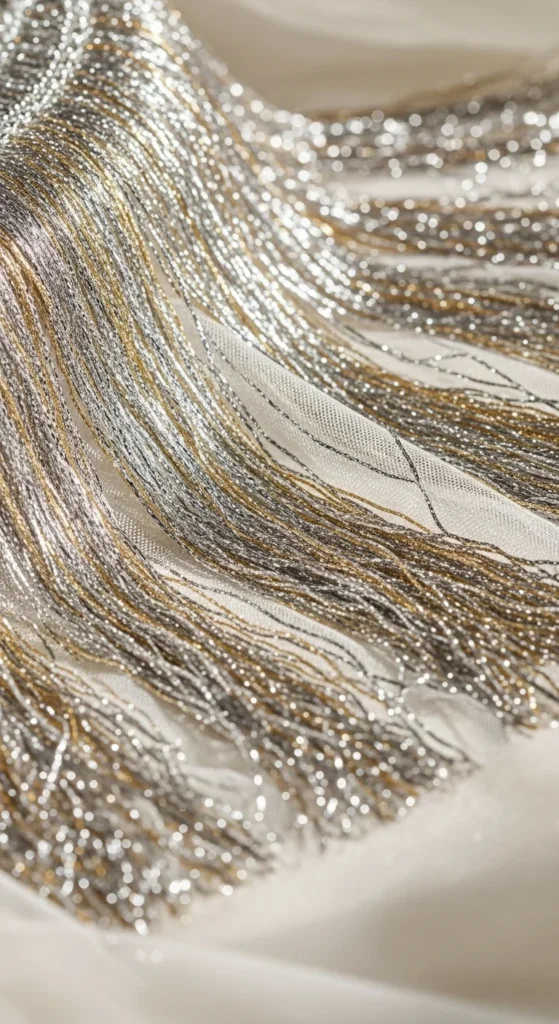
17. Fringe with Mirror Runner Reflection
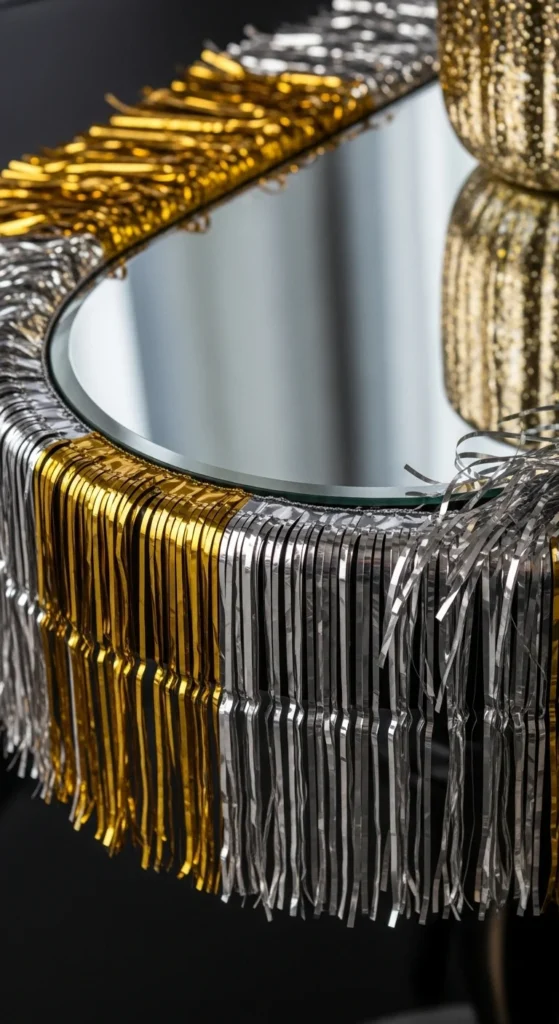
A mirror runner doubles the sparkle. Tape metallic fringe around the table, then place a mirror runner through the center of the surface. The mirror reflects the fringe below, making the table look brighter.
Craft-store mirror tiles can create the same effect if you don’t have a full runner. Use a white or black cloth under them for contrast.
This look works well for snack stations or drink tables because the mirrors stay functional while offering more shine. Keep the rest of the setup clean with clear glasses or a single floral arrangement. The reflection adds instant drama with minimal cost.
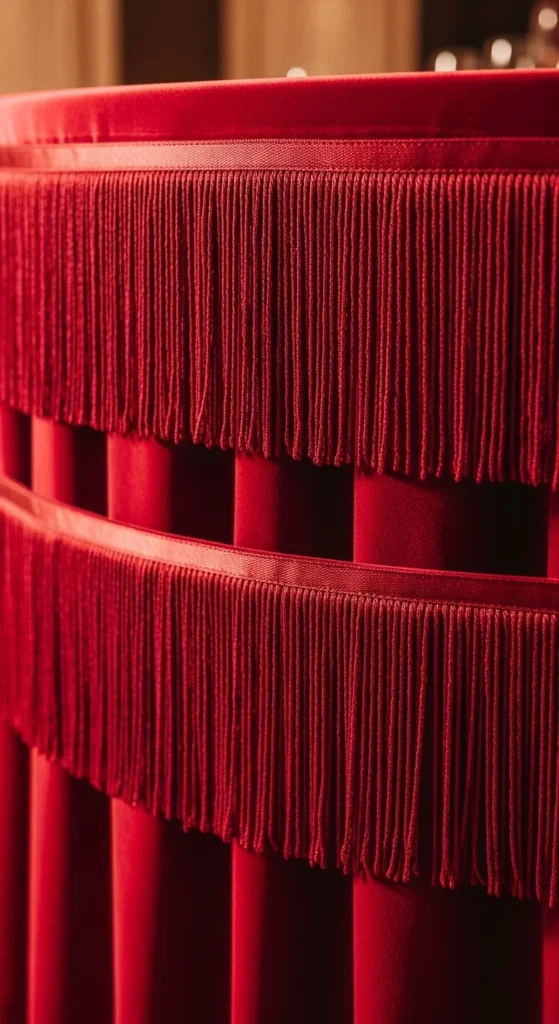
18. Fringe Over Black Satin Cloth
Black satin with metallic fringe creates a high-glam contrast. Cover the table with a black satin cloth. Then attach gold, silver, or rose-gold fringe around the edge. The dark base makes the metallic tone stand out clearly.
Satin catches light gently, so the fringe becomes the main feature.
For budget savings, use a satin-look polyester cloth instead of real satin. Smooth it with your hands after placing it. Keep the tabletop minimal with black plates or glass items. The combination of dark satin and bright fringe works well for countdown parties and evening events.
19. Pinched “Gathered” Fringe Points
Gathered points add gentle rhythm. After attaching the fringe, pinch small sections 6–8 inches apart and secure them with tiny clips or tape. This creates little rises along the edge, giving the skirt more dimension.
This method works with any color and doesn’t require extra materials beyond clips or tape. It helps break up flat fringe and adds structure.
For a low-cost twist, alternate gathered points with loose strands. Add a simple table runner to balance the visual texture. Gathered fringe feels styled but stays quick to assemble, making it perfect for last-minute decorating.
20. Gold Over White Cloth Light Glow
Gold fringe over a white base gives a soft glow. Cover your table with a white cloth. Then attach gold fringe along the perimeter. The white background reflects light back into the foil strands.
Add warm bulbs nearby for gentle illumination.
You can use a low-cost white polyester cloth for the base and still get this effect. Add a white runner on top to keep things cohesive. This setup fits well for family-style tables or food stations where you want brightness without too much shine.
21. Striped Fringe in Alternating Colors
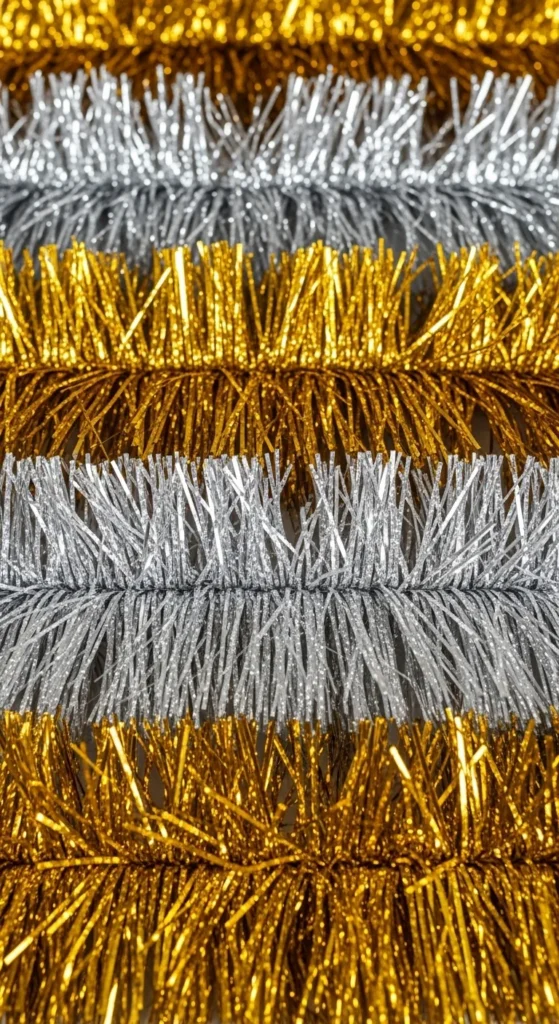
Striped fringe adds movement. Cut fringe into equal-width panels. Alternate gold and silver across the table edge. Make sure the panels align at the top so the stripes look intentional.
This pattern works well for festive spaces because it catches light in different ways.
If you want a budget version, alternate fringe with plain cloth panels instead. A neutral runner on top keeps the striped design balanced. This style suits long tables because the stripes stretch the visual lines and make the table appear larger.
22. Metallic Fringe Cascade with Floor Puddles
Floor puddles add drama. Cut fringe longer than needed so the strands gather lightly on the floor. Tape the top firmly so the length stays consistent all around. The puddle effect feels luxurious and perfect for photo-focused setups.
To maintain safety, keep puddles small so guests don’t trip.
For savings, do this only on the front of the table. Pair with a black or white cloth on top to keep the overall look controlled. Floor puddles make even a simple folding table feel dressed up.
23. Fringe with Balloon Base Border
Adding balloons at the bottom edge creates a full, party-ready look. Hang your fringe first. Then place a balloon garland along the floor against the fringe. The balloons hide the bottom seam and add dimension.
Use simple balloon colors like black, gold, silver, or white. Even a small garland works because the fringe provides movement.
For a budget version, use balloons only on the corners. Keep the top décor minimal so the lower half remains the focal zone. This combination works especially well for photo areas or dessert displays.
24. Stage-Front Double Height Skirt
A double-height skirt adds theater-style presence. Hang one long fringe layer first. Then attach a second layer just below the tabletop edge. This creates a stage-front effect that draws attention to the center of the table.
This works especially well for countdown tables or New Year cake displays.
Create a budget-friendly version by cutting one curtain into two segments. Pair with a simple centerpiece—like a clock, candles, or a metallic vase—to keep the focus on your bold skirting. Double-height fringe gives a celebratory feel with very simple steps.
Conclusion
Metallic-fringe skirting transforms ordinary tables into festive focal points with very little effort. You can build a look that’s dramatic, soft, structured, or playful depending on the color, length, and layering approach you choose. Most materials are inexpensive and easy to customize. Try one or mix a few ideas across your party space. With simple tools and a few minutes of assembly, your New Year setup gains shine, movement, and celebration energy from every angle.
Leave a Reply