
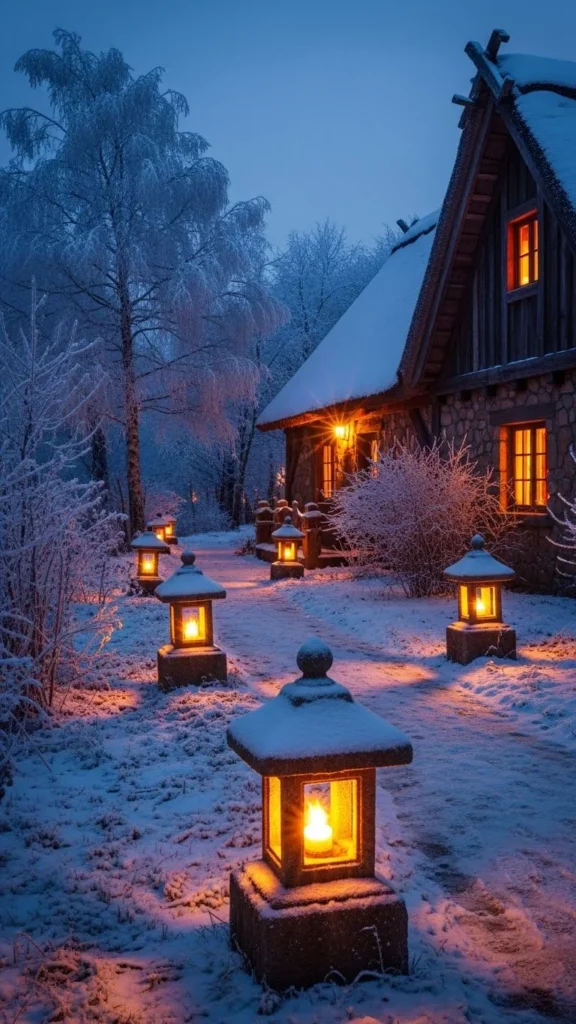
Stone lantern path lighting feels especially inviting in winter. The weight and texture of stone balance bare trees, frost, and darker evenings, while soft light helps guests feel guided and welcomed. Unlike temporary lighting, stone lanterns stay visually grounded even when landscapes feel quiet. Many designs work with candles, solar inserts, or low-voltage bulbs, making them practical without complex installation. This list focuses on winter-friendly stone lantern ideas that feel timeless, steady, and approachable, using layouts and materials that work for real homes and realistic budgets.
1. Low Granite Stone Lanterns Along Walkways
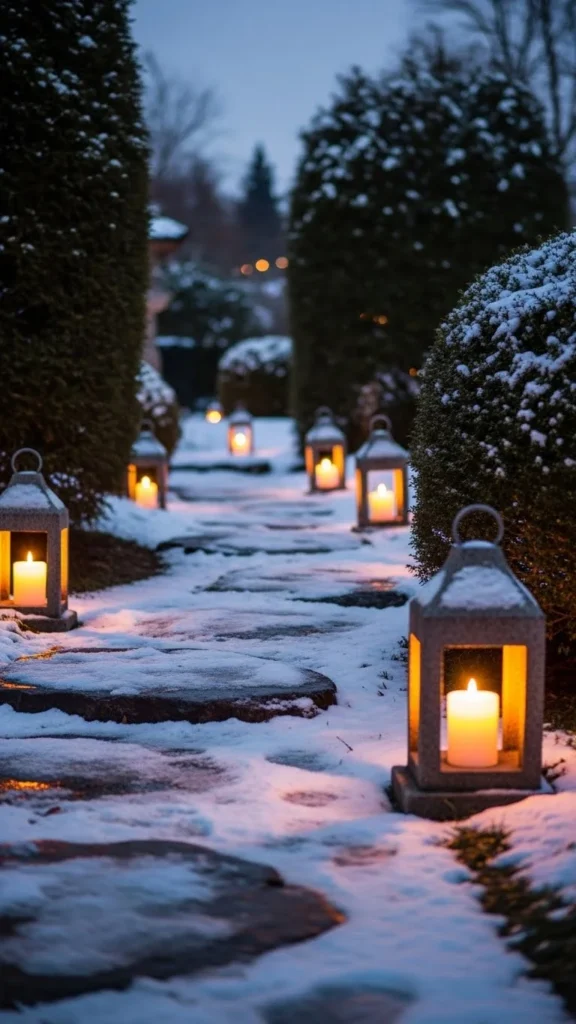
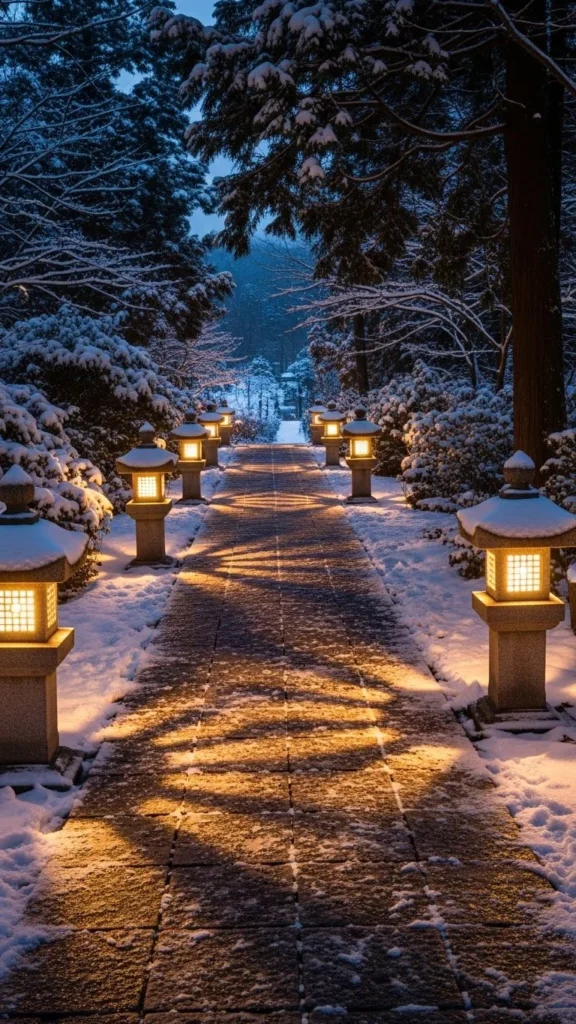
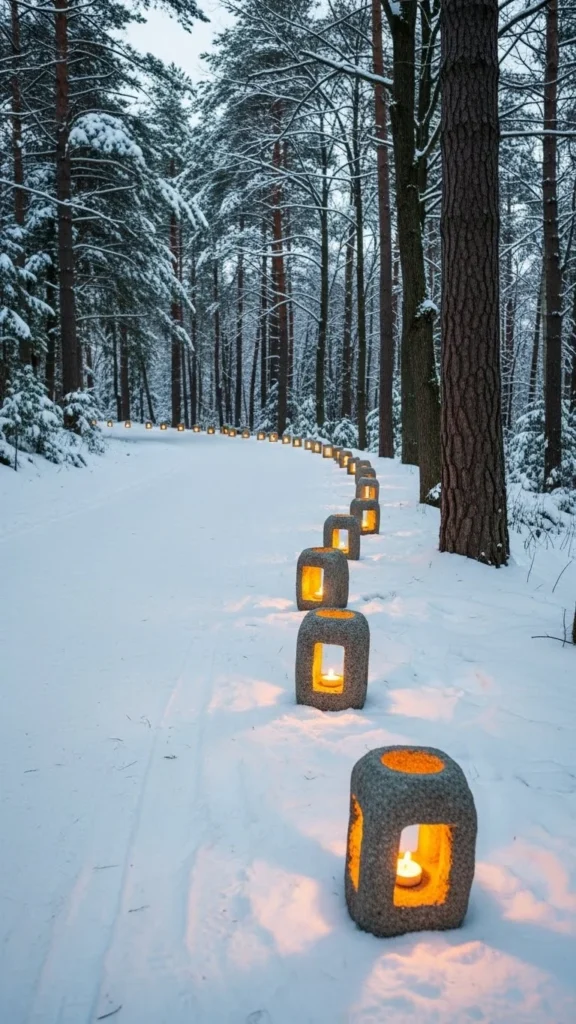
Low granite lanterns guide guests gently without overpowering the path. Their height keeps light close to the ground, which helps visibility during darker winter evenings. Granite handles frost and moisture well, making it a reliable option.
For budget-friendly setups, space lanterns farther apart and use solar inserts. This reduces the number needed while still creating rhythm. Candle inserts also work for short gatherings.
DIY option: use granite-look concrete lantern molds with LED candles. Place them on compacted gravel so they stay level through winter.
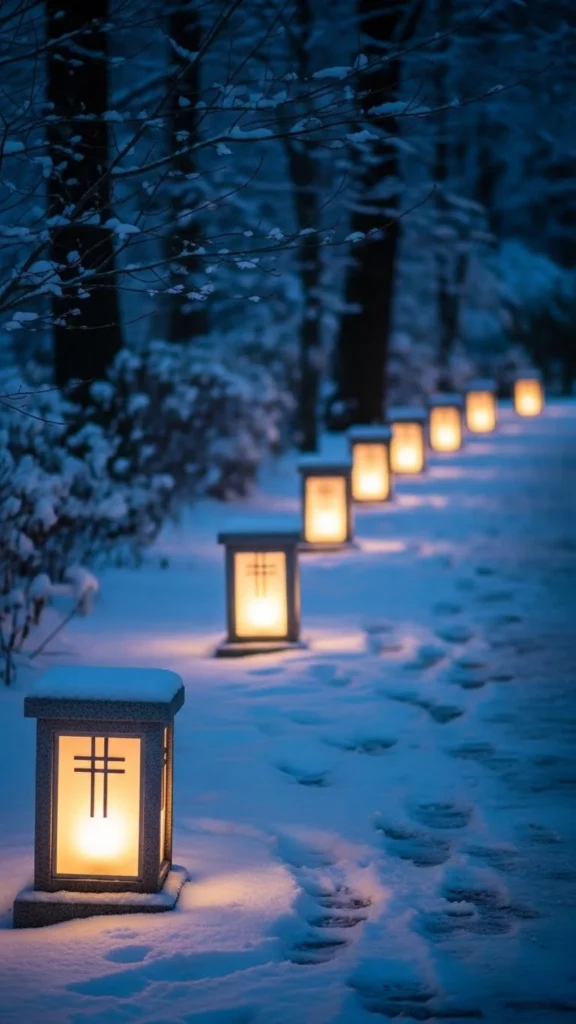
2. Square Stone Lanterns Framing Entry Paths
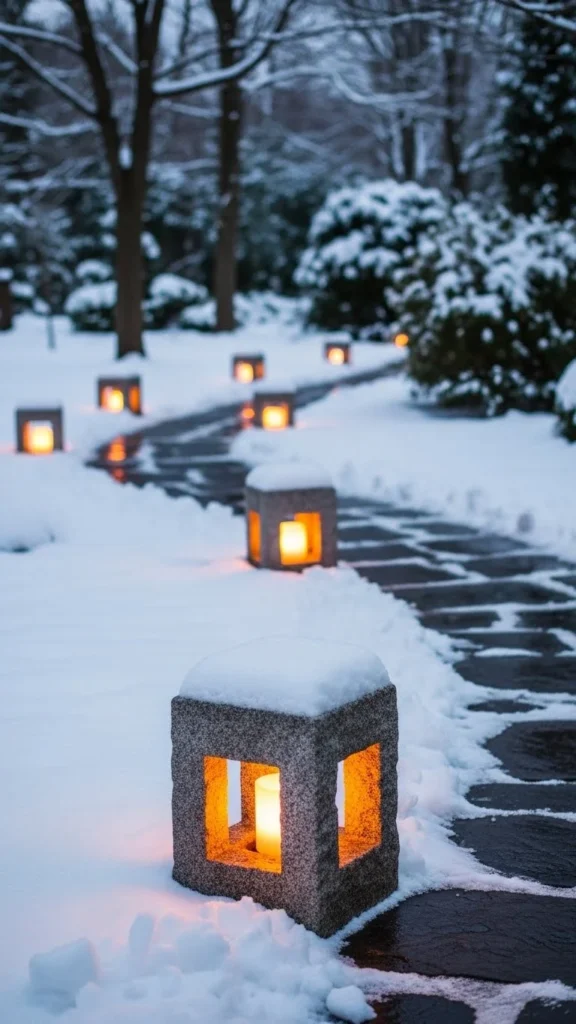
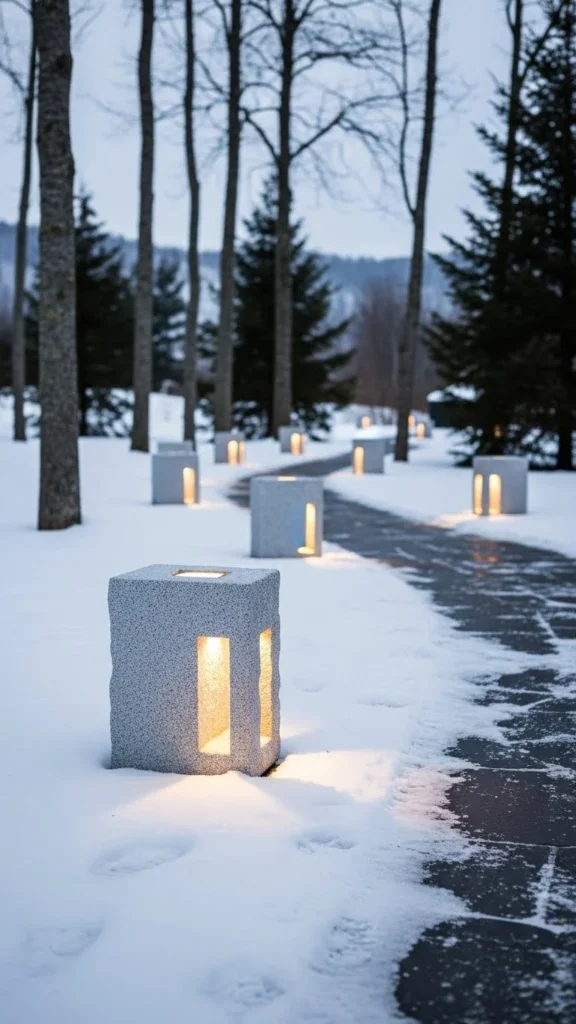
Square lanterns add structure and balance. Placing them in pairs along an entry path creates a welcoming feel without extra décor.
Concrete or cast-stone versions cost less than carved stone. Use warm white bulbs or solar lights to keep the glow soft.
For DIY, stack concrete pavers to form square lantern bases and add glass panels inside. This keeps costs controlled while maintaining the look.
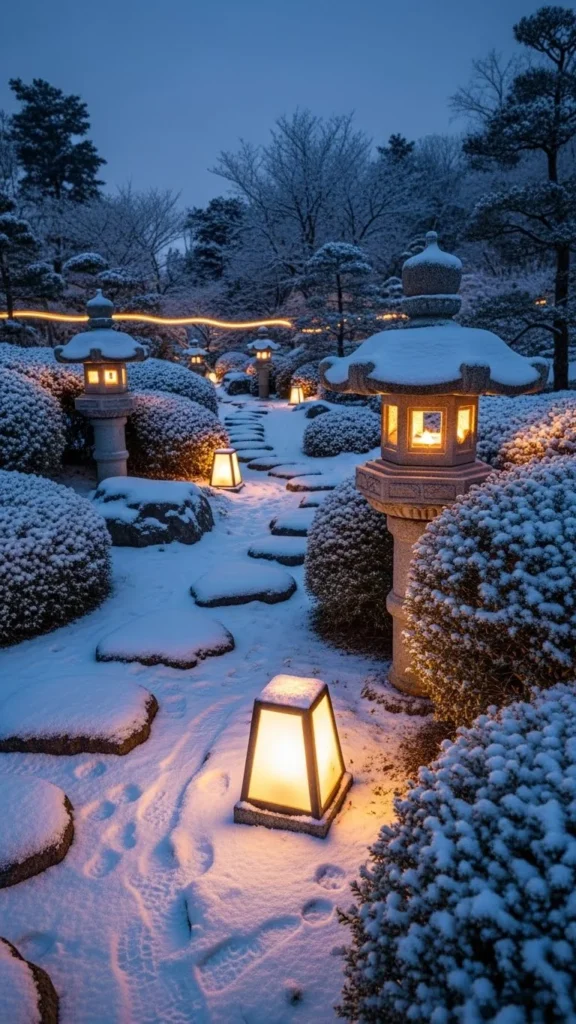
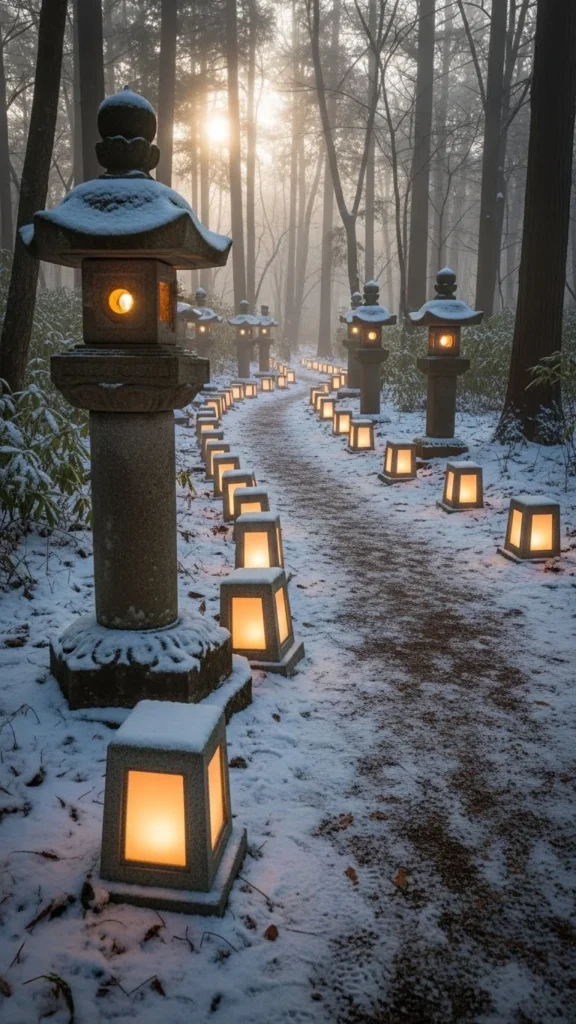
3. Traditional Japanese-Style Stone Lanterns
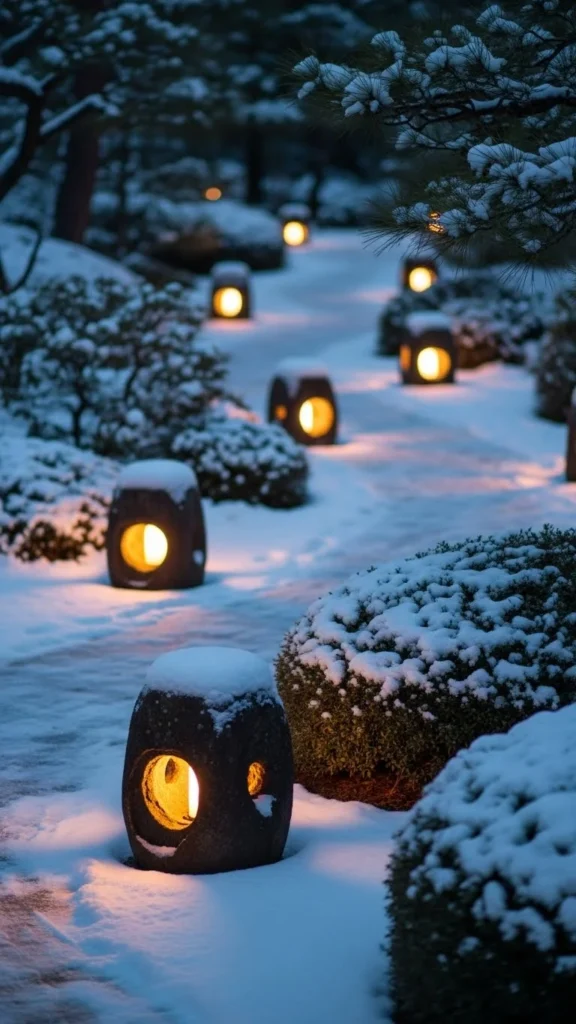
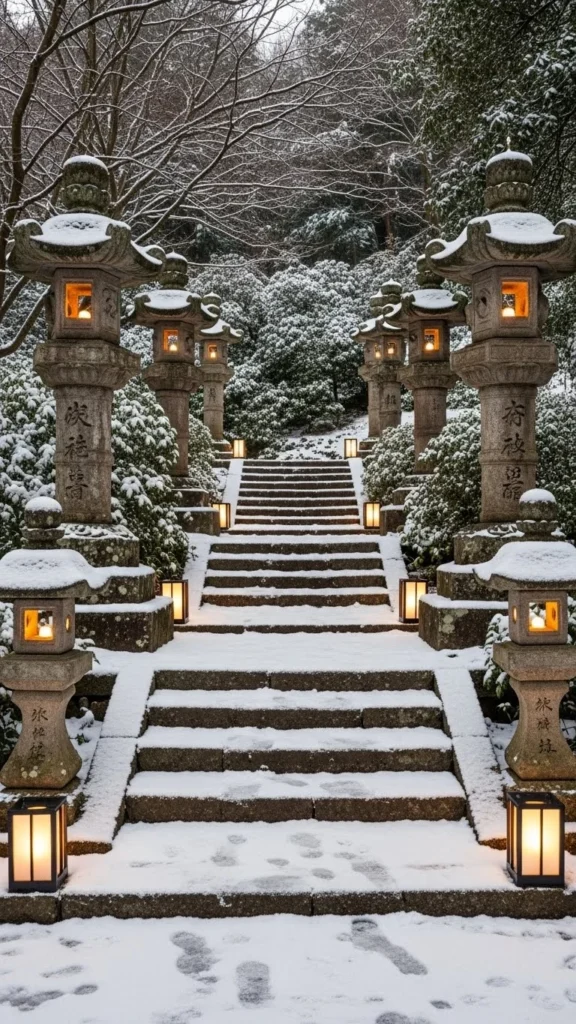
Japanese-style lanterns feel calm and grounded. Their layered stone forms work well in winter gardens with minimal planting.
Place them slightly off the main path to avoid glare. Solar inserts keep wiring simple.
Concrete replicas are widely available and affordable. Position on stone pads for stability.
4. Short Pedestal Stone Lantern Lighting
Short pedestal lanterns raise light slightly, which helps guide guests without harsh brightness.
Look for hollow designs to reduce weight and cost. Use LED candles for easy upkeep.
DIY pedestal lanterns can be built using stacked concrete rings with cutouts.
5. Stone Lanterns Set Into Gravel Paths
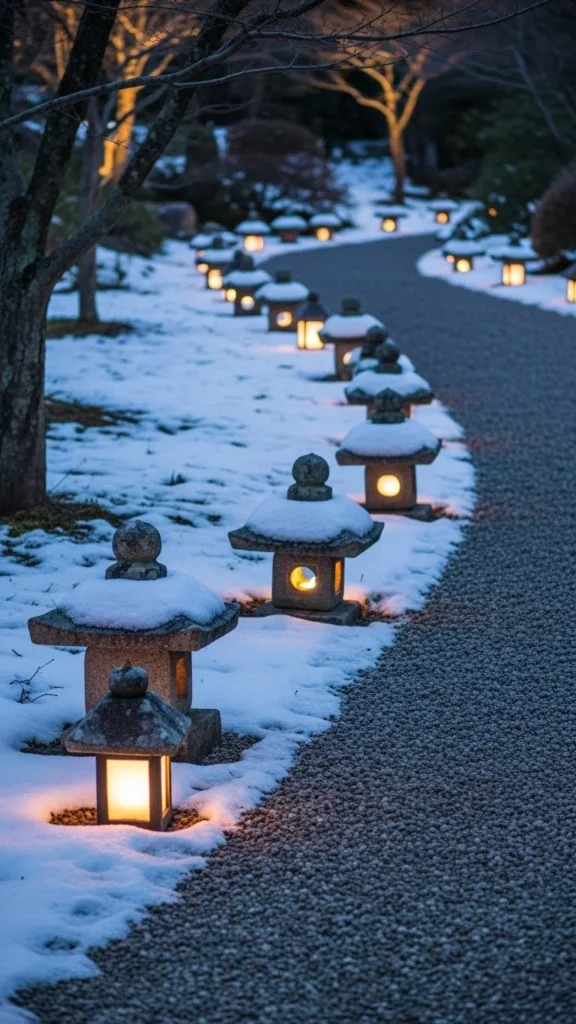
Lanterns set into gravel feel integrated and natural. This works well when plants are dormant.
Use compacted gravel bases. Solar lanterns suit this setup well.
DIY builds use stone-look planters inverted over lights.
6. Round Stone Lanterns for Curved Paths

Round lanterns soften winding paths. They suit gardens with organic layouts.
Space them evenly. Avoid clustering.
Concrete round lanterns keep costs lower than carved stone.
7. Tall Stone Lantern Markers Near Steps
Tall lanterns near steps improve visibility. Place them at landings or turns.
Use low-watt bulbs. Avoid glare.
DIY tall lanterns can be built from stacked concrete blocks.
8. Minimal Stone Lanterns With Clean Lines
Clean-lined lanterns suit modern homes. They feel calm and uncluttered.
Cast-stone options are affordable. Keep spacing wide.
DIY versions use rectangular concrete molds.
9. Rustic Stone Lanterns for Cottage Paths
Rustic lanterns add charm without decoration. Rough textures suit winter well.
Use candle inserts for short events.
DIY lanterns can use reclaimed stone and glass jars.
10. Stone Lanterns With Frosted Panels
Frosted panels diffuse light gently. This avoids harsh shadows.
Look for resin-frosted inserts.
DIY frost film on glass panels works well.
11. Paired Stone Lanterns at Garden Gates
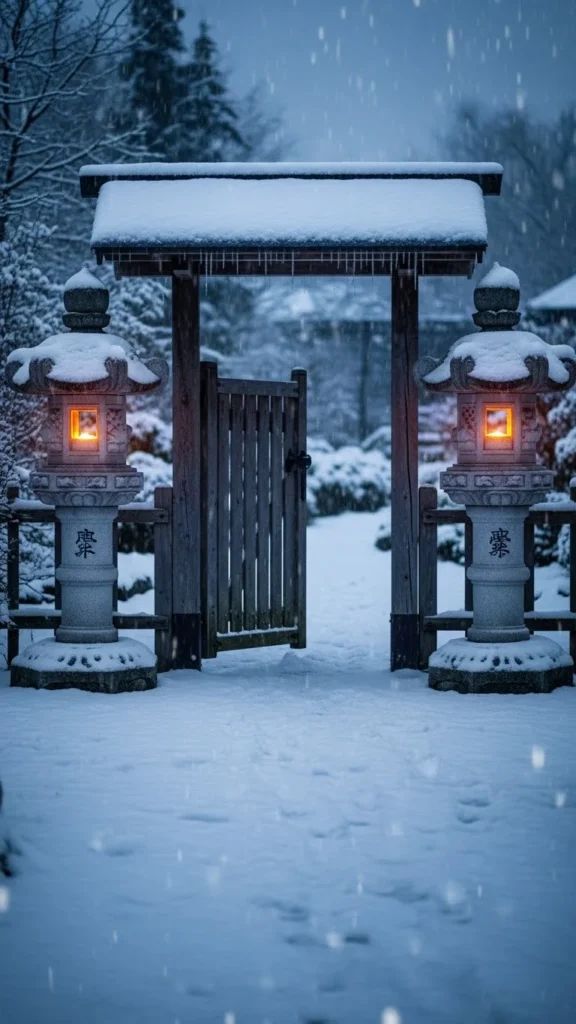
Pairs frame entrances clearly. They signal arrival.
Concrete pairs cost less than carved stone.
Place on flat stone bases.
12. Stone Lanterns Along Driveway Edges
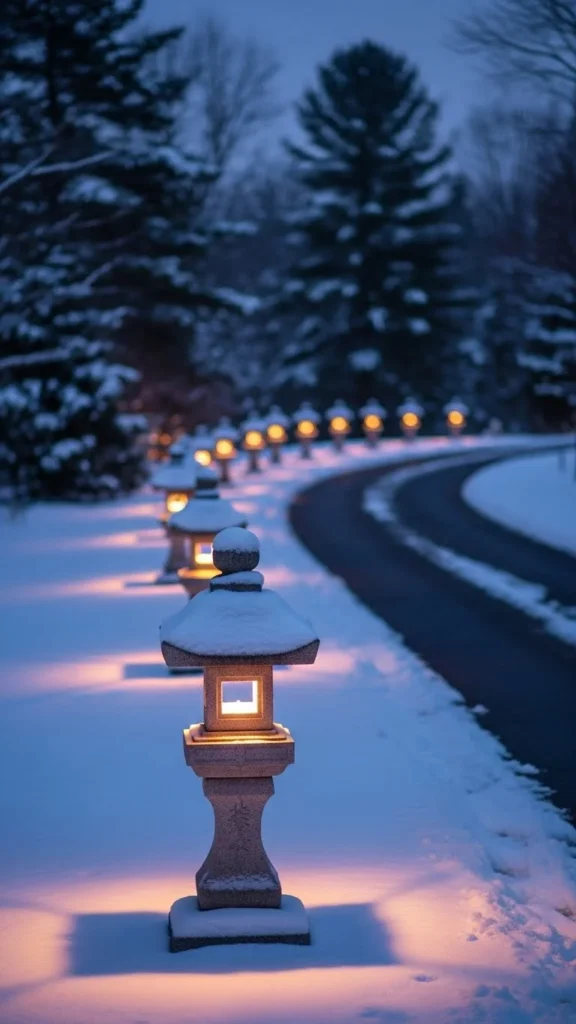
Driveway lanterns guide without brightness. Keep height low.
Solar options work well here.
DIY builds use concrete cylinders with cutouts.
13. Stone Lanterns With Open Cut Patterns

Cut patterns add interest. Light spills gently onto paths.
Choose simple shapes.
DIY cutouts can be made in concrete molds.
14. Stone Lanterns Nestled in Evergreen Borders
Evergreens help lanterns stand out. Place lanterns just forward of foliage.
Solar inserts keep maintenance low.
DIY planters with stone finish work here.
15. Compact Stone Lanterns for Narrow Paths

Compact lanterns suit tight spaces. They prevent crowding.
Use fewer units. Space carefully.
DIY compact builds reduce material use.
16. Stone Lanterns With Warm LED Inserts

Warm LEDs mimic candlelight. They last through winter nights.
Look for battery-powered options.
DIY LED candles fit most lanterns.
17. Linear Stone Lantern Layouts
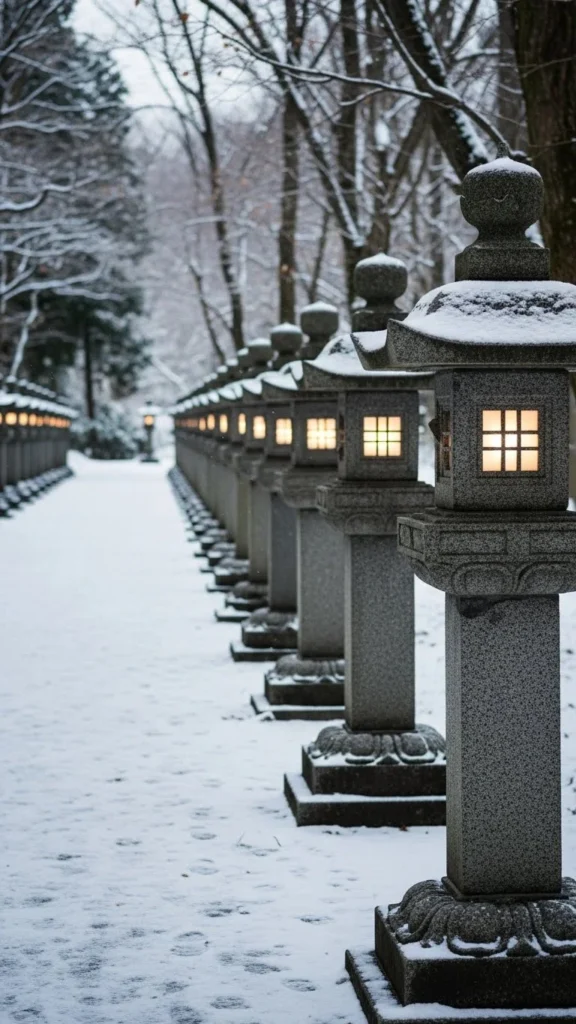
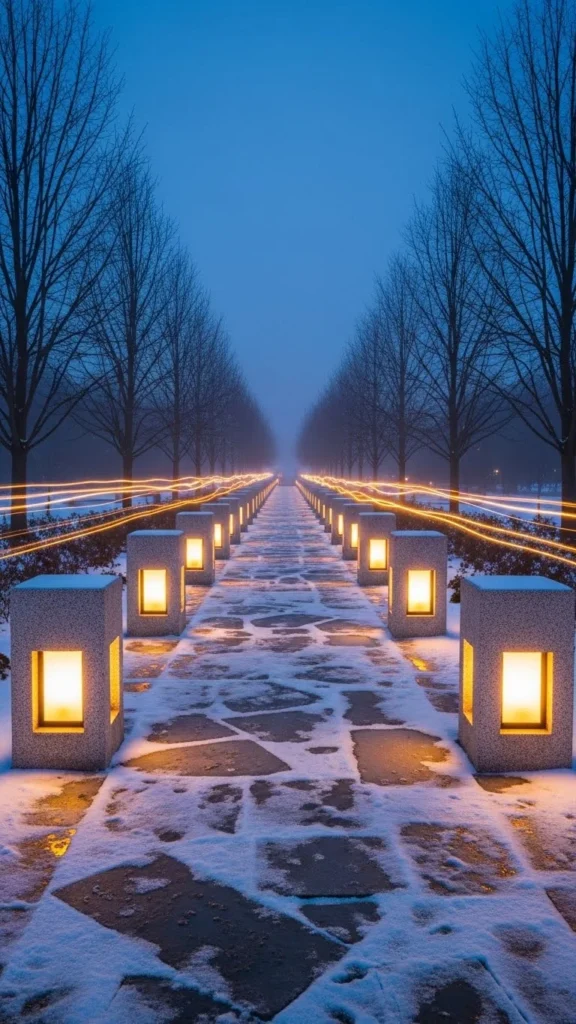
Linear layouts feel orderly. They suit formal gardens.
Keep spacing consistent.
DIY measuring templates help alignment.
18. Stone Lanterns Around Courtyard Paths
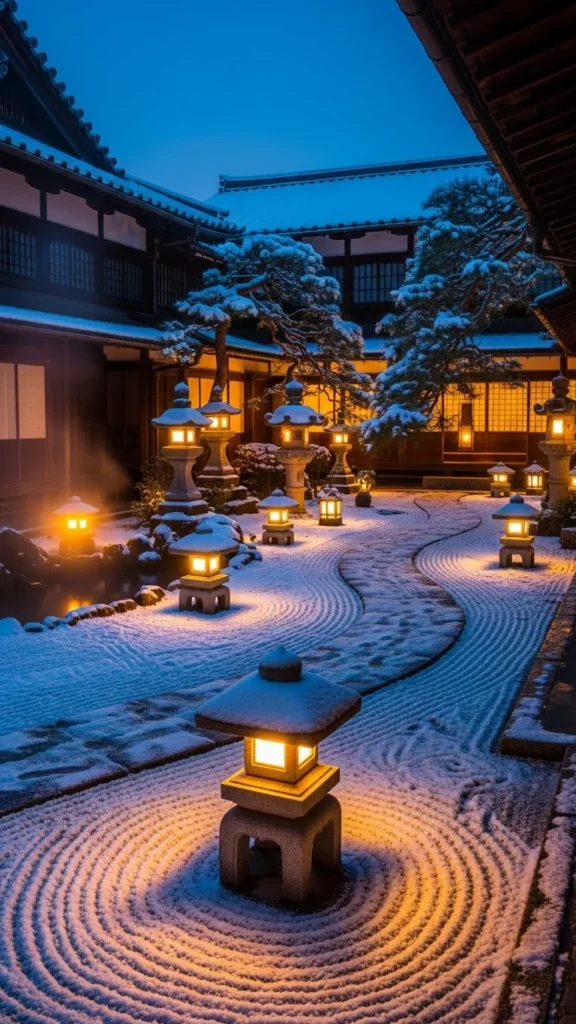
Courtyards feel welcoming with low stone lighting.
Use shorter lanterns.
DIY concrete lanterns fit well here.
19. Stone Lanterns With Snow-Safe Bases

Wide bases prevent tipping in snow.
Choose flat-bottom designs.
DIY bases can be poured concrete slabs.
20. Stone Lanterns Leading to Front Doors
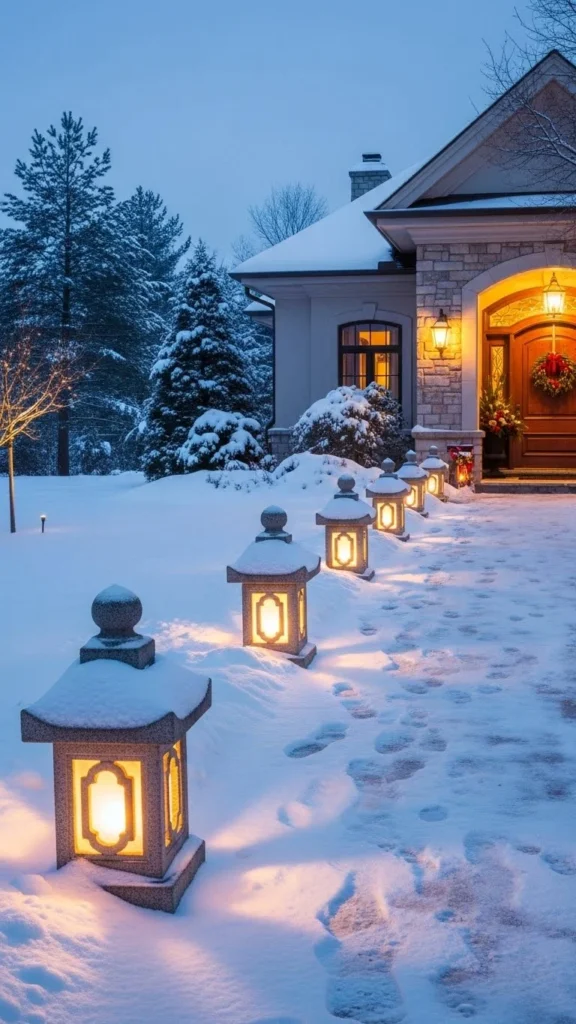
Lanterns leading to doors help guests feel guided.
Use pairs near the door.
Solar lights reduce wiring.
21. Mixed-Height Stone Lantern Arrangements
Mixed heights add depth without clutter.
Stick to one material tone.
DIY stacking creates varied heights.
22. Simple Stone Lanterns for Seasonal Use
Simple lanterns suit seasonal setups.
Use portable designs.
Store easily after winter.
Conclusion
Stone lantern path lighting brings steadiness and warmth to winter landscapes. The weight of stone pairs naturally with quiet gardens and darker evenings, while soft light helps guests feel guided and comfortable. Many designs rely on simple placement, solar inserts, or candle lighting, keeping setup manageable and affordable. Even a short stretch of lantern-lit path can make an outdoor space feel welcoming throughout winter.

Leave a Reply