
Acrylic-neon countdown numbers instantly bring energy to New Year spaces. Their crisp edges, glowing colors, and modern silhouettes make them standout décor elements for parties, photo corners, table setups, and lounge zones. Whether you prefer bold neon signs, mini tabletop numbers, or DIY acrylic cutouts wrapped with LED strips, the goal is simple—create moments that feel fun, modern, and visually bright. The ideas below focus on simple styling, practical DIY approaches, and budget-friendly ways to make neon numbers look striking.
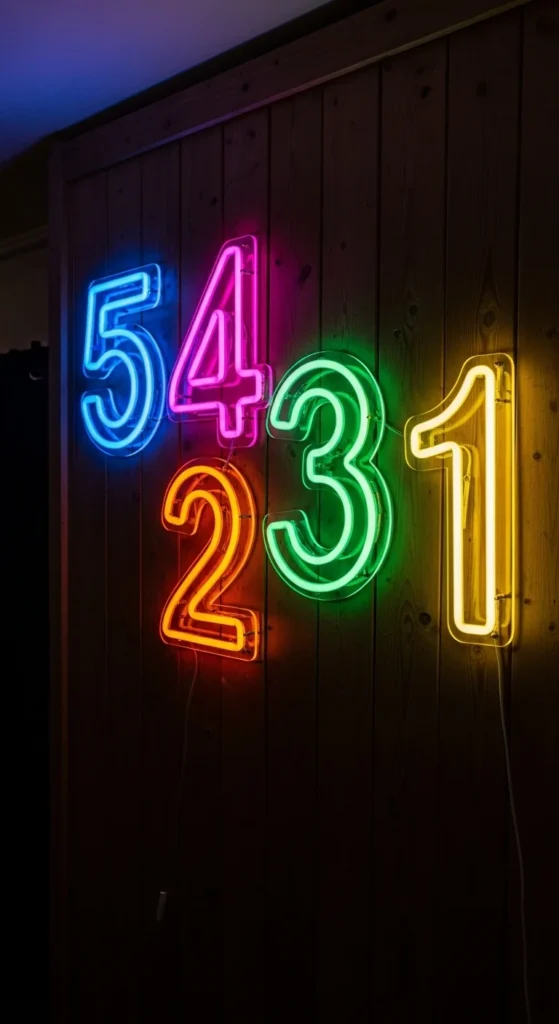
1. Tall Acrylic Neon “10–1” Floor Numbers
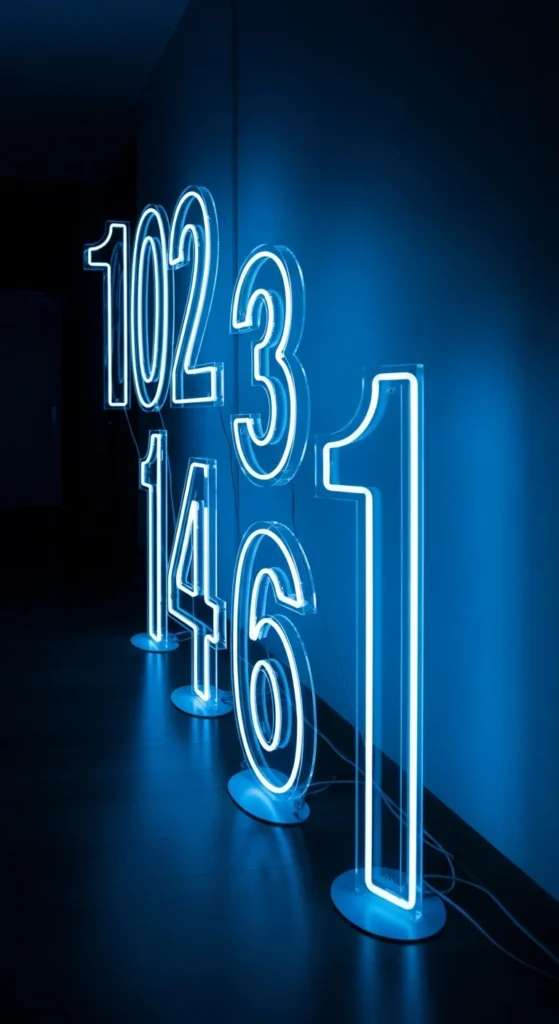
Tall floor numbers make a strong statement for countdown vibes. Place them along a wall or near the party entrance so guests feel the energy immediately. Acrylic sheets are lightweight and easy to position. Neon LED strips attached around the edges bring the glow forward. Choose colors like electric blue or hot pink to create contrast.
For a budget approach, cut large numbers from thick foam board and apply neon LED rope along the edges. Use transparent tape or adhesive clips to keep the lighting stable. Add a mirror or reflective surface behind the numbers to amplify the glow. This setup works well for living rooms and hallways where height creates drama without needing extra décor. Keep nearby lighting low so the neon remains the focal point.
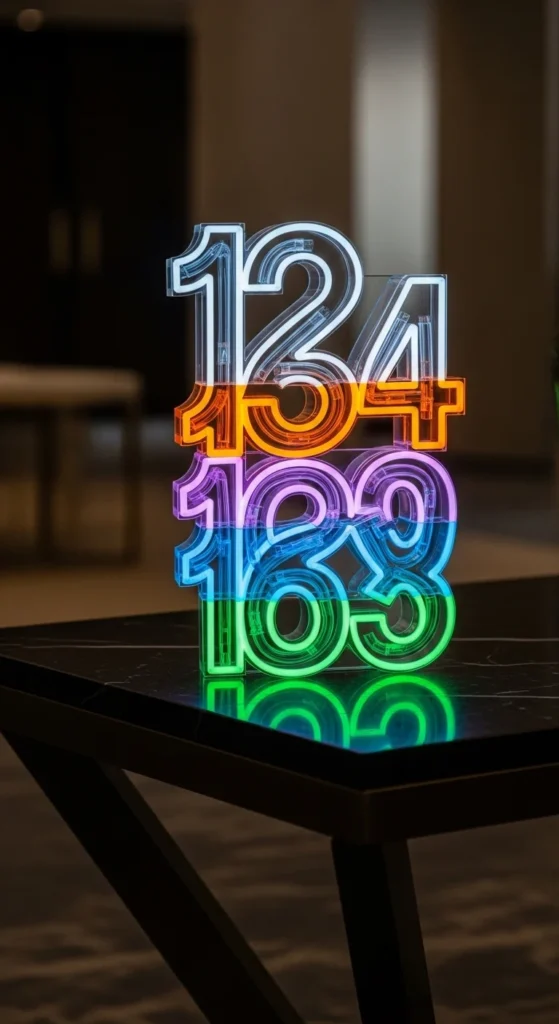
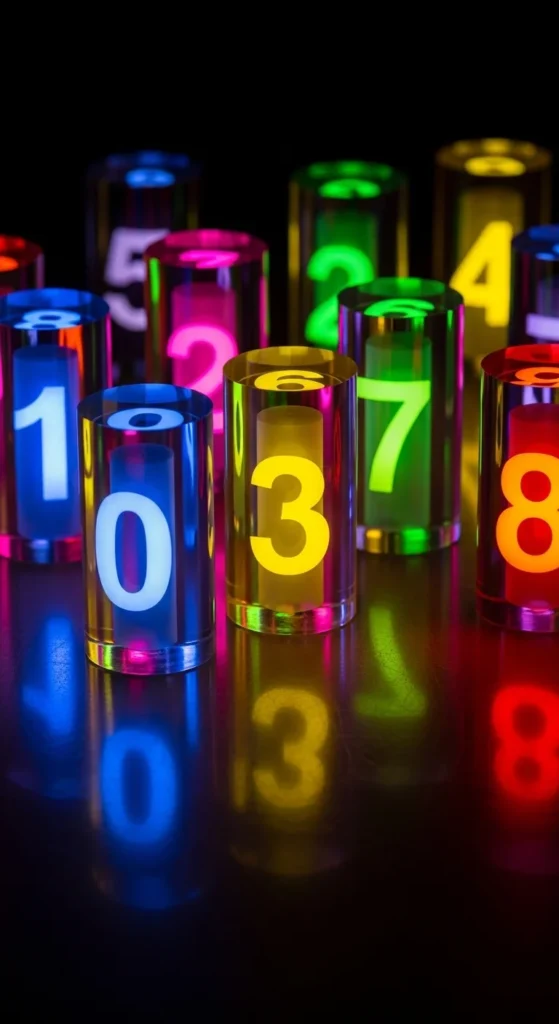
2. Mini Tabletop Neon Countdown Blocks
Mini neon blocks are perfect for coffee tables, dessert stations, or bar carts. Their compact shape keeps the styling simple while delivering bright color. Acrylic blocks hold LED strips cleanly, allowing the glow to bounce through the material.
For DIY, purchase pre-cut acrylic numbers and attach battery-powered neon wire along their edges. Use strong adhesive to keep the wire in place. Place the blocks on a mirrored or glossy tray to increase their shine. Group numbers in sets of three to build up the countdown sequence. This small setup adds personality to tight spaces without taking over the table.
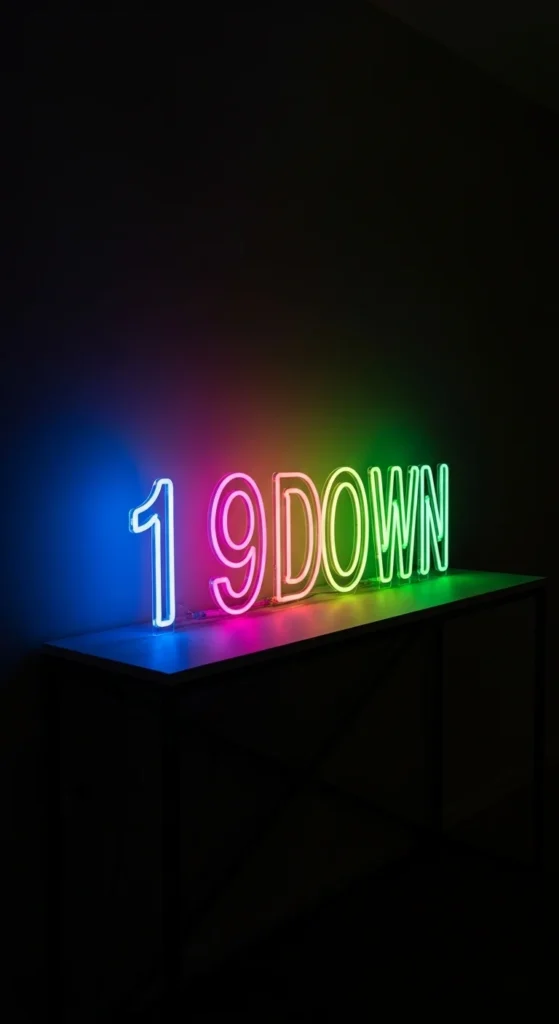
3. Clear Acrylic Numbers with Neon Edge-Lighting
Clear acrylic with neon edge-lighting gives a futuristic feel. The numbers look almost transparent until the neon light outlines them. Place them on shelves, window ledges, or a console table where the glow can reflect off nearby surfaces.
Make your own using clear acrylic panels cut into numbers. Attach thin LED strip lighting around the perimeter. Choose cool tones like aqua, blue, or violet for a calm look or hot pink and green for a more energetic setting. Use adhesive standoffs to lift them slightly off the surface so light escapes from underneath as well. This technique works especially well in darker rooms.
4. Neon Wire Wrapped Countdown Numbers
Neon wire is flexible and easy to shape, making it ideal for wrapping numbers. Foam or wood cutouts provide the structure while the wire supplies the glow. This style is great for creating chunky, bold countdown elements.
Cut your numbers from foam board or buy pre-made ones. Wrap neon EL wire tightly around each shape, keeping the spacing even. Secure with clear clips or glue dots. Choose two alternating neon colors for a multi-tone look. Place them on a shelf or table where they can shine against a darker backdrop. This project is very budget-friendly and easy to customize.
5. Freestanding Acrylic Neon Monolith Numbers
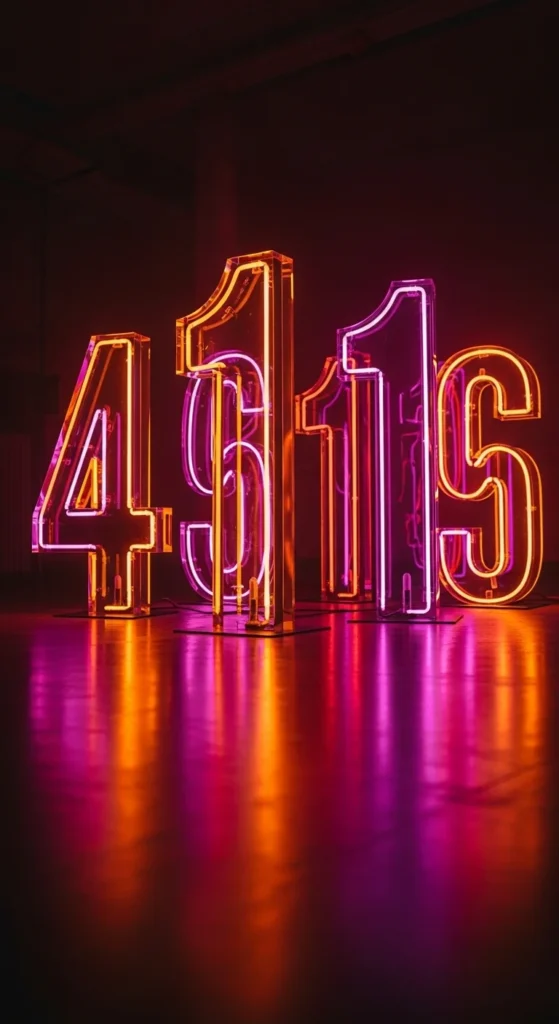
Monolith-style numbers add architectural presence. These tall, blocky shapes look amazing in open spaces. Acrylic sheets cut into thick rectangular forms, illuminated from within, give a sculptural vibe.
If you’re making them yourself, glue acrylic pieces into hollow forms and slide LED strip lights inside. You can also wrap LED tape behind each panel and let the glow seep through the edges. Choose bold neon tones like orange or violet. Use these monolith numbers in corners or near large windows for a dramatic nighttime effect.
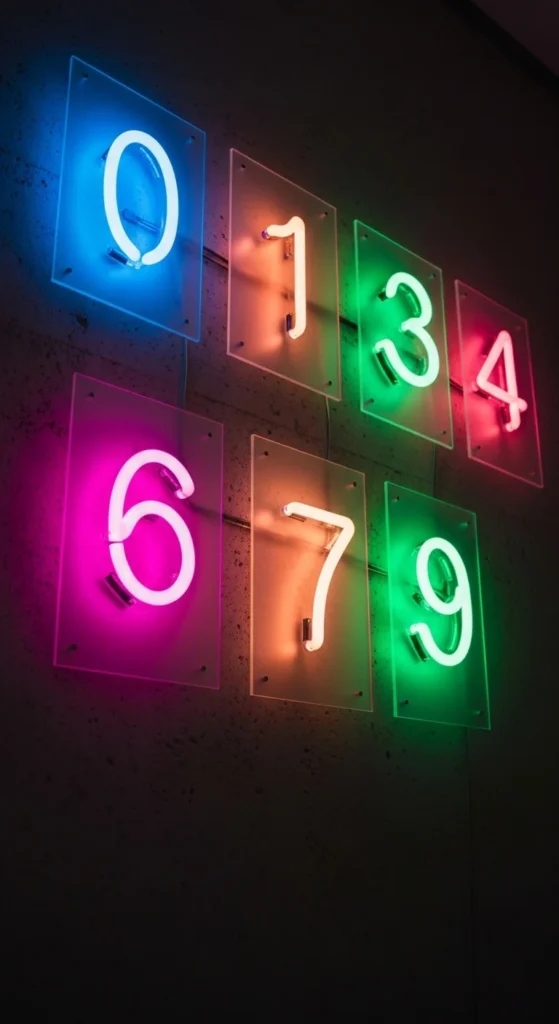
6. Neon-Acrylic Floating Shelf Countdown
Floating shelves give your countdown numbers a clean presentation. The neon glow bounces off the wall, amplifying the color. Choose numbers in different heights to build visual interest.
For a budget approach, use thin acrylic sheets for smaller numbers. LED neon rope works well for clean outlines. Space the shelves so each number has breathing room. Keep the accessories minimal—maybe a metallic vase or a plant—to let the neon stand out. This creates a stylish focal area without requiring extra furniture.
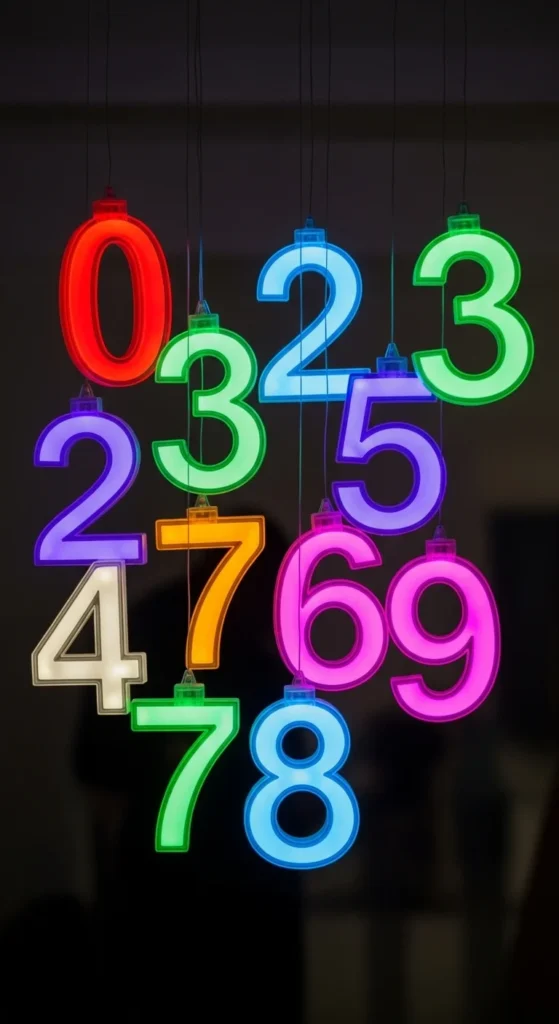
7. Neon Number Garland for Party Tables
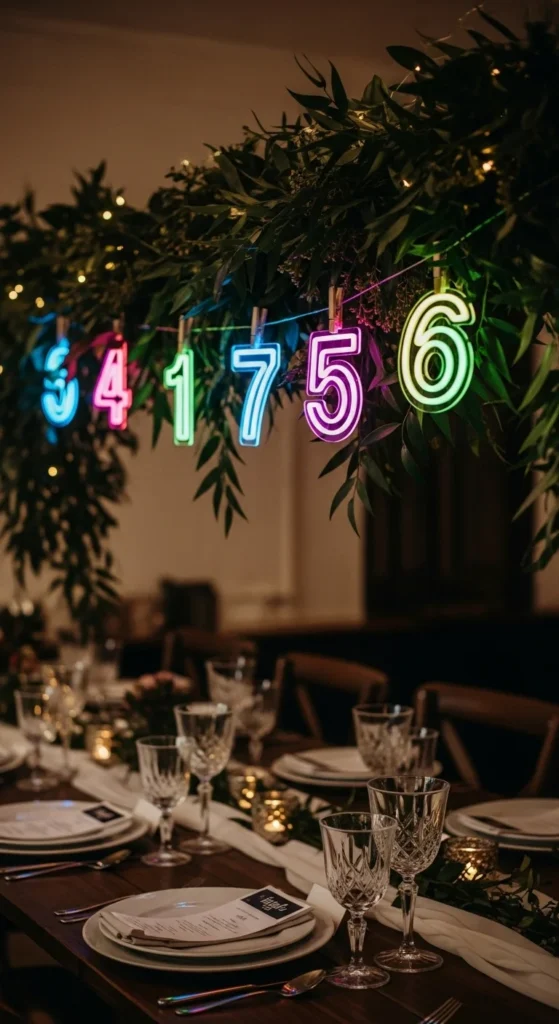
A garland of neon numbers brings fun movement to the space. Clip small acrylic neon-number cutouts along a clear fishing line or wire. Hang the garland above the table, dessert bar, or photo wall.
To make it yourself, cut mini numbers from acrylic sheets or foam. Wrap neon EL wire along the edges of each number. Attach tiny battery packs behind the shapes to keep the glow even. Clip or tie each number onto the line. This setup works especially well for smaller rooms, where overhead décor adds energy without cluttering the table.
8. Acrylic-Neon Countdown Clock Face
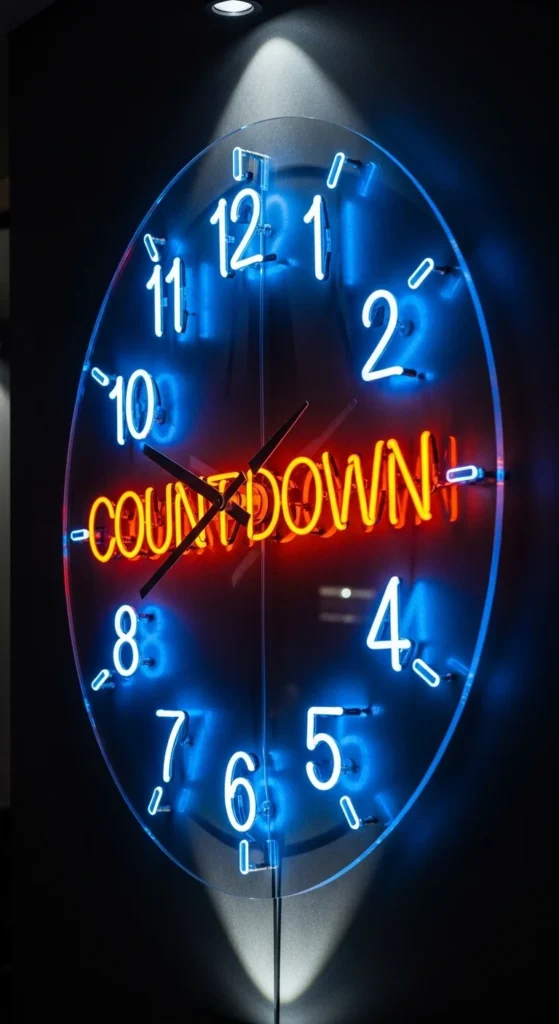
Transform countdown numbers into a neon clock face. Arrange acrylic neon numbers in a circular pattern on a wall or board. Highlight the final numbers—5 to 1—with brighter neon tones for emphasis.
For DIY, use a round acrylic base or foam board covered in black vinyl. Attach neon numbers with adhesive. Use LED strips behind the board to create a glowing halo. This wall piece doubles as art and countdown décor. Hang it in dining areas, lounges, or near the dance floor.
9. Neon Glow Box Frames with Countdown Inserts
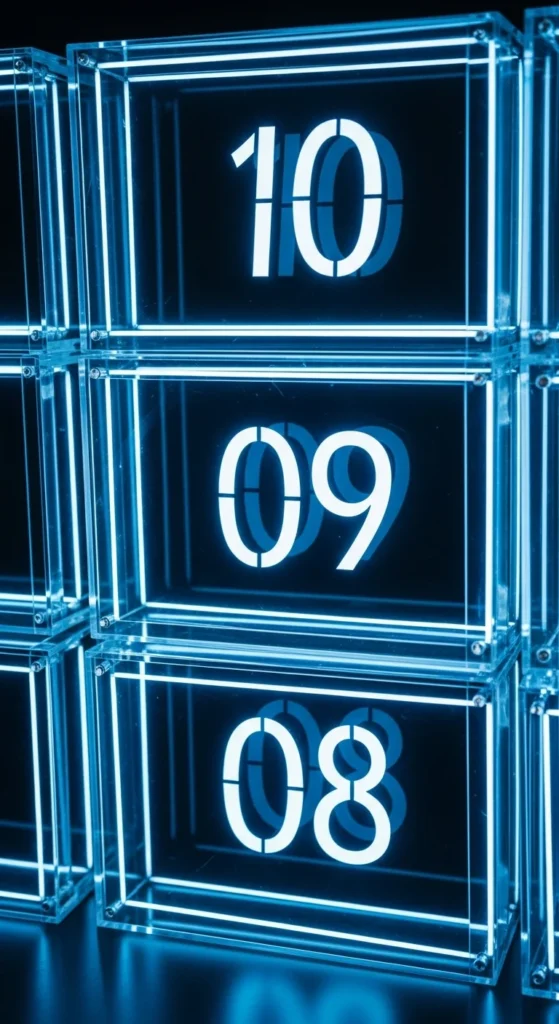
Glow box frames create depth and dimension. Place acrylic numbers inside shadow-box frames lit with neon tape along the inner edges. The glow spreads across the inner surfaces, creating a vibrant framed display.
Make your own using deep frames or acrylic display boxes. Install neon LED strips around the inner perimeter. Insert metallic or acrylic numbers inside. This gives the look of neon signage without requiring advanced wiring. Arrange several glow boxes on a wall to create a full countdown display.
10. Neon-Lit Acrylic Countdown Centerpiece
A tabletop centerpiece of acrylic neon numbers brings energy to your dining area. Use a mirrored tray or glossy black board as a base so the glow reflects upward.
Buy acrylic numbers in a consistent font style. Attach thin neon LED strips along the edges. Set the numbers in a staggered formation so each glows clearly. Keep additional table décor minimal—maybe metallic candles or glass accents—to avoid overwhelming the arrangement.
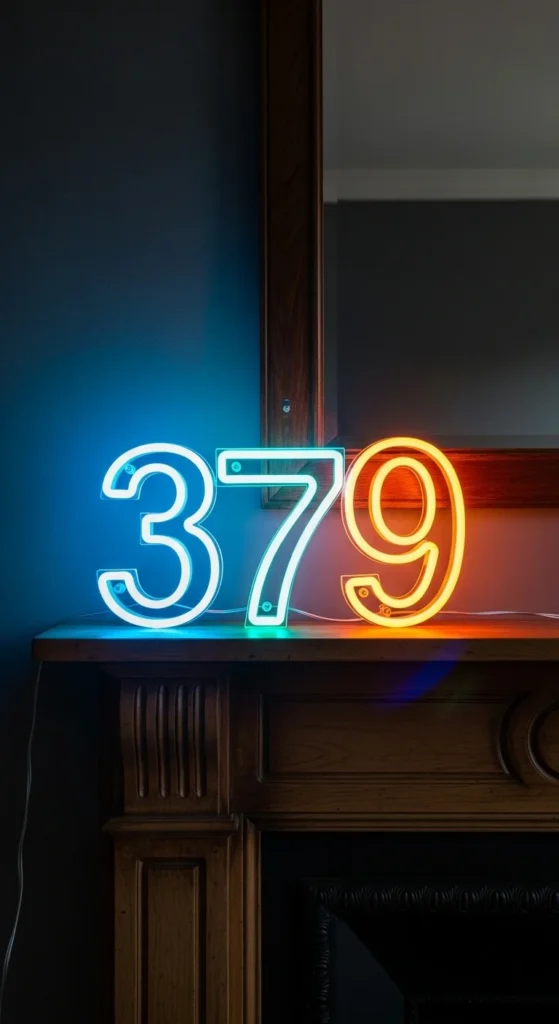
11. Large Wall-Mounted Neon Countdown Line
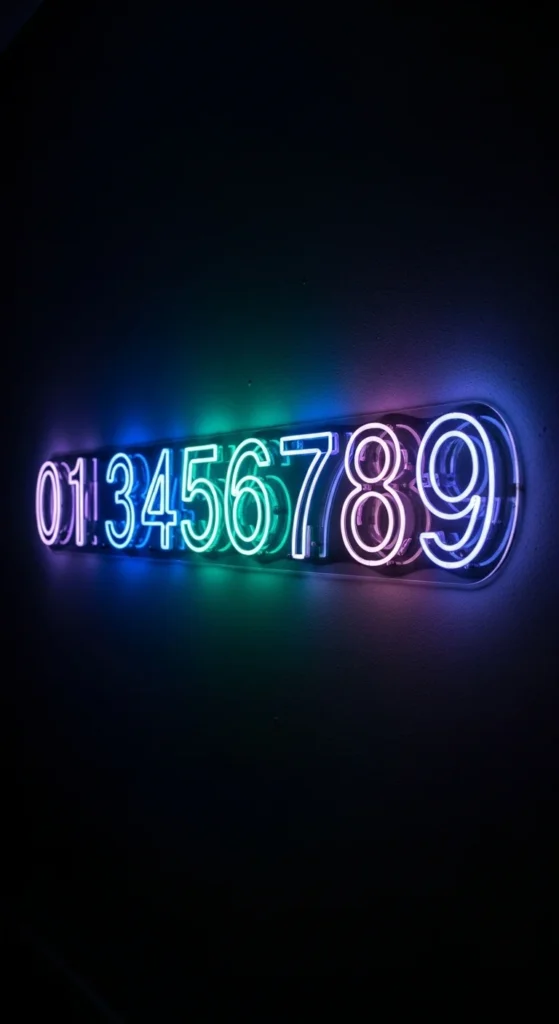
A horizontal countdown line adds movement to your space. Arrange the numbers from 10 down to 1 across the wall. This is great for long rooms or hallway party setups.
For DIY, mount acrylic numbers on clear acrylic strips or bar-style frames. Run neon rope along the edges and behind the strip. Choose colors in a gradient, such as from pink to blue, to keep the line interesting. Pair this display with subtle fairy lights for added softness.
12. Neon Countdown Acrylic Panels Behind a Bar Cart

Place acrylic neon panels behind your drink station to energize the bar setup. The glow reflects off glass bottles and metal accents, creating a lively ambiance.
You can recreate this by attaching neon-lit acrylic numbers to a foam board or wood plank that fits behind your bar cart. Keep the wiring tidy using adhesive clips. Choose neon colors that match your drinkware or bar theme. This makes your bar area one of the most eye-catching spots of the night.
13. Neon Countdown Numbers Inside Glass Domes
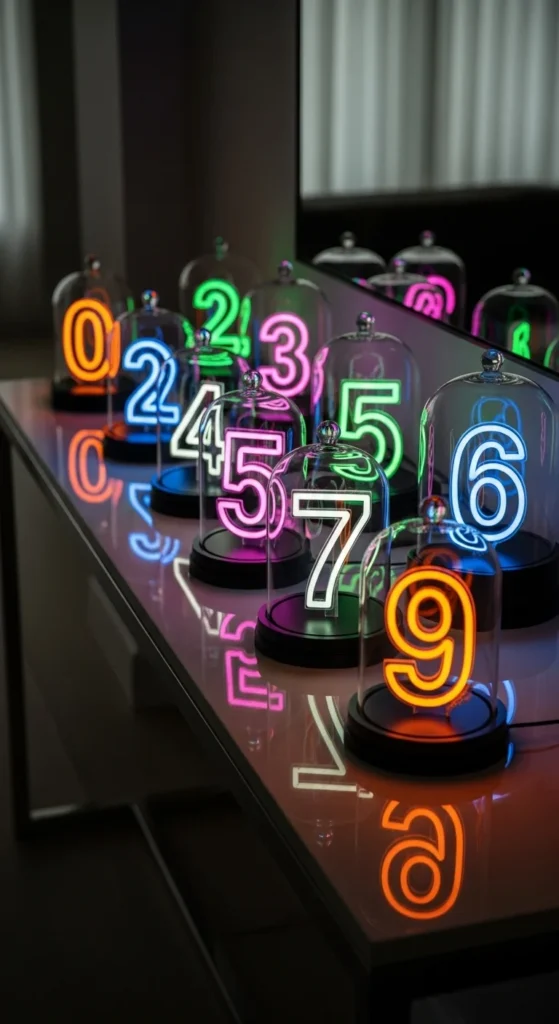
Glass cloches soften the neon glow while still letting the color shine. Place small acrylic neon numbers under these domes for a modern, polished look.
Use battery-powered neon wire for an easy setup. Cut foam or acrylic numbers and place them inside glass domes with short neon strips wrapped around their bases. Set them on sideboards, shelves, or dining tables. This creates small glowing islands that feel intentional and stylish.
14. Acrylic-Neon Countdown Paths on the Floor

Lay neon numbers directly on the floor to create a “countdown path.” This works well for entryways or hallways leading into the main party area. The glow signals guests that something exciting awaits.
Use sturdy acrylic numbers backed with rubber pads so they don’t slide. Wrap neon LED strips around their edges. Space the numbers evenly for a clean pathway. Use one or two colors so the path doesn’t feel chaotic.
15. Neon Acrylic Countdown for a Photo Backdrop
A photo-area backdrop featuring glowing numbers makes pictures striking. Place numbers randomly or create a structured layout. Mix large and small acrylic pieces for depth.
Mount the numbers on a foam board or directly onto the wall using removable adhesive. Keep the lighting low so the neon shines through the photos. Add simple props like metallic hats or sparkly glasses nearby to complete the setup.
16. Neon Number Stack for Side Tables
Stack small acrylic neon numbers like mini sculptures. This works well for corners or side tables that need a bit of color.
Use numbers in different sizes and tones. Stack them leaning at slight angles to create movement. Add a mirror tile under the stack to enhance the glow. This small accent immediately energizes a quiet nook without overwhelming the room.
17. Acrylic Neon Countdown Hung from Ceiling Hooks
Hang neon numbers from lightweight ceiling hooks to create floating décor. Use clear fishing line so the numbers appear suspended.
Cut acrylic numbers and wrap neon wire around each one. Keep them lightweight. Hang them at different heights. Place them near entryways or above dining tables for a dramatic visual moment. Ceiling décor draws the eye upward and adds a celebratory feel.
18. Neon Numbers Layered Over Mirrors
Layer acrylic neon numbers over mirrors to double the glow. Mirrors create instant depth and make the neon appear brighter.
Use small adhesive strips to attach numbers to mirror surfaces. Choose neon colors like lime or fuchsia to keep the visual strong. Place this setup near a console table or dresser where guests pass by often. It adds extra vibrancy to small spaces.
19. Neon Countdown Numbers Framed With Metal

Combine metals with acrylic neon to create a modern hybrid décor piece. Use slim metal frames to hold neon-lit acrylic numbers. The metal outlines add structure while the neon brings the energy.
You can repurpose old photo frames and replace the glass with acrylic panels. Attach neon strips inside the frame. Hang them on walls or line them along shelves. This look works especially well with minimalist furniture.
20. Acrylic Neon Countdown Columns
Short columns with neon numbers displayed on their faces create modern, sculptural moments. Use acrylic cylinders or rectangular blocks with neon numbers attached.
For DIY, use acrylic tubes or carton tubes wrapped in reflective vinyl. Attach neon numbers with adhesive. Place these columns near seating zones or at room corners. Their height makes them noticeable without interfering with movement.
21. Neon Countdown Numbers Inside Lantern Frames
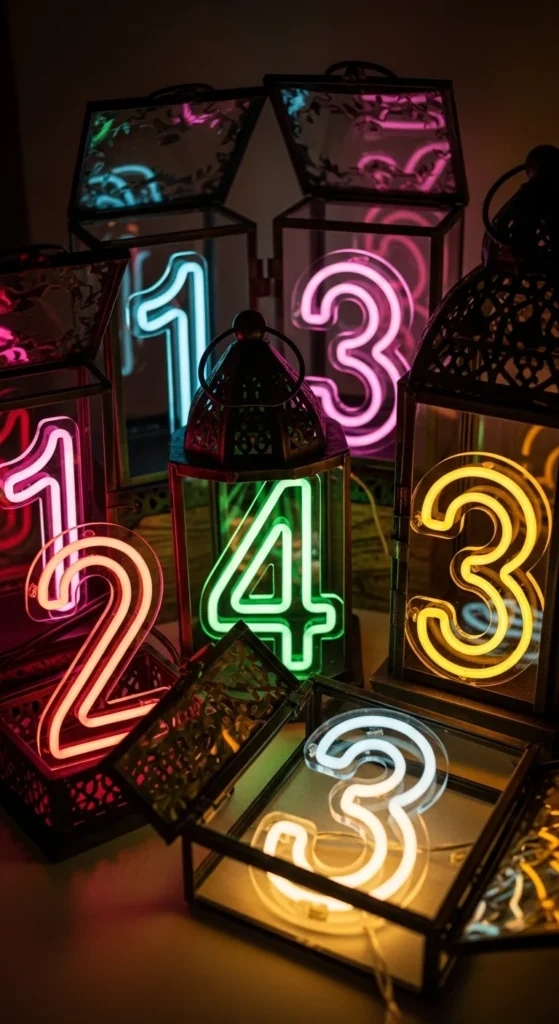
Lantern frames act as stylish holders for neon numbers. The metal outline contrasts with the acrylic glow, creating a balanced display.
Place small neon numbers inside lanterns and add soft LED candles beside them. Choose lanterns with open sides so the neon remains visible. This idea works well on tables, shelves, or entry consoles, adding color without overwhelming.
22. Neon Number Trio as a Mantel Highlight
Choose three numbers—like 5, 4, and 3—and place them on the mantel to anchor the countdown theme. Keep the glow strong by using neon rope or LED strips.
Add a few metallic accents around the trio, such as vases or small ornaments, but avoid cluttering the area. This creates a striking focal point that suits modern, clean décor.
23. Acrylic Neon Countdown Shadow Panels
Shadow panels turn neon décor into art. Mount acrylic neon numbers slightly away from the background so the glow casts shadows behind them. This creates layered color effects.
Use small spacers or blocks behind each number. Choose darker walls to emphasize the shadows. This setup works well in hallways, stair landings, and lounge areas.
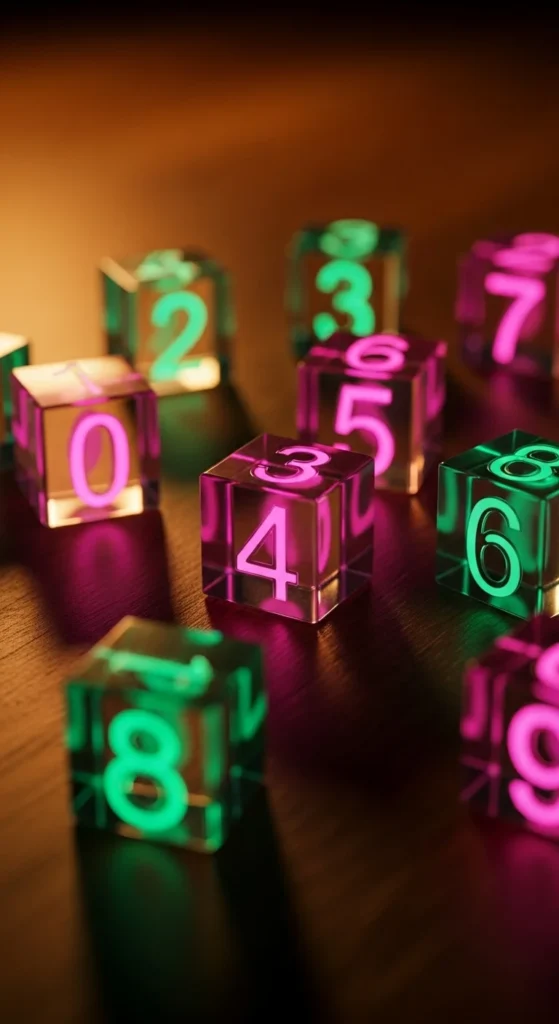
24. Neon Acrylic Countdown Cubes

Acrylic cubes containing neon numbers feel sculptural and modern. Place these cubes on tables, shelves, or window sills.
For DIY, use clear acrylic boxes and mount neon numbers inside using thin adhesive strips. Add LED lights around the inner edges. The cube shape diffuses the glow softly, creating a futuristic effect. Stack or line them depending on your space.
Conclusion
Acrylic-neon countdown numbers add excitement, color, and modern flair to New Year décor. Whether you choose large wall displays, glowing tabletop accents, or small DIY neon creations, each idea brings bright energy to the room. Mix colors, vary heights, and experiment with placements to create a space that feels lively and contemporary. Start with the areas guests see first—tables, entryways, or photo spots—and build outward for a complete, glowing countdown atmosphere.
Leave a Reply