
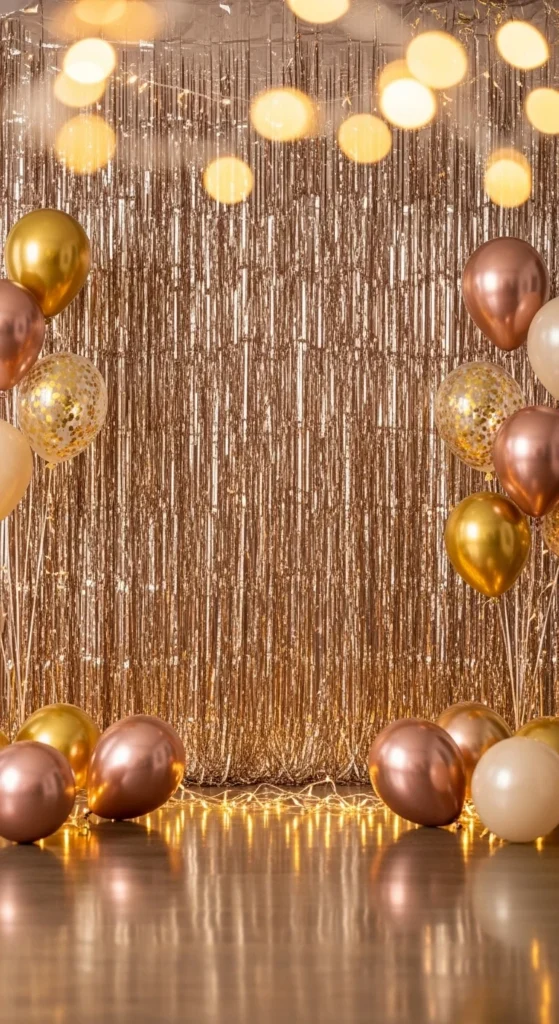
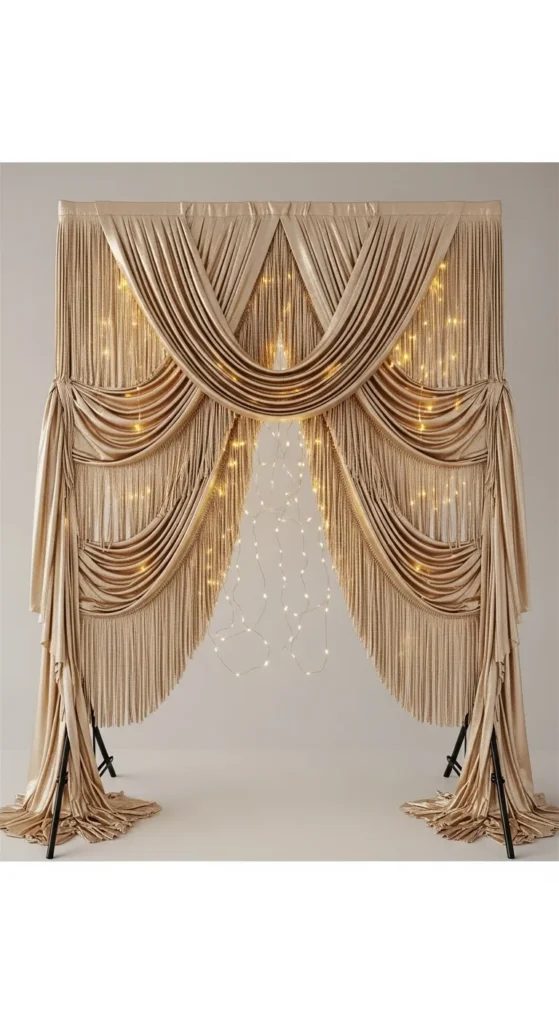
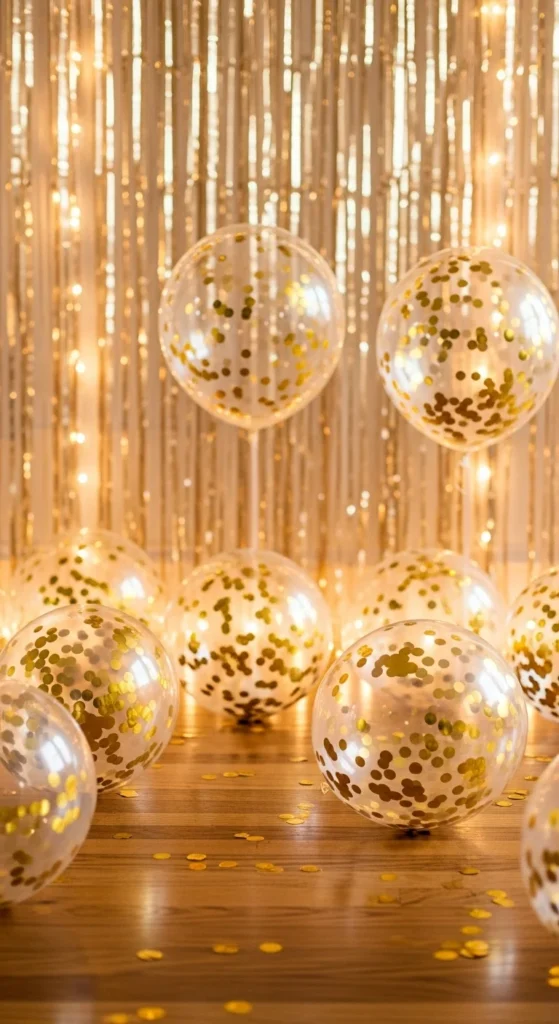
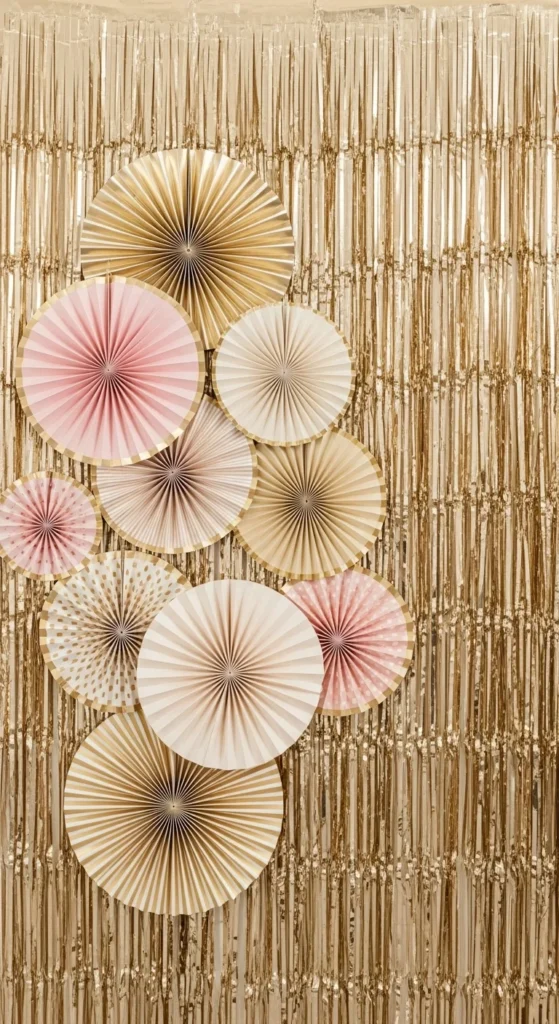
Champagne-gold fringe backdrops suit New Year styling because they reflect light, look festive without heavy props, and work for both home settings and event spaces. They pair with balloons, mirrors, candles, chrome accents, satin fabrics, disco-ball details, and velvet seating. You can build them from foil curtains, fringe sheets, tassel strings, metallic ribbons, or layered tinsel panels. Whether you’re styling a photo-corner, dining zone, dessert table, or balloon arch base, these ideas help you set a polished look without large furniture or expensive installations.
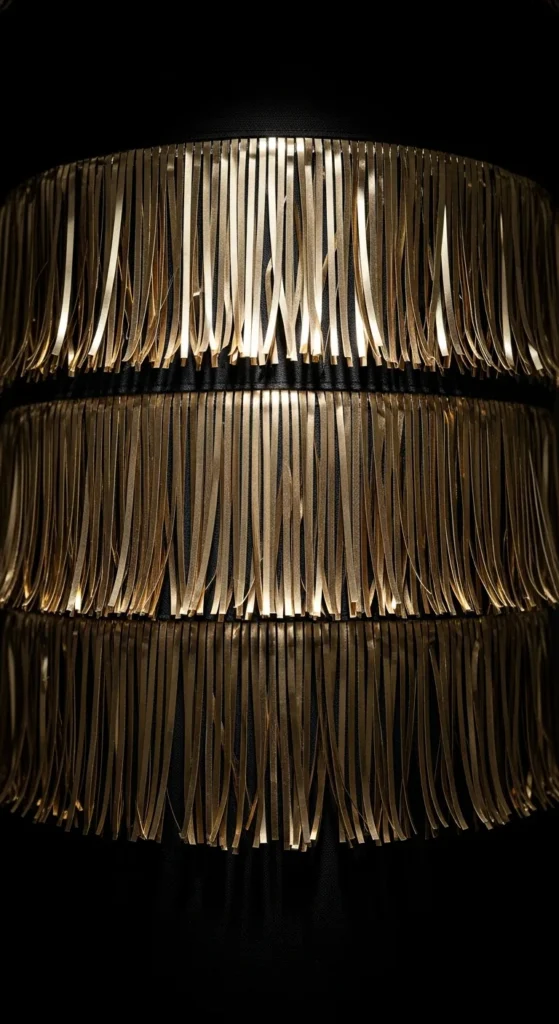
1. Foil-Curtain Triple Layer With Soft Spotlight
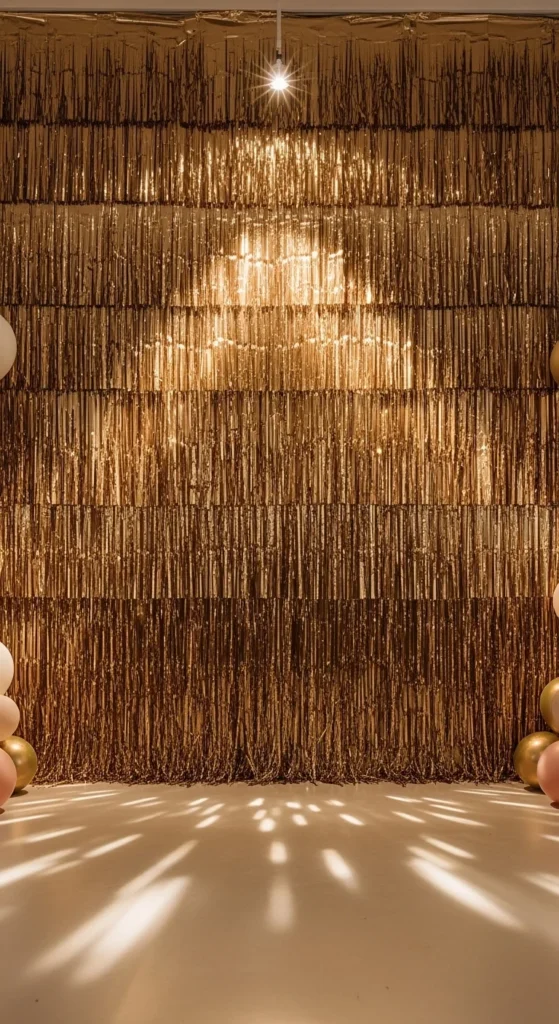
Create a layered look using three foil curtain panels hung slightly overlapping each other. Place a floor lamp or LED spotlight on one side so the strands catch light from different angles. Keep the floor clear to let the fringe touch gently or hover slightly above ground. If you want extra fullness, add a short top strip for depth. Use removable hooks or masking tape if decorating a rented space. Bring contrast by placing matte balloons on both sides instead of metallic ones. Add a small rug in neutral cream or gray under the center spot where photos are taken. Avoid mixing too many textures because fringe holds enough shine on its own. If you like props, choose small handheld items like masks or champagne glasses instead of jumbo signage. Store the panels flat inside a large zip bag for reuse.
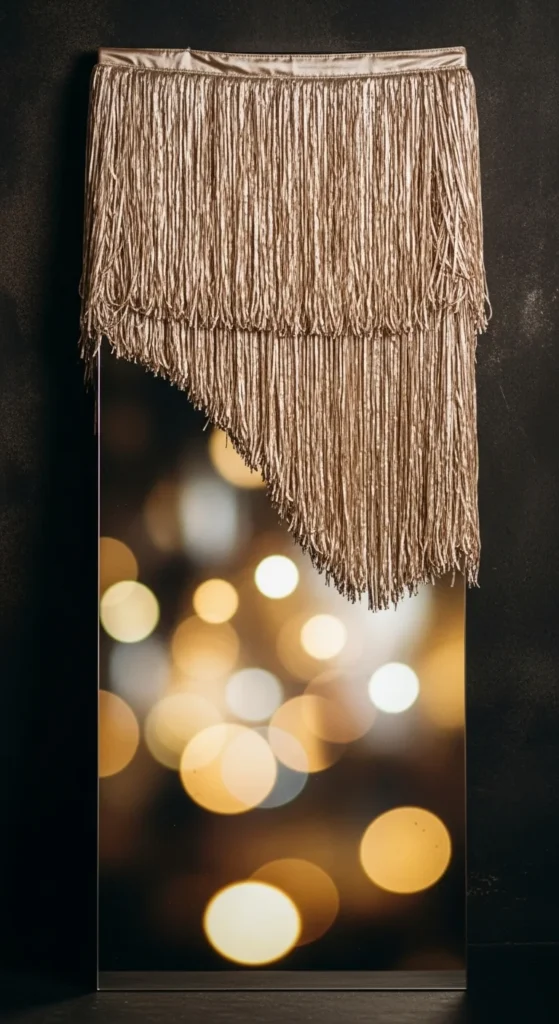
2. Satin-Ribbon Fringe Mixed With Foil Strands
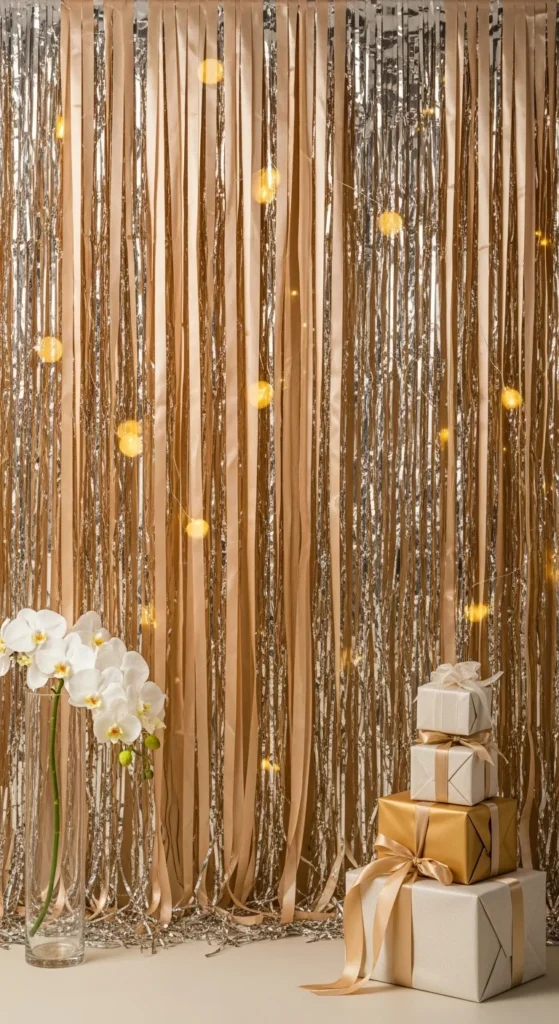
Cut satin ribbon strips in champagne shades and attach them to a top rod or cardboard header. Mix them with matching foil strands for a matte-and-shiny contrast that feels polished. Hang strips close together so no gaps show in photos. Use command hooks on the wall or door frame. If the height is short, attach extra strips to extend length. You can dye inexpensive white ribbon with tea stain for a warm champagne shade. Add fairy-lights behind the backdrop instead of in front to give a subtle glow through gaps. This DIY style works for living rooms, dining rooms, hallways, or balcony shoot corners if weather is calm. When cutting ribbon, angle the ends for a neat look. Roll leftover strips and pack them in a zip pouch so they stay smooth.
3. Fringe Wrapped Around a Photography Frame Stand
Use an adjustable photography stand and wrap fringe panels around it instead of taping directly on walls. This allows repositioning between rooms. Build from two or three layers depending on thickness. Leave a slight gap behind strands for hidden lights. You can also attach black fabric on the back for contrast if the stand sits near a window. Add balloon weights at the base so the stand stays stable. If you don’t own a stand, use two mop handles and PVC pipes with zip ties to create a simple frame. Draping fringe in soft waves gives more movement instead of leaving it fully straight. Keep the floor neat and free of loose tape so strands lay smoothly.
4. Circular Fringe Frame With Hula-Hoop Base
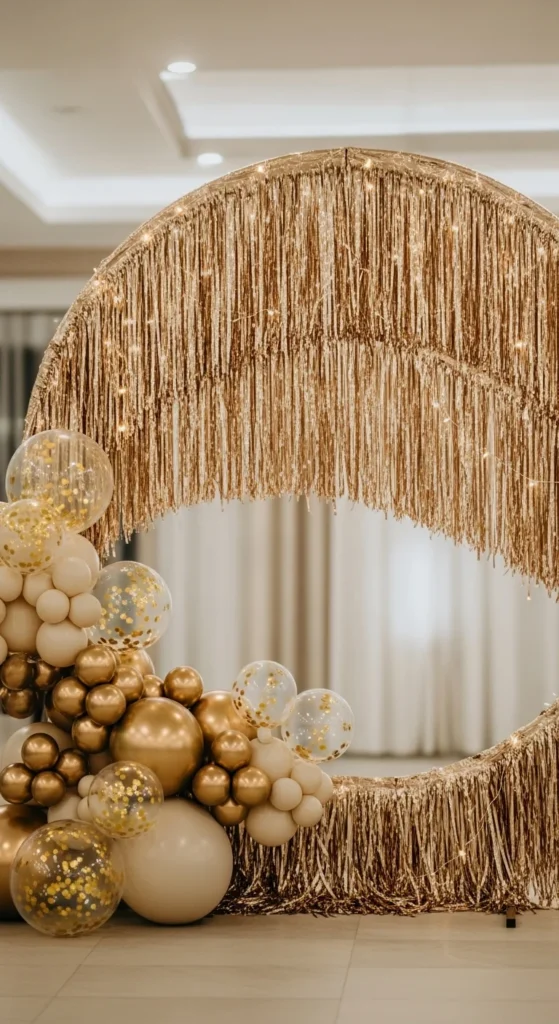
Wrap a hula-hoop with fringe strips from top to bottom until it forms a round golden backdrop. Attach the hoop to two stable stands or hang it from the ceiling using clear fishing line. Add LED string lights around the hoop border for a glowing outline. This rounded shape works well for portraits. Pair with small balloon bunches at two lower corners rather than full coverage. Add a tiny side table with glitter confetti, masks, or sparklers (LED-safe). If the fringe looks thin, attach a second row behind the first row. Carry this hoop easily to different spaces after the event by storing it upright.
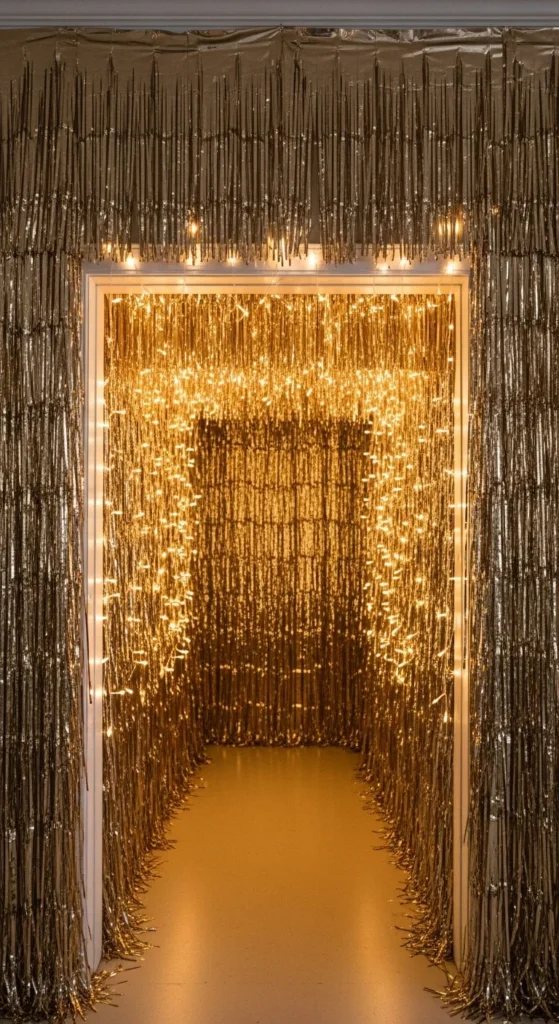
5. Fringe Ceiling-Drop Waterfall

Attach long fringe strips directly from the ceiling using clear tape or mini adhesive hooks, letting them fall freely. This creates a vertical waterfall effect. Works well near dining tables, dance areas, or hallway entry points. Keep strands long enough so they brush the floor slightly. Add small disco-ball pieces or star stickers on strands for sparkle. If using near lights or fans, check that strands sway safely and do not tangle around bulbs or blades. A small carpet or mat under the waterfall creates depth.
6. Fringe Paired With Velvet Drapes
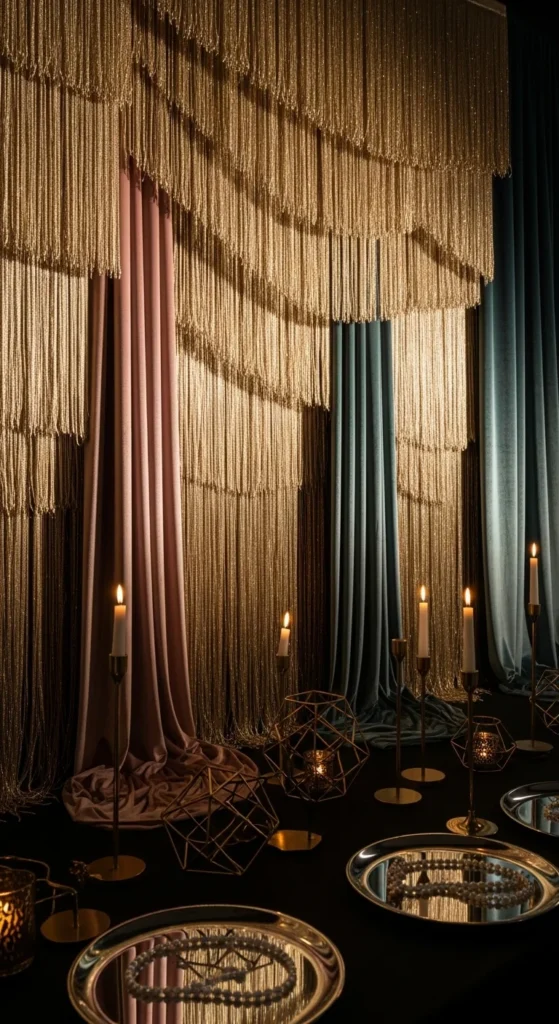
Set champagne-gold fringe at the center and frame both sides with velvet fabric panels. Use a tension rod or curtain pole. This balances shine with soft texture. Choose velvet in black, emerald, burgundy, or navy. You can use inexpensive curtain panels or two long throws clipped with curtain rings. Add a small rug or velvet ottoman in front for seated photos. Keep accessories minimal since both fabrics carry strong visual interest.
7. Fringe With Acrylic Ghost-Chair Seating
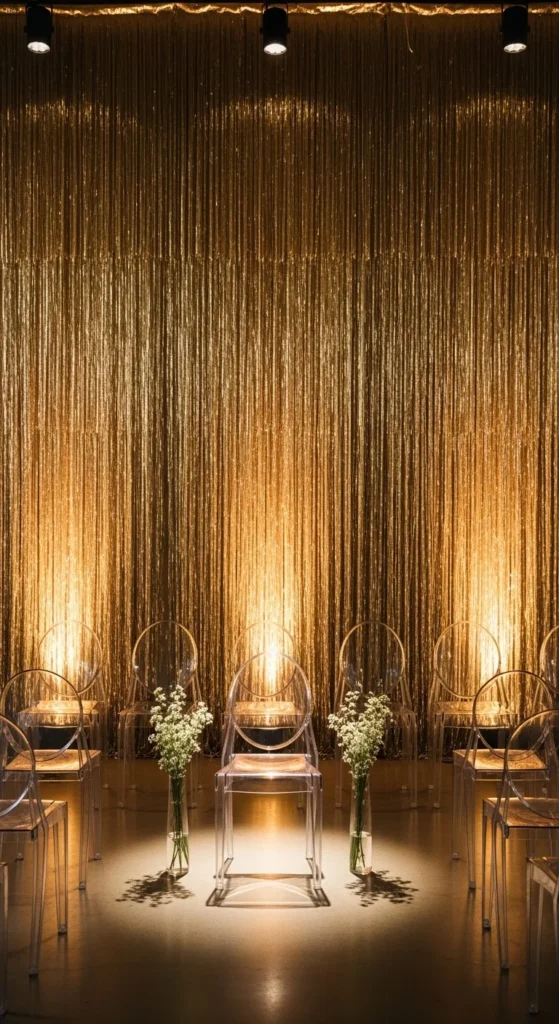
Place acrylic ghost-chairs in front of the champagne-gold fringe for an airy photo zone. The clear seating allows full reflection of backdrop strands. Add LED candles near the floor for a warm glow. Place one or two metallic cushions on the chairs for comfort. Use a short, narrow table to hold hats, masks, or disco props. Sweep the floor so the strands lay neatly in photos. Take photos from slightly lower angles to reflect lights.
8. Balloon-Half-Arch With Fringe Center
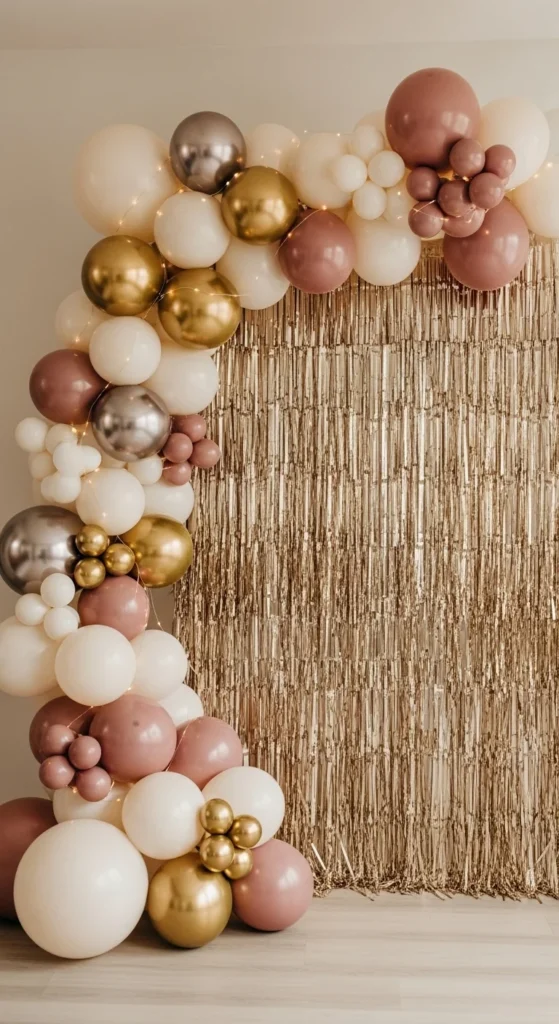
Create a half-arch using matte and chrome balloons, placing fringe at the center. Balance the arch from one side only to keep view open. Use two gold tones plus cream or blush to keep colors aligned. Add fairy-lights inside the balloon arch for glow. If balloons touch fringe, avoid hot lights. This setup suits doorways or one corner of a lounge room. Use removable hooks so walls stay clear.
9. Fringe Wrapped Pillar Illusion
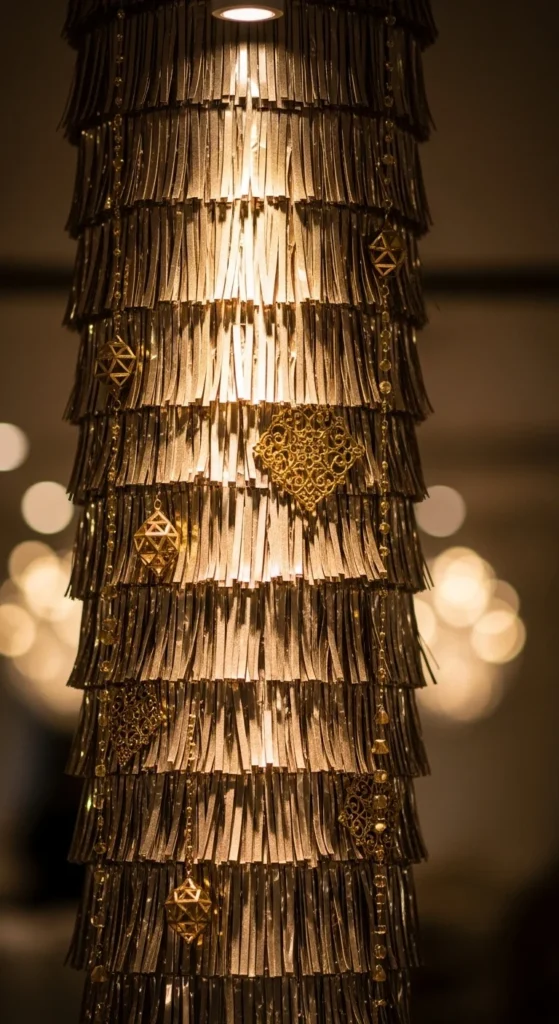
Create a faux pillar using a cardboard tube or rolled carpet core. Wrap fringe sheets around the vertical piece and stand it beside the backdrop. This adds a stage-like effect. Add LED spot lighting from the floor to highlight the column. You can create two columns if space permits. Decorate the top segment with a small bow tie or tassel cluster for detail. Make sure the base stands firm using weights or double-sided pads.
10. Fringe + Mirror Tile Base
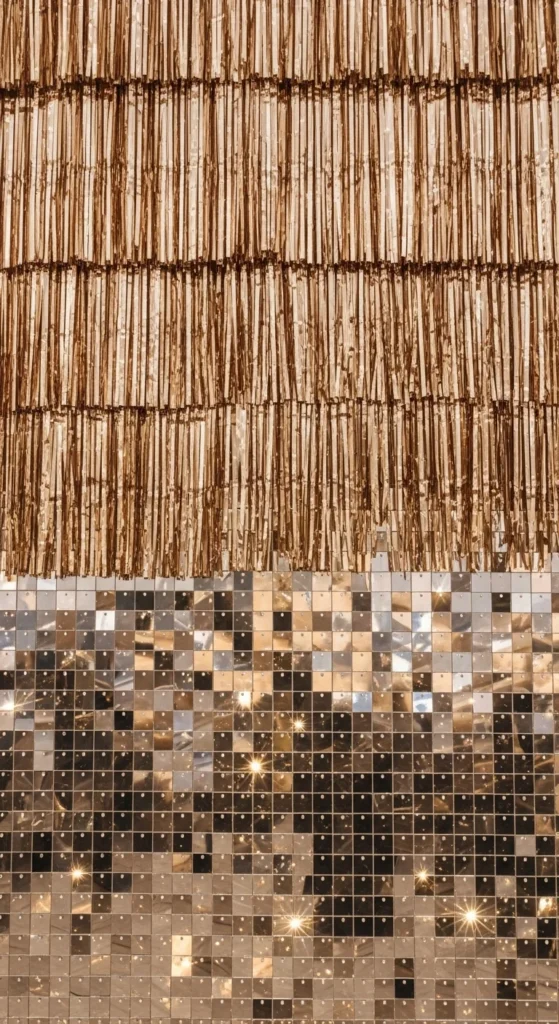
Cut mirror-style adhesive sheets into squares and place them at the bottom row beneath the fringe. This reflects both lights and shadows. Keep mirror tiles low so they do not compete with facial shots. Clean tiles with microfiber cloth before shooting. Pair with chrome cutlery or mirrored trays on nearby tables. Choose a simple floor rug in beige, tan, or pale gray for grounding.
11. Layered Fringe With Black Fabric Backing
Attach fringe sheets onto a black fabric sheet so gold stands out clearly in photos. Hang the fabric from a rod or backdrop stand. This trick is useful when decorating in bright rooms because black creates contrast. Use a handheld steamer on fabric (not fringe) to remove creases. Add gold tassel strings spaced every 10 inches for texture. Store fabric rolled, not folded.
12. Champagne-Gold Tinsel Cloud Border
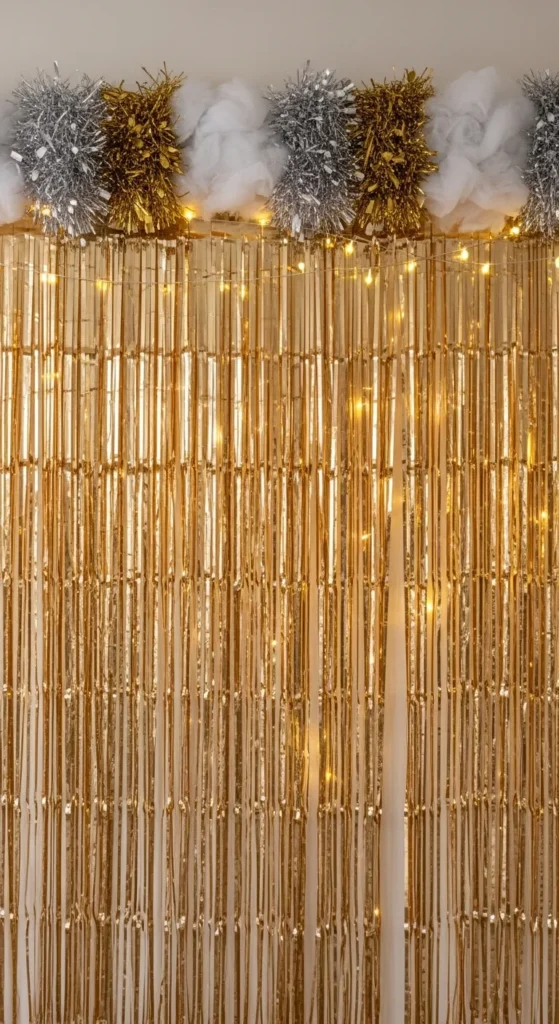
Create a fluffy “cloud” border using tinsel garland across the top of the fringe. This softens the top line where panels meet the rod. Add fairy-lights behind fringe so strands catch sparkle. Keep tinsel fluffy instead of tight. This backdrop suits both floor-level and table-behind setups. Match tinsel with a small garland on a nearby console table.
13. Fringe-Curtain Double Doorway Entry
Hang fringe sheets across a double doorway to create a walk-through effect. If the doorway is wide, use two curtain rods. Tape bottom edges slightly to avoid tangling if people pass often. Add soft floor lighting near side corners so gold strands reflect light. You can also attach mini metallic stars midway through strands for tiny accents.
14. Fringe Paired With LED Marquee Numbers

Place LED marquee digits in front of the fringe so they frame the photo subject. Keep wires hidden behind legs or under rugs. Choose warm LEDs so gold stays warm, not harsh. Angle numbers slightly inward for balance. If digits are large, leave enough space for group photos.
15. Fringe Photo-Booth Seating Bench
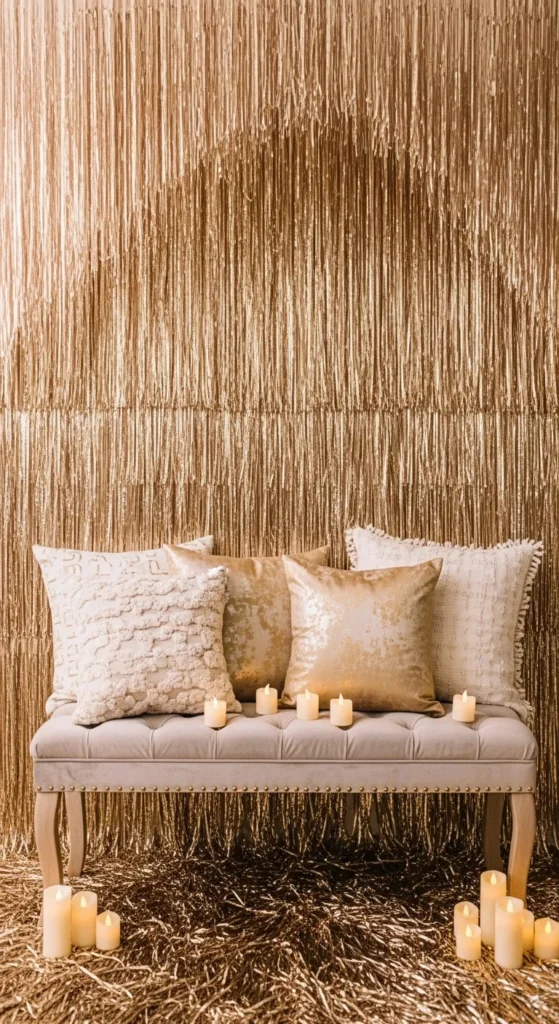
Place a small bench or pouf seating in front of the fringe. Add two metallic or velvet cushions for comfort. A seated setup works well for couples, friends, or kids. Keep the bench neutral (cream, beige, black). Add floor candles (LED) on each side. If needed, attach a short extra row of fringe behind the bench height so photos look full.
16. Fringe With Sheer White Curtain Overlay
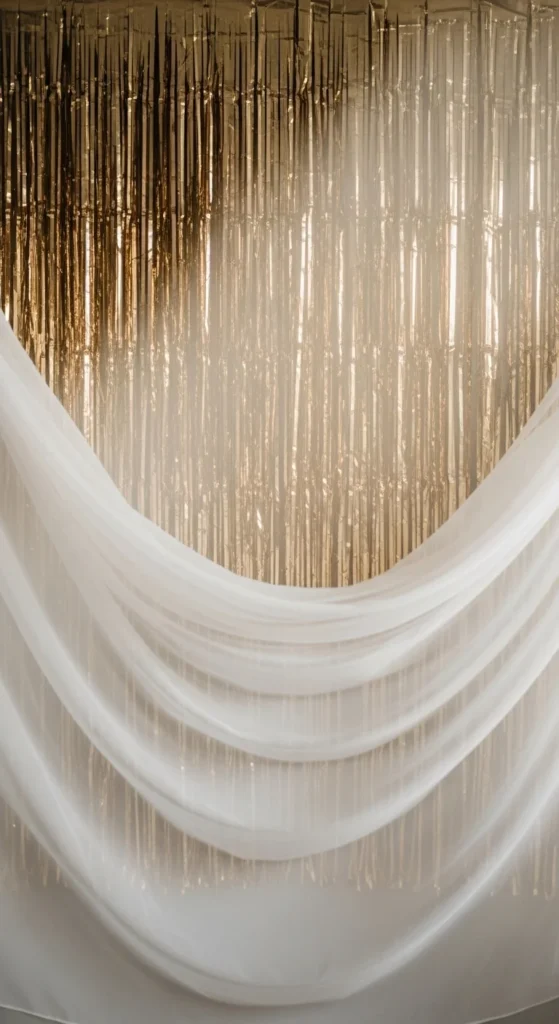
Hang sheer curtains loosely over the fringe panels so gold shines behind. Tie curtains slightly to one side using satin ribbon for an open look. Add fairy-lights behind fringe for soft haze. This effect works well for group photos because the sheer layer hides any uneven spacing.
17. Fringe Wrapped Around Mesh Grid Panel
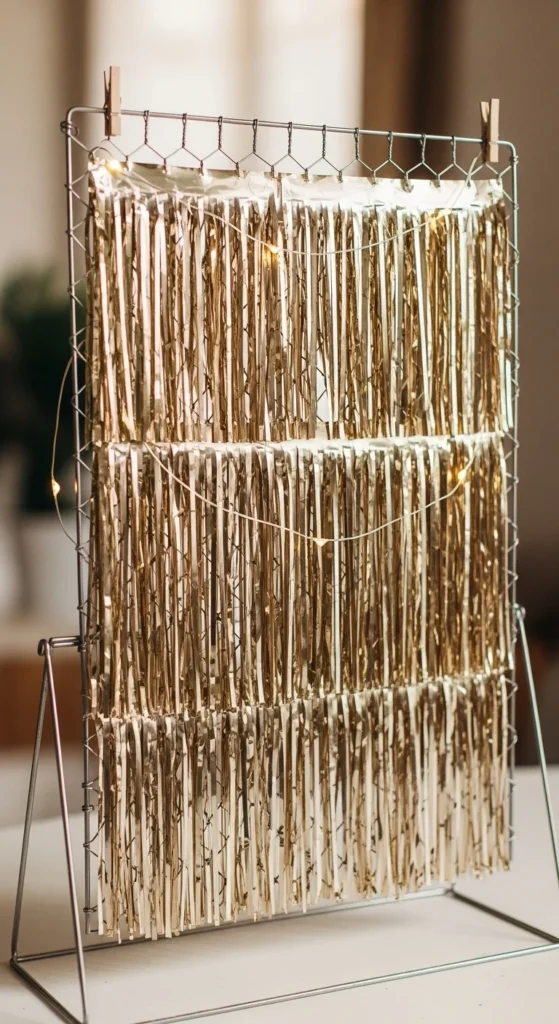
Attach fringe strips through a wire mesh panel so strands hang evenly. Use zip ties or twist ties. This method suits renters because no wall tape required. Add clip-on lights or tiny photos across the grid. Keep grid edges clear so gold appears centered. If using outdoors, secure base with weights.
18. Fringe Paired With Balloon Confetti Floor
Scatter clear latex balloons filled with gold confetti across the floor near the fringe panel. Add balloons in small clusters instead of covering entire floor. Place LED fairy-lights among balloons for glow. Keep balloons away from sharp corners. Sweep floor and remove dust before placing balloons to prevent static sticking.
19. Fringe Over Mirror Panel Sheet
Place a mirror sheet or large wall mirror behind fringe so light reflects. This creates depth that looks great on cameras. Ensure mirror is clean and streak-free. Add micro-lights low for subtle sparkles. This setup suits narrow rooms because mirror helps with space illusion.
20. Fringe Wrapped Around a Folding Screen
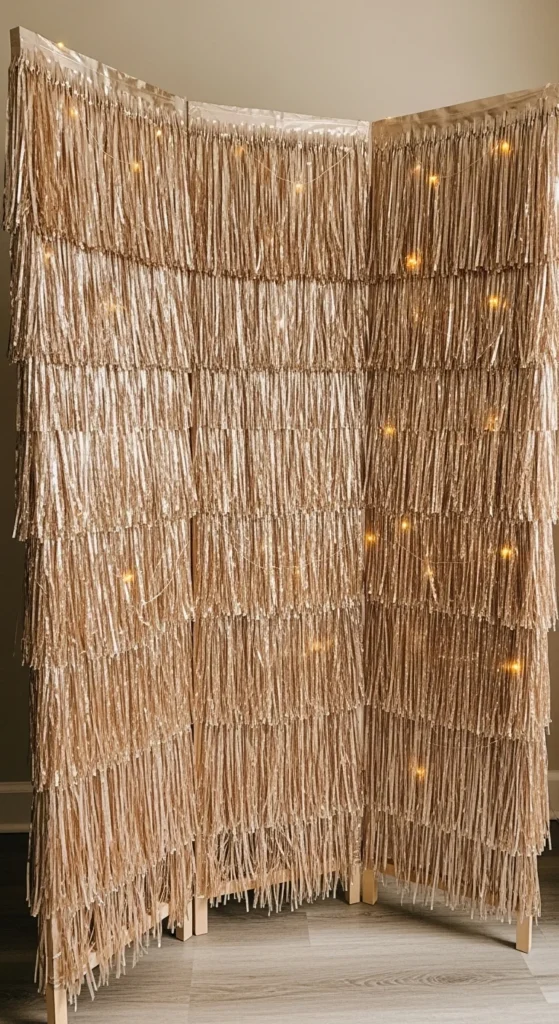
Attach fringe to a folding room divider using clips or tape. This gives a movable backdrop option. Fold slightly to form a V-shape for stability. Place LED candles or chrome decor pieces at the base. Store the panel folded with fringe rolled upward to prevent creases.
21. Fringe With Glitter Foam Alphabet Cut-Outs
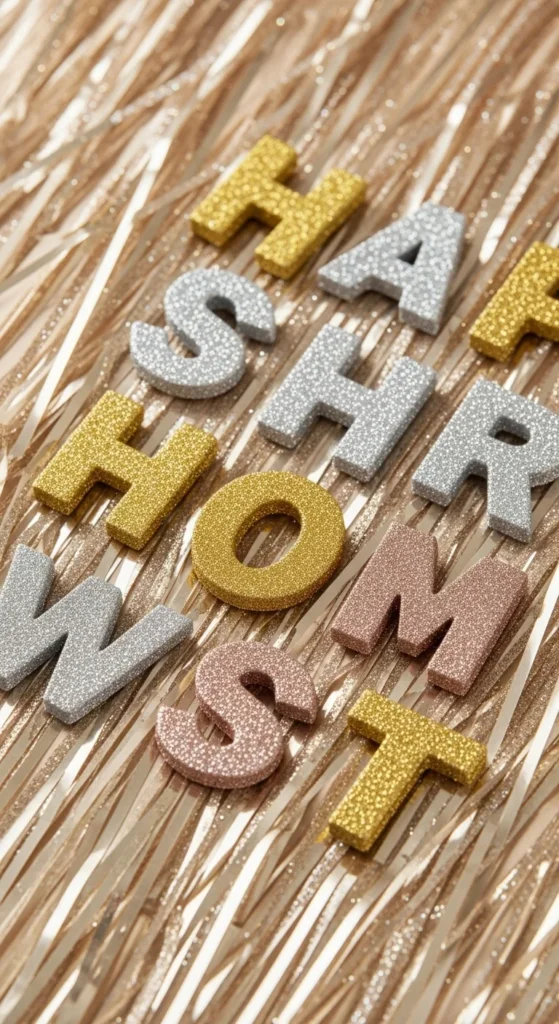
Cut short words like “NYE” or “Party” from glitter foam sheets and attach them lightly to fringe. Use small clips or low-tack adhesive so strands stay intact. Keep phrase short to avoid overcrowding. Add LED string lights above letters.
22. Fringe With Paper Fan Medallions
Add paper fan decorations on one side only to avoid symmetry overload. Use champagne, cream, or black fans. Place a few sizes overlapping. Clip them lightly so fringe still moves. Works well for photo-zones and dessert stations.
23. Fringe + Disco-Ball Cluster Top

Hang small disco-balls above the fringe using fishing line. Place a spotlight under them so reflections scatter. Keep cluster small so it doesn’t overshadow the backdrop. Clean disco-balls with microfiber cloth for shine. Works best for evening lighting.
24. Fringe Framed With LED Strip Light Border
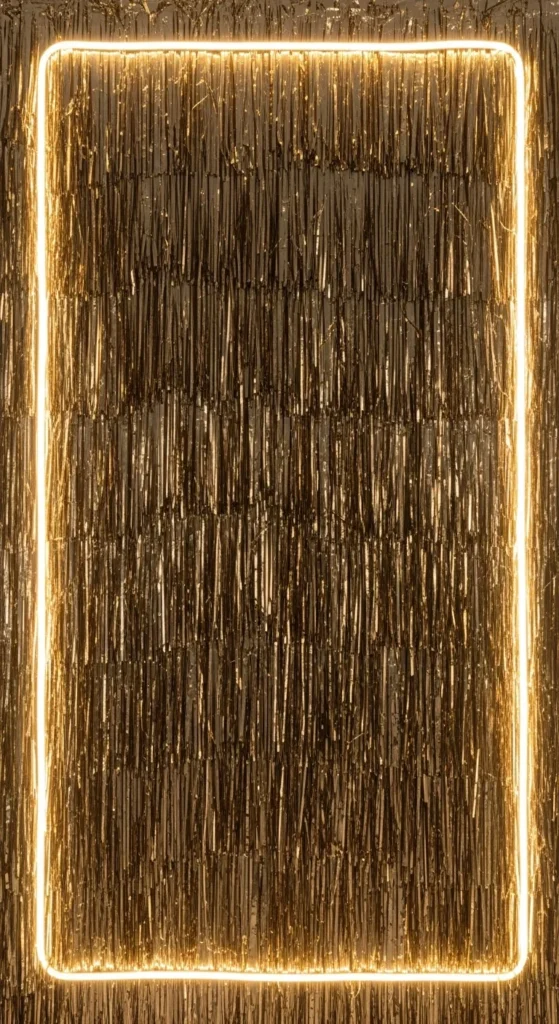
Install LED strip lights around the entire frame to outline the fringe. Pick warm light so gold stays soft. Avoid harsh blue tones. Use adhesive clips for clean lines. This creates a glowing box effect that suits photo-booths and dessert layouts.
Conclusion
Champagne-gold fringe backdrops work well for New Year styling because they reflect light, accommodate small spaces, and allow mix-and-match decorating with balloons, fabrics, acrylic seating, rugs, LED lights, and photo props. Whether draped, layered, framed, wrapped, or paired with arch pieces, each idea supports a tidy visual result without large furniture or permanent installation. Try one setup or combine two while keeping color harmony, clean floors, and controlled lighting for clear, photo-ready shots.
ChatGPT can make mistakes. Check important info.
Leave a Reply