
Holographic ice-cube photo props add playful shine to New Year celebrations. Their reflective surfaces catch party lights and create eye-catching color shifts in photos. These props work well for small gatherings, large parties, or simple at-home shoots. They’re lightweight, inexpensive, and easy to arrange in creative ways. This list gives you 23 simple and fun setups that highlight these cubes in practical scenes so guests can snap memorable photos without complicated décor.
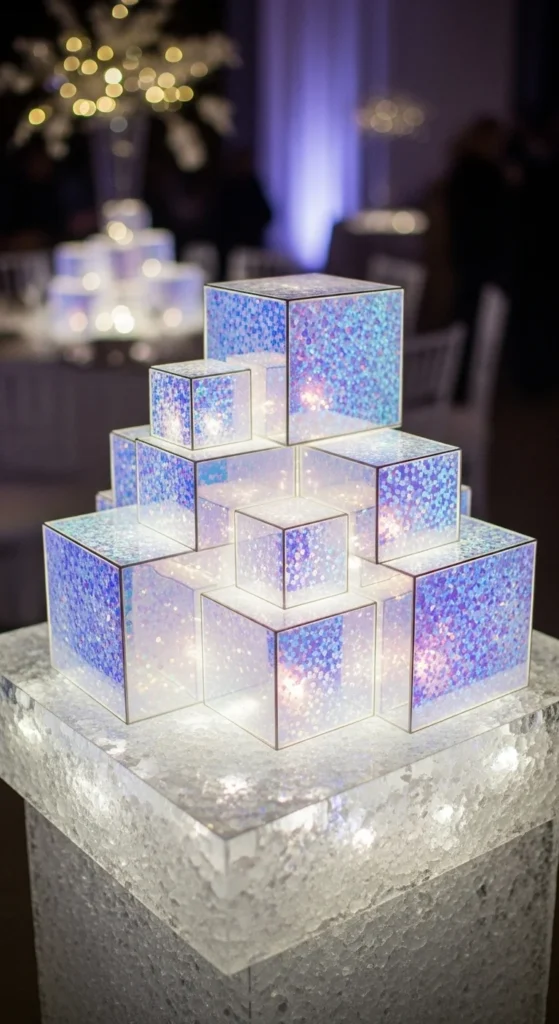
1. Holographic Cube Tower
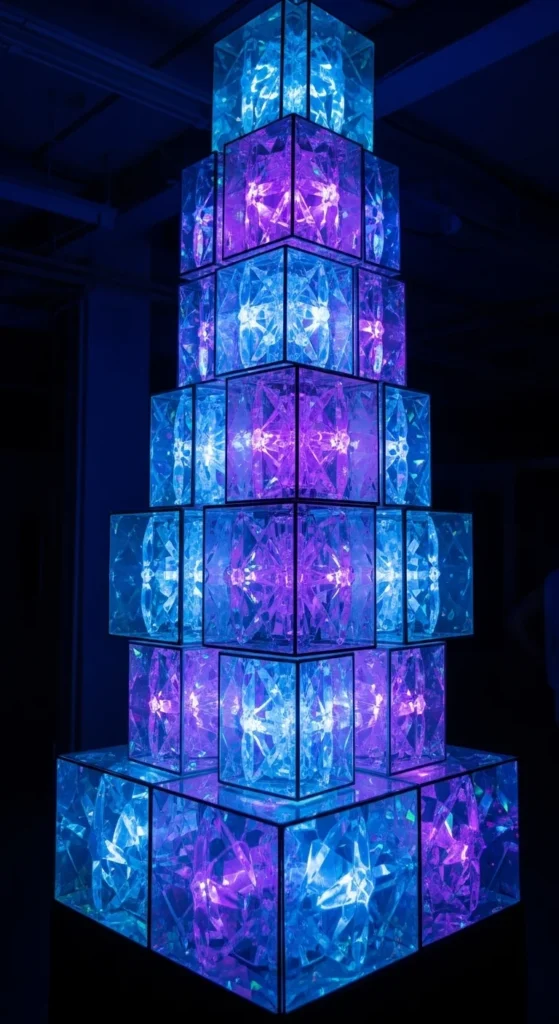
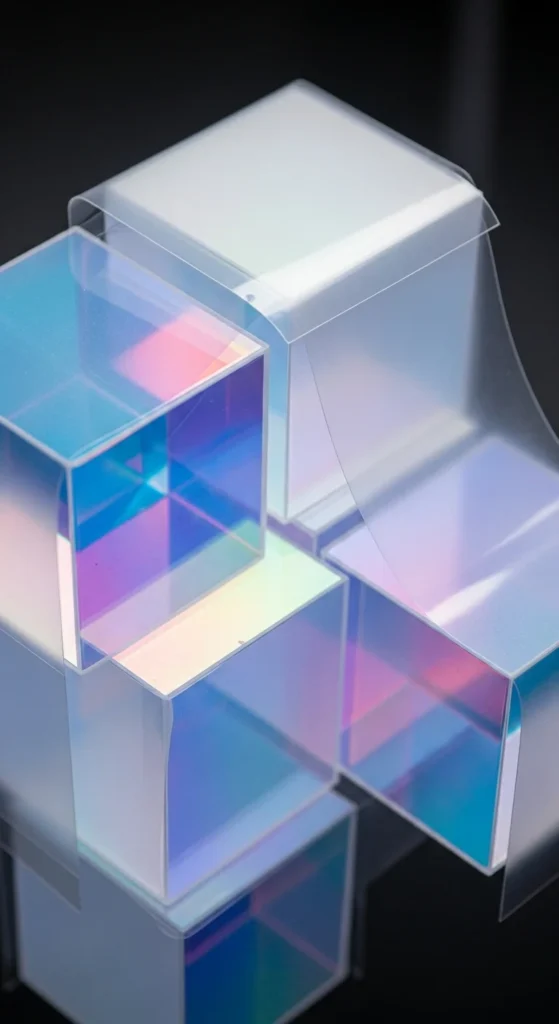
Build a tall tower of holographic cubes to create a striking focal point. Stack cubes in alternating angles so each catches light differently. Keep the base wide for stability. If you’re working with a tight budget, create cubes from iridescent gift wrap around lightweight cardboard. Add a small uplight behind the tower so the edges glow softly. A reflective tray beneath the tower adds extra shine without extra cost. This setup works well for photo corners because the tower draws attention without needing additional props. Keep the area simple so the holographic effect is the focus.
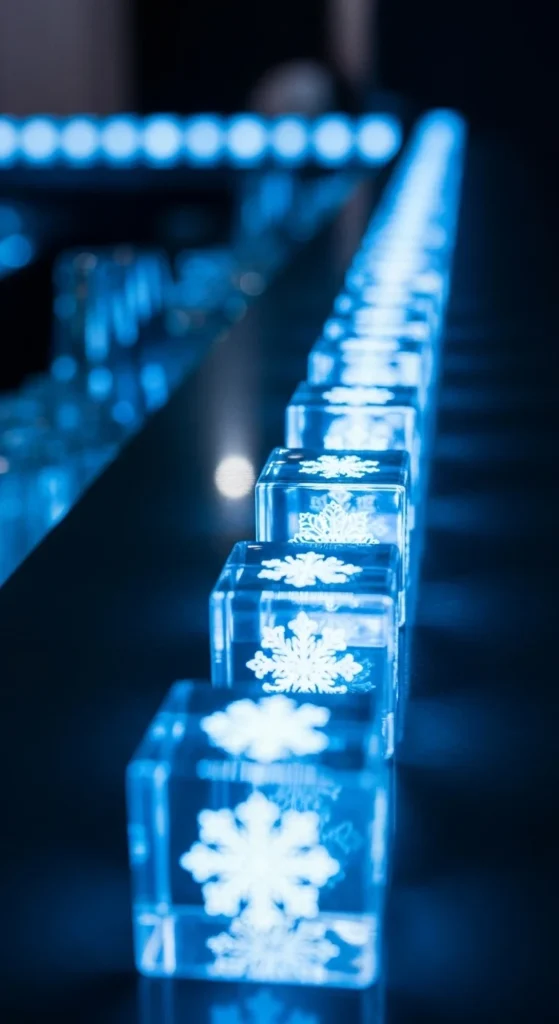
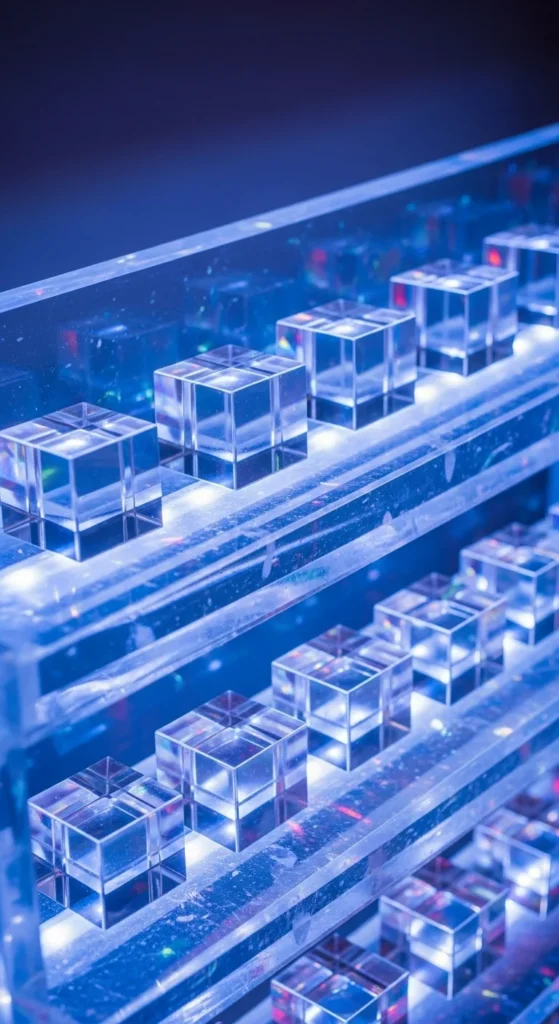
2. Neon-Frost Cube Row
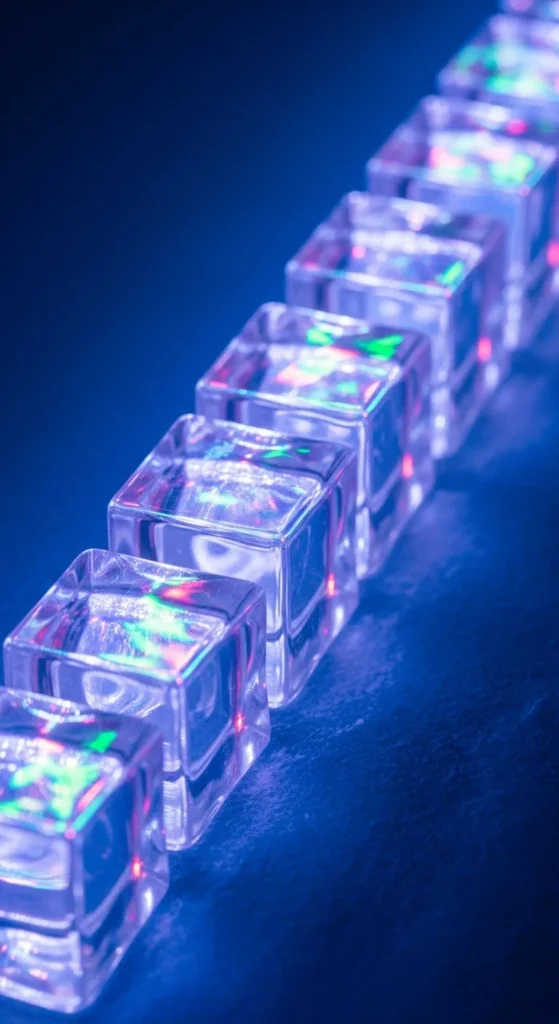
Arrange holographic cubes in a clean row along a shelf or console table to create a soft glow line. Use neon-blue or violet lights above the row for contrast. Keep the cubes evenly spaced for a tidy look. For an affordable option, mix small and medium cubes to stretch your supplies. This setup works for spaces where you want a subtle accent instead of a big installation. It’s perfect for guests taking close-up shots.
3. Floating Cube Scatter
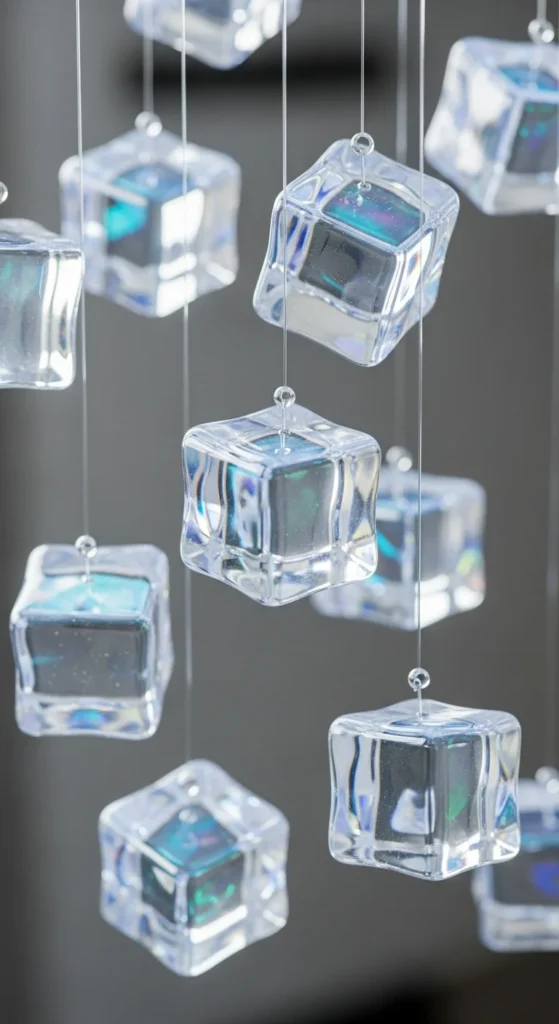
Suspend lightweight holographic cubes with clear fishing line so they appear floating around the photo zone. Keep the cubes at different heights for dimension. Place them near soft lighting to strengthen reflections. For a low-cost option, create smaller cubes from iridescent plastic sheets. This floating style works especially well near doorways or corners. Keep the wall behind them plain so the cubes remain the highlight.
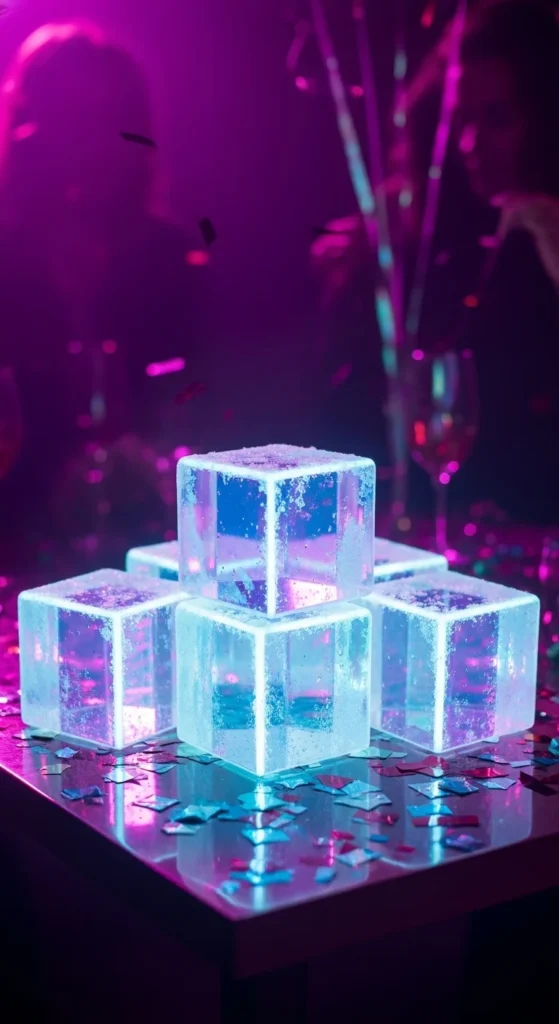
4. Glitter-Ice Table Cluster
Create a small cluster of holographic cubes at the center of your table for a glowing décor moment. Add a few small LED tealights hidden behind the cubes to make them shimmer. Keep the cluster tight for more intensity. If you’re stretching your budget, make half the cubes hollow—they still glow strongly under lights. This arrangement pairs well with metallic confetti or simple white plates.
5. Rainbow-Edge Cube Stack

Stack holographic cubes in a staggered shape to highlight the rainbow edges. Keep the lighting warm on one side and cool on the other for maximum reflection. Use only three or four cubes if you want a minimalist look. Budget-friendly approach: use iridescent wrapping film to cover old cardboard boxes. This design is great for close-up selfies because the color gradients show clearly.
6. Frost-Bar Cube Runner
Place holographic cubes along your bar counter like a glowing runner. Mix cube sizes and angles so they look organic. Add white LED string lights behind the cubes for a frosty effect. For a budget option, create small cubes from transparent food containers wrapped in holographic paper. This setup makes the bar area photo-ready without taking much space.
7. Silver-Mirror Cube Pair
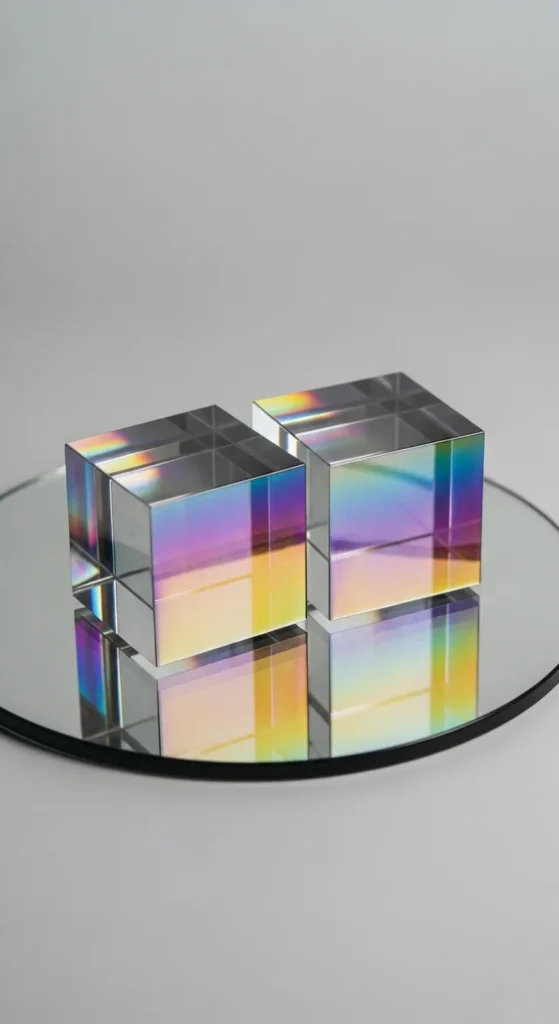
Place two holographic cubes on a mirror base so they appear doubled in photos. Keep the mirror clean for sharp reflections. Add a soft blue spotlight from behind for extra glow. For a low-cost version, use a thrifted mirror tile. This simple pair is ideal for smaller rooms because it creates a big impact with minimal props.
8. Glow-Floor Cube Path
Create a pathway using holographic cubes spaced evenly along the floor. Add soft LED strips behind each cube to make the path glow. If you want to save money, alternate real cubes with flat printed iridescent panels. This walkway works well for party entrances and photo backdrops. The glow makes it easy for guests to pose without extra props.
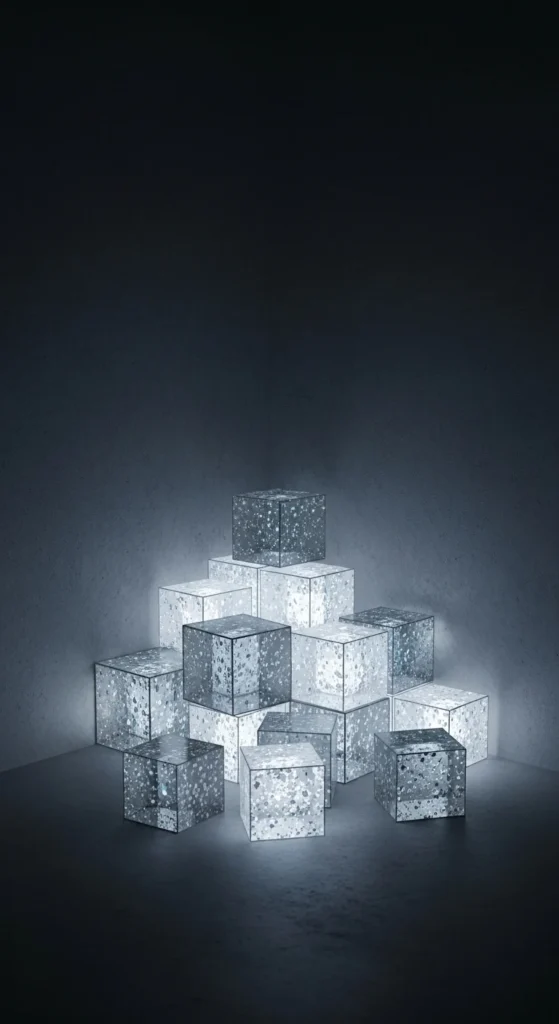
9. Holographic Cube Pile
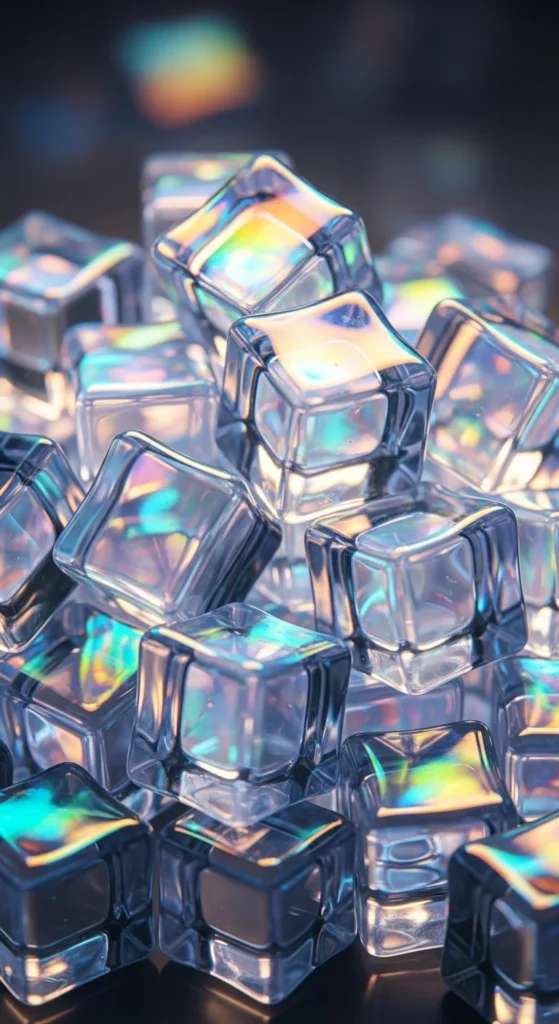
Pile holographic cubes into a loose mound to create a playful, icy look. Keep larger cubes at the bottom and let smaller ones spill outward. This shape looks relaxed and works well for floor-level photos. If you’re on a tight budget, fill the middle with blank boxes and cover only the visible sides. Add soft lighting behind the pile to bring depth.
10. Ice-Glow Shelf Display
Arrange holographic cubes across floating shelves for a vertical glow moment. Keep spacing even and colors consistent. Add an LED strip along the back of each shelf to create a frosty effect. For a lower-cost method, use lightweight hollow cubes—it reduces material usage. This display works well in narrow rooms where floor space is limited.
11. Holographic Cube Garland
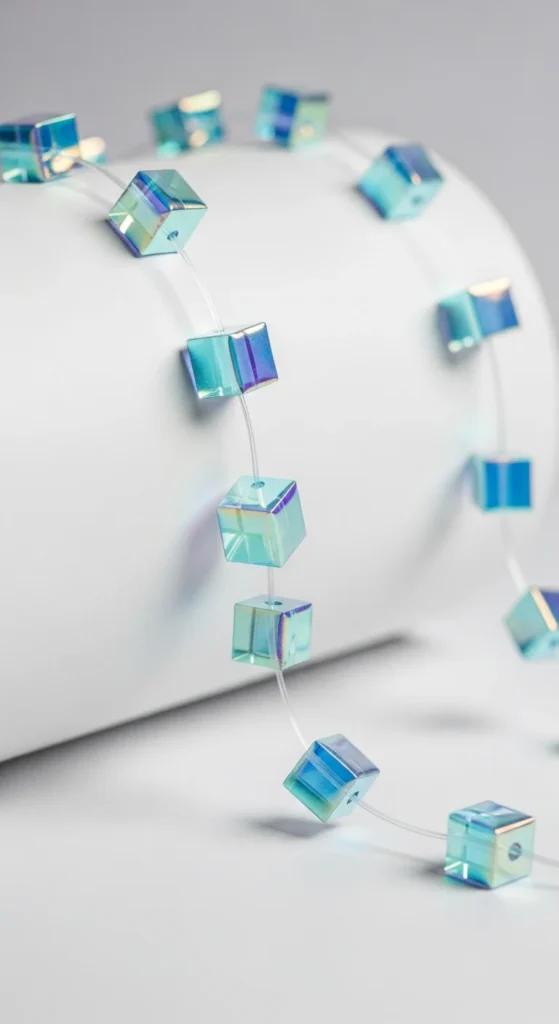
String lightweight mini holographic cubes along a clear fishing line to create a garland. Keep the cubes spaced evenly and attach the line across a wall or backdrop. Add soft backlighting to make the edges glow. For a budget version, use folded holographic cardstock to form tiny cube shapes. This garland works well above seating areas or behind chairs.
12. LED-Center Cube Highlight
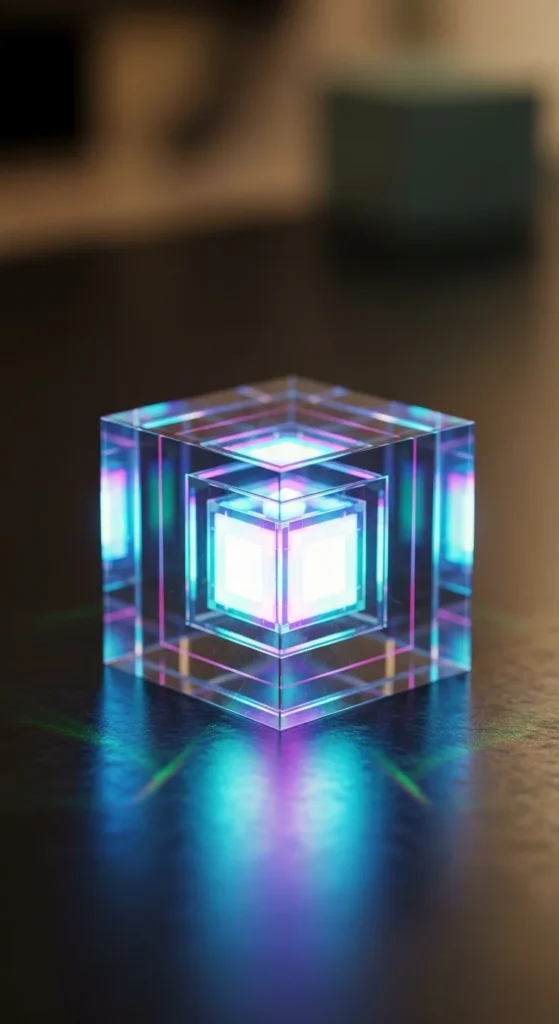
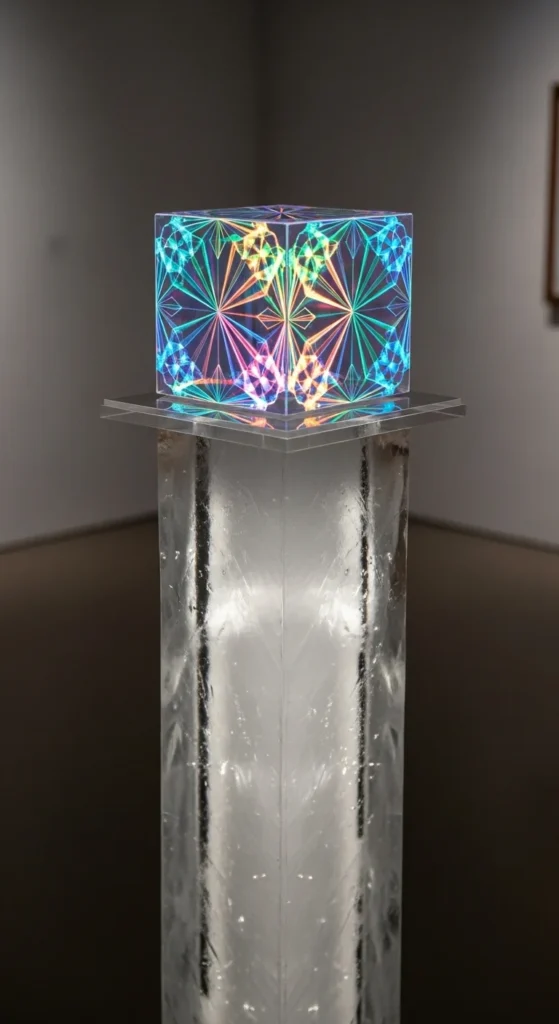
Create a hollow cube with space inside for a small LED light. The internal glow brings the holographic edges to life. Keep the cube centered on a table or pedestal for a clean look. For a low-cost option, use a battery-operated puck light. This single glowing cube works great for dramatic solo shots.
13. Frosted-Film Cube Layer
Wrap part of each holographic cube in frosted film to soften their shine. Leave some edges uncovered for contrast. This partial wrap creates a cool snow-like look. If you’re saving money, use frosted gift-wrap sheets. This layered appearance shows well in photos because it adds depth without extra props.
14. Rainbow-Strip Cube Lines
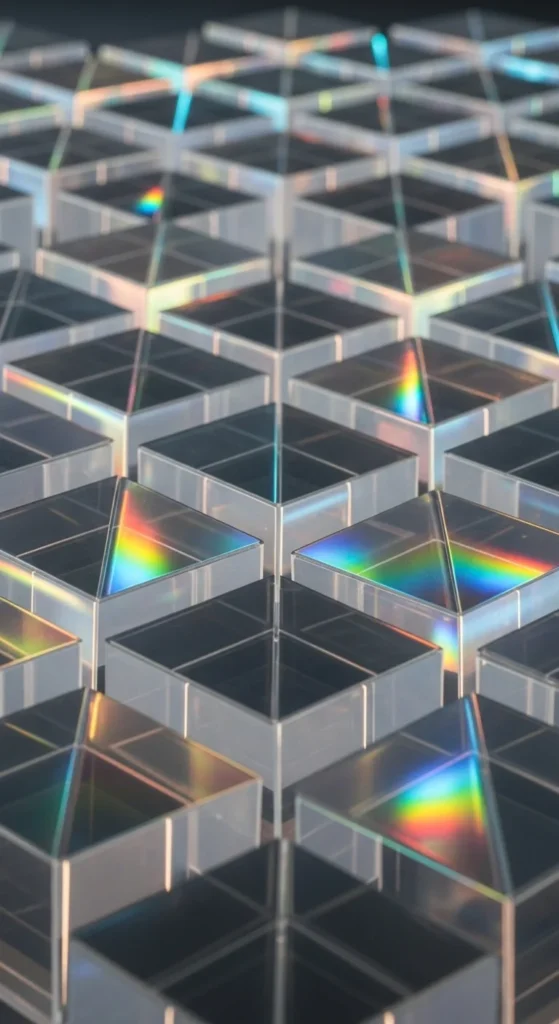
Arrange cubes in neat rows to capture rainbow streaks from party lights. Use two angled lights for stronger color shifts. Keep the cubes evenly spaced for clean lines. For a low-cost touch, use iridescent adhesive strips to brighten dull edges. This setup works well for wide-angle photos where guests stand behind the rows.
15. Cube-on-Cube Reflection Stand
Stack a small holographic cube on a larger reflective cube for a layered shine effect. This combination amplifies light and creates visual depth. Keep the stand centered so it photographs cleanly. For a budget version, use metallic wrapping paper on the lower cube. This prop works well on tabletops or console displays.
16. Holographic Ice Pedestal
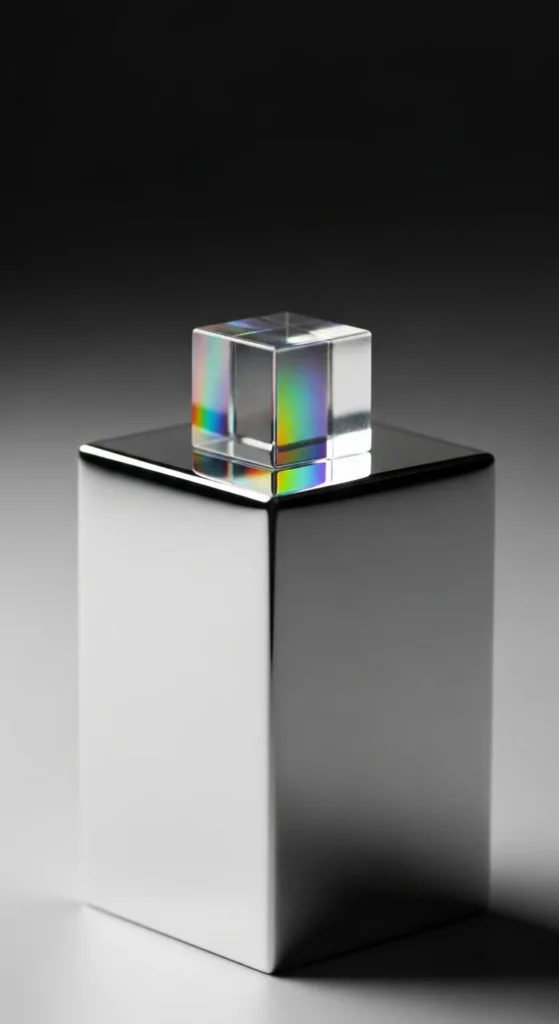
Place a holographic cube on a tall clear pedestal to give it presence. The height draws attention and encourages guests to pose beside it. Add a soft light at the base so reflections travel upward. For an affordable option, use a simple acrylic stand. This setup works well near photo backdrops.
17. Mini Cube Scatter on Floor
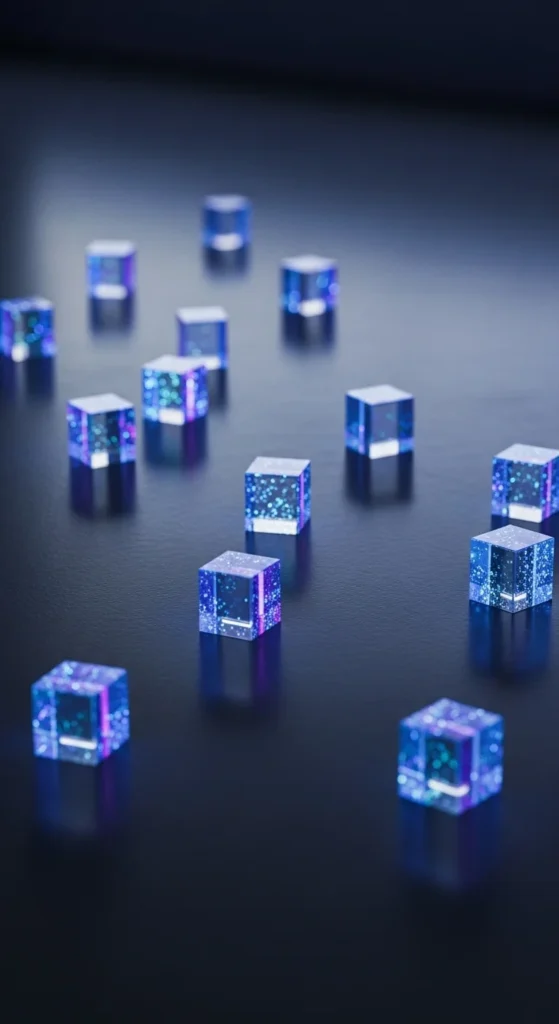
Scatter mini holographic cubes across the floor around a photo zone. Keep spacing natural and avoid tight clusters. Add a narrow LED strip along the baseboard to brighten their edges. For a low-cost version, cut small cubes from holographic cardstock. This setup feels casual and works nicely for candid photos.
18. Silver-Shadow Cube Corner
Place holographic cubes in a corner and shine a silver-toned light from one side. The shadows create a dramatic effect that photographs beautifully. Keep the cubes at different heights for dimension. Budget-friendly tip: use foam blocks as filler beneath smaller cubes. This setup is ideal for low-light photo styles.
19. Frost-Glow Cube Bucket
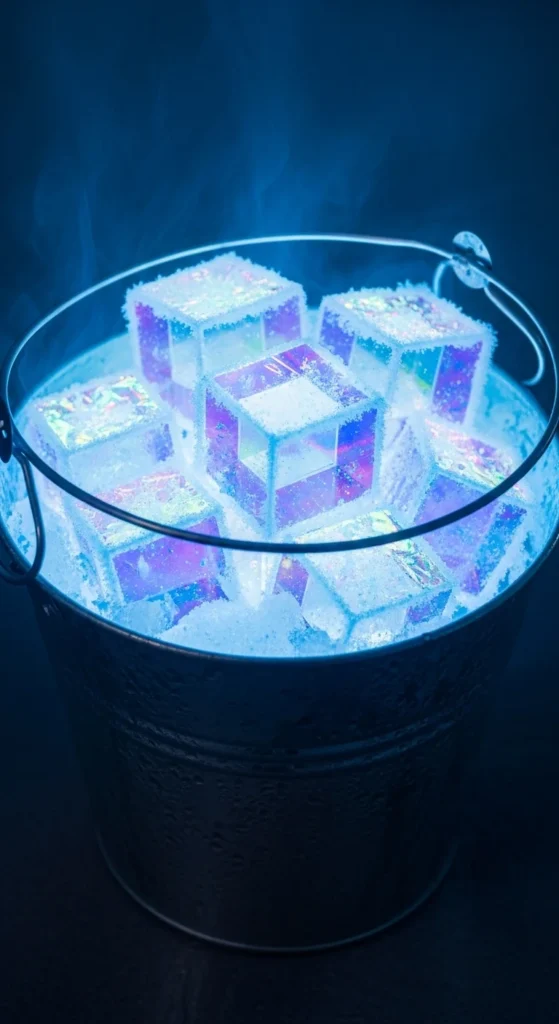
Fill a small metallic bucket with holographic cubes for a compact prop. Add a battery LED inside to make the cubes glow. Keep the bucket near sitting areas for casual photos. For a cheaper option, use a painted tin bucket from a dollar store. The glow creates a fun frosted effect.
20. Cube Scatter Across a Countdown Table
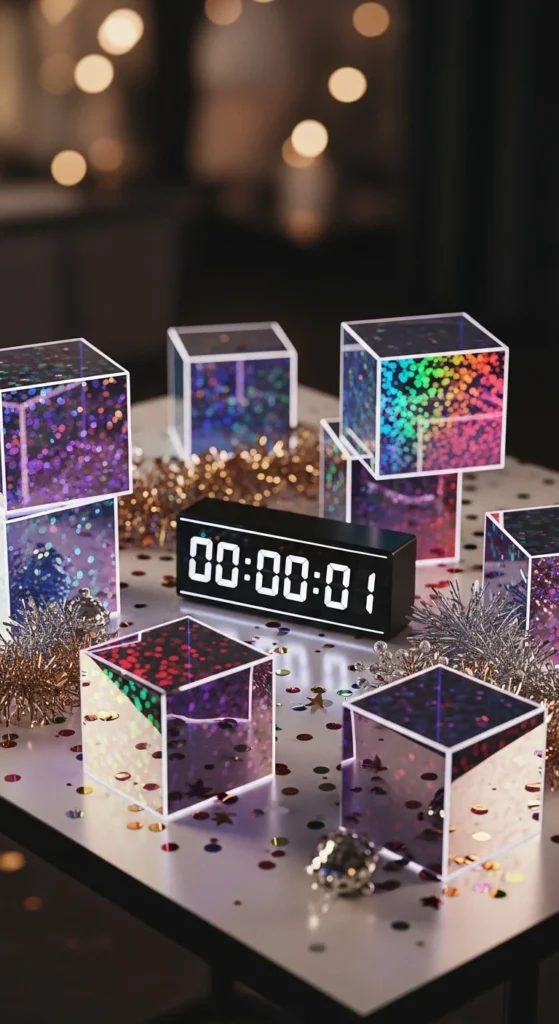
Scatter cubes across a countdown table to create a lively photo spot. Keep cubes near clocks, candles, or metallic décor. Add a simple LED strip running behind the table for soft backlighting. Budget-friendly trick: alternate real cubes with printed panels so the table looks full without extra cost.
21. Neon-Edge Cube Ladder Display
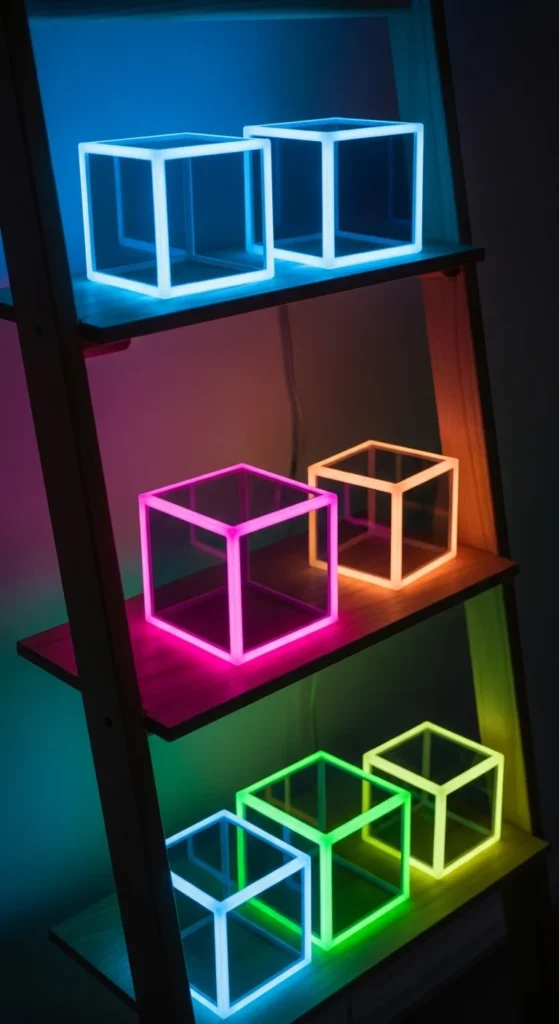
Arrange cubes on a ladder shelf so each step glows under neon lighting. Keep the positioning balanced. Add one cool-toned LED per shelf. If you’re working with limited resources, create smaller cubes so you can fill more steps. This design works well against plain walls for portrait-style photos.
22. Ice-Cube Bubble Stack
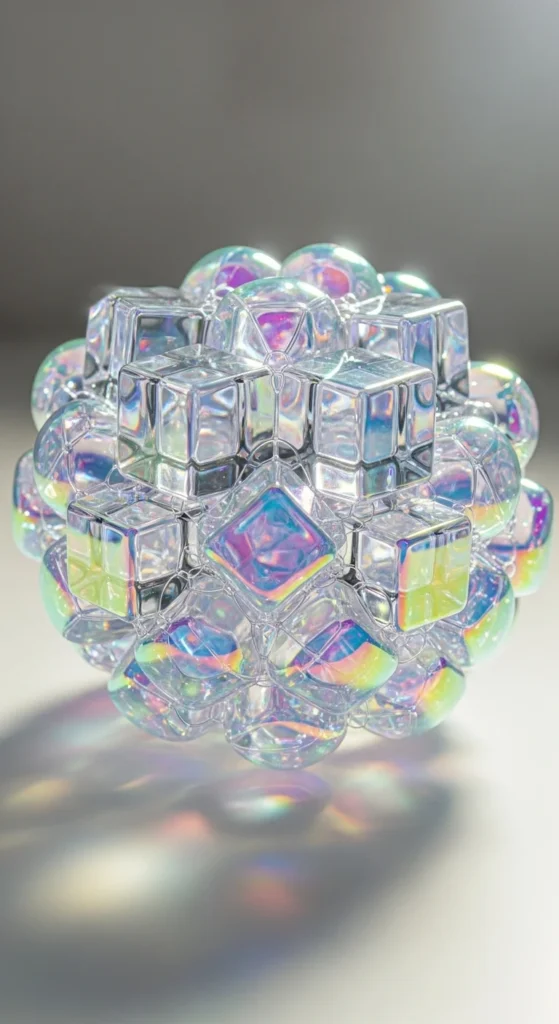
Arrange cubes into a rounded bubble-like shape. Keep larger cubes at the center and small ones around the edges to soften the form. Add soft cool lighting underneath to create a frosty glow. For a budget-friendly approach, alternate real holographic cubes with matte white filler cubes. This shape works well on floors or tabletops.
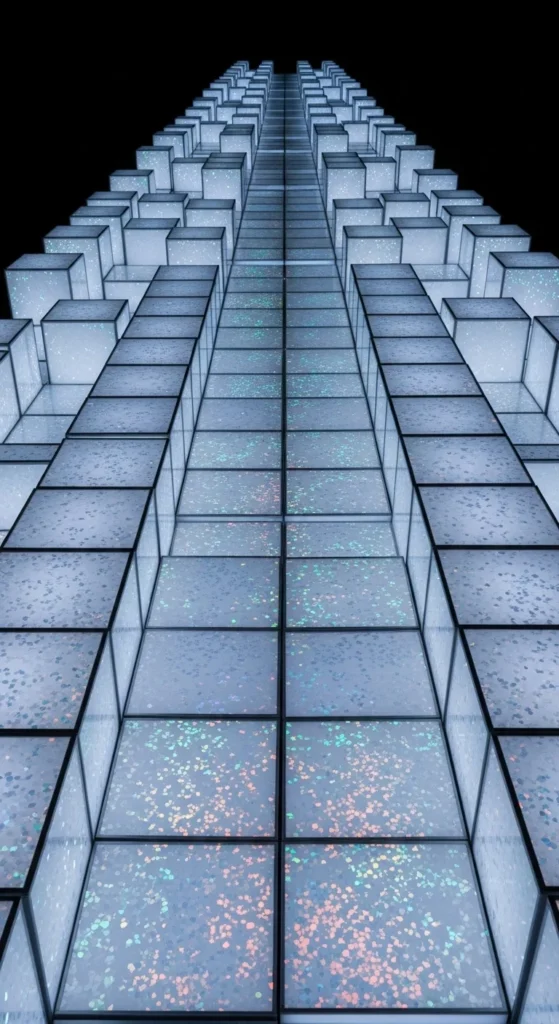
23. Frost-Light Cube Wall
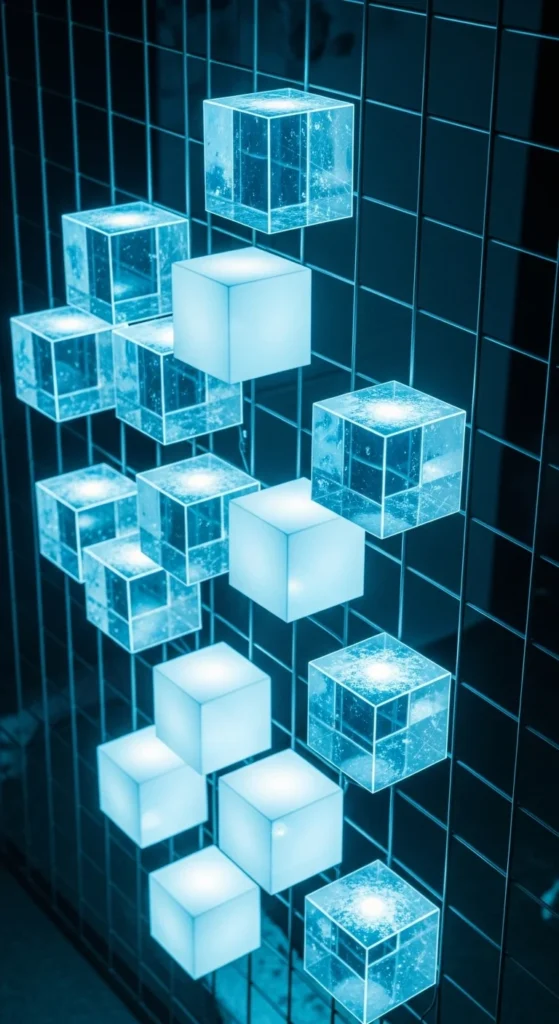
Attach lightweight holographic cubes to a simple grid on the wall. Add cool-toned lights behind the grid so the cubes glow. Keep spacing even for a clean look. For a low-cost version, use hollow cardboard cubes covered with iridescent film. This vertical prop works well for group shots because it fills the frame easily.
Conclusion
Holographic ice-cube props offer a playful and modern way to decorate New Year photo zones. Their reflective surfaces shift colors under simple lighting, making them ideal for small or large gatherings. These 23 ideas keep the materials light, easy to arrange, and budget-friendly. Mix heights, angles, and lighting to help guests capture fun, lively photos without complicated setups. If you want more holographic décor ideas, just tell me — I can create matching articles anytime.
Leave a Reply