
LED star-map ceilings turn ordinary New Year gatherings into atmospheric night-sky moments. The soft glow, scattered constellations, and floating light patterns make guests feel like they’re celebrating under a cosmic canopy. These installations work well in small rooms, large halls, or cozy corners. With simple LED strips, fiber-optic kits, and inexpensive DIY materials, anyone can create a night-sky effect that feels magical without a complicated setup. Below are 22 ideas that help you design your own glowing overhead feature.
1. Floating Fiber-Optic Constellation Grid
A fiber-optic grid creates a clean star-map aesthetic while keeping the space visually light. Set thin strands in simple constellations to mimic the night sky. You can install them using a lightweight foam panel painted dark blue. Place the panel on the ceiling with removable strips. This allows you to create constellation clusters without drilling. Use battery-powered LED drivers if you want to keep the wiring simple. Add small mirrors around the room to reflect the star patterns softly.
2. Twinkling LED Pin-Dot Ceiling Sheet
A pin-dot sheet gives a gentle twinkling effect that feels calm. Choose warm-white LEDs for cozy rooms or cool-white for a crisp look. You can hang a black mesh fabric and thread mini LEDs through it. Keep the sheet slightly lowered to add depth. This is affordable and perfect for renters since it removes easily. Add clear ornaments or glass décor under the lights to create soft reflections across the room.
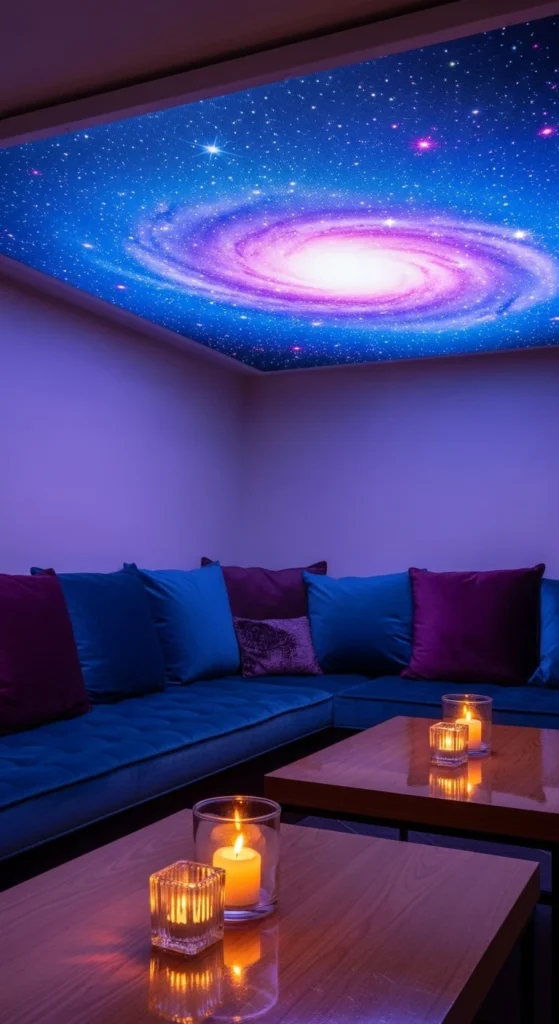
3. Galaxy-Gradient LED Panel
A galaxy panel adds soft color transitions that feel dreamy. Spray a foam board with deep purples and blues, then poke tiny openings for micro LEDs. The painted backdrop hides the wiring. Keep the gradients gentle so the star points remain clear. Use command hooks to attach the panel. This DIY setup works well above snack tables, where guests naturally look upward.
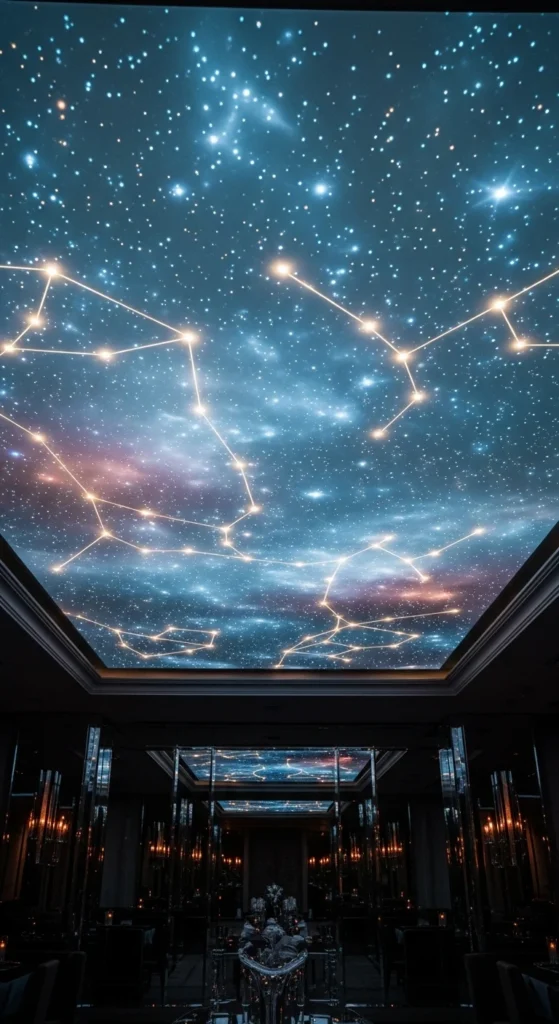
4. Star-Map Ceiling Over a Lounge Corner
A lounge corner becomes more inviting when the ceiling sparkles. Install a small star-map panel above seating areas to create a relaxed glow. Use battery-powered LED strands arranged randomly to mimic scattered stars. Add soft textiles below to reflect the light gently. This idea works well in small apartments since it uses compact space while still giving a dramatic effect.
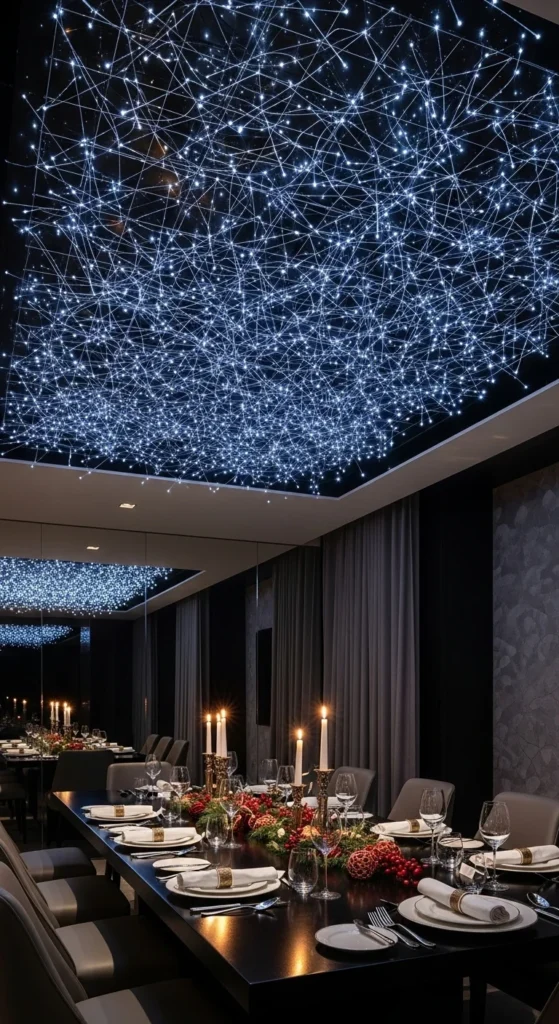
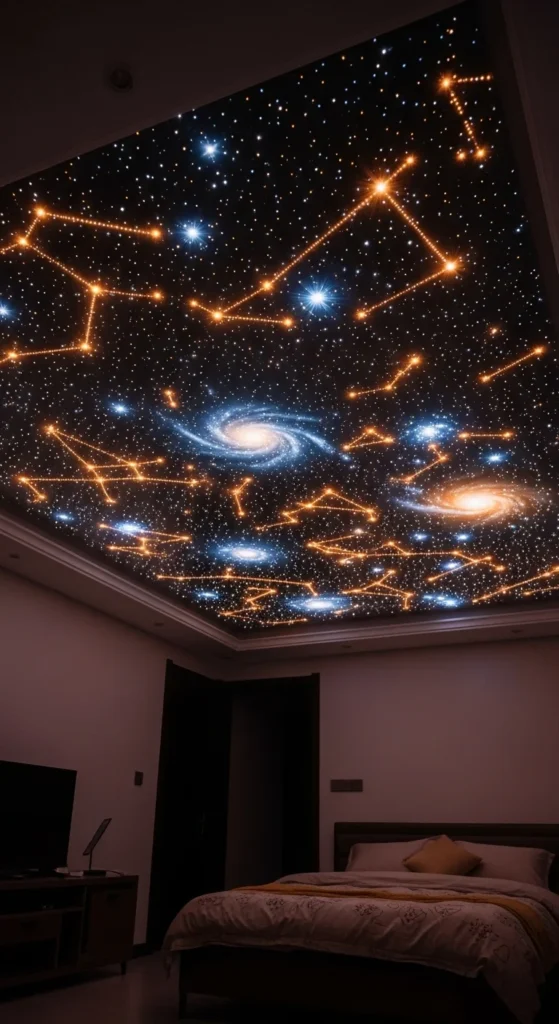
5. Constellation Outline With LED Wire
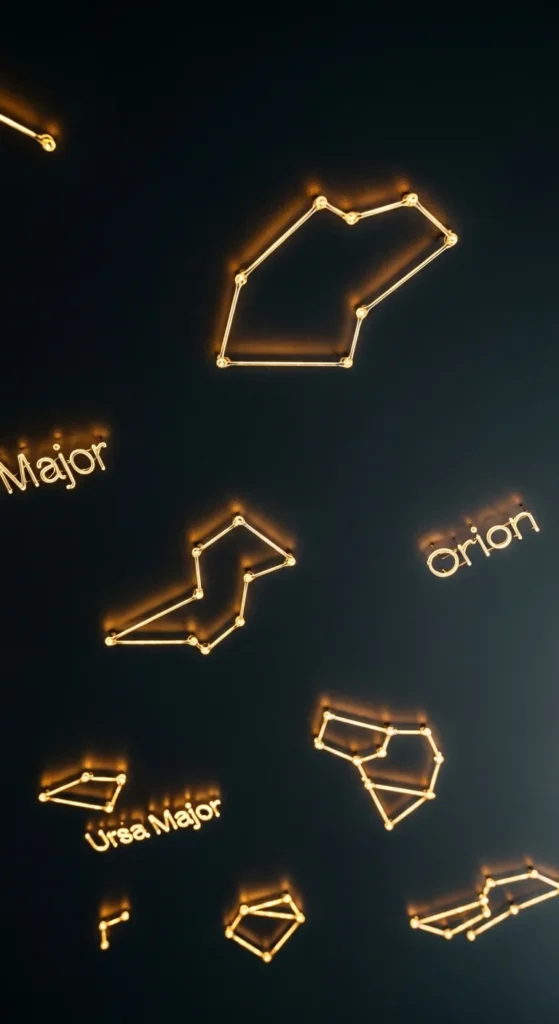
LED wire outlines create a stylized star-map look. Choose 2–3 favorite constellations and shape flexible LED wire into the patterns. Attach them to a matte-black board for contrast. This DIY method is beginner-friendly and inexpensive. Add a few pin-dots around the outlines to create depth. Keep the shapes simple so the lines remain clear when lights dim. This setup works especially well above dining tables.
6. Cascading LED Shooting-Star Trails
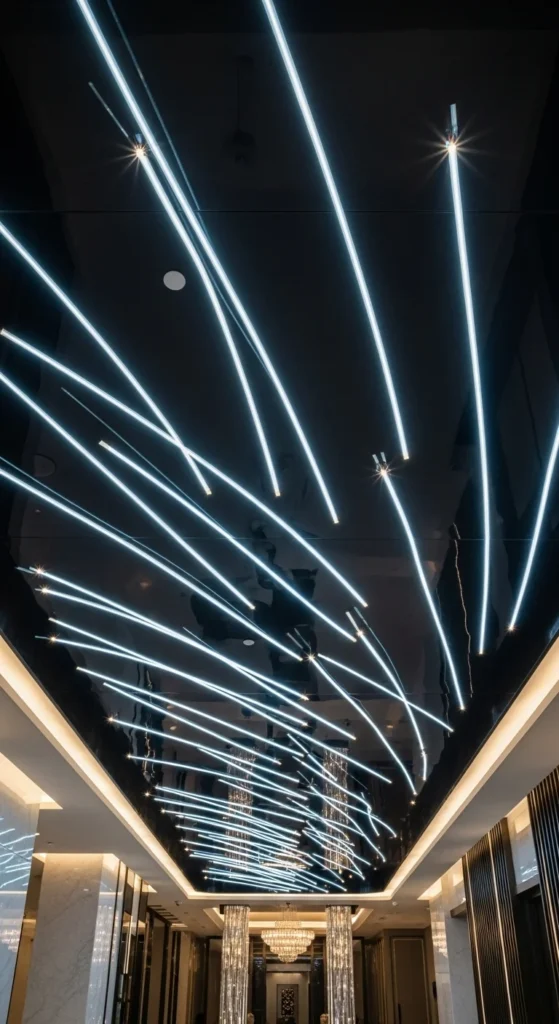
Shooting-star trails add movement without actual animation. Use LED strip lights layered behind thin frosted acrylic. Cut diagonal lines so the glow spills through in streaks. Add small dots around the trails to give a sky-filled look. Install this above wide spaces such as living rooms. For a budget option, use translucent parchment sheets taped in front of the LEDs for a diffused glow.
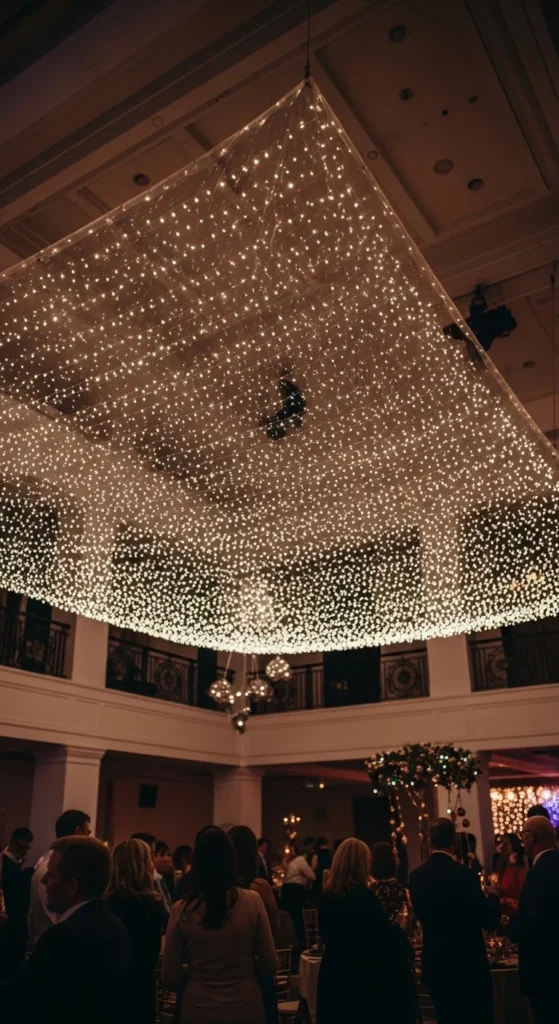
7. LED Star-Map on Sheer Mesh Fabric
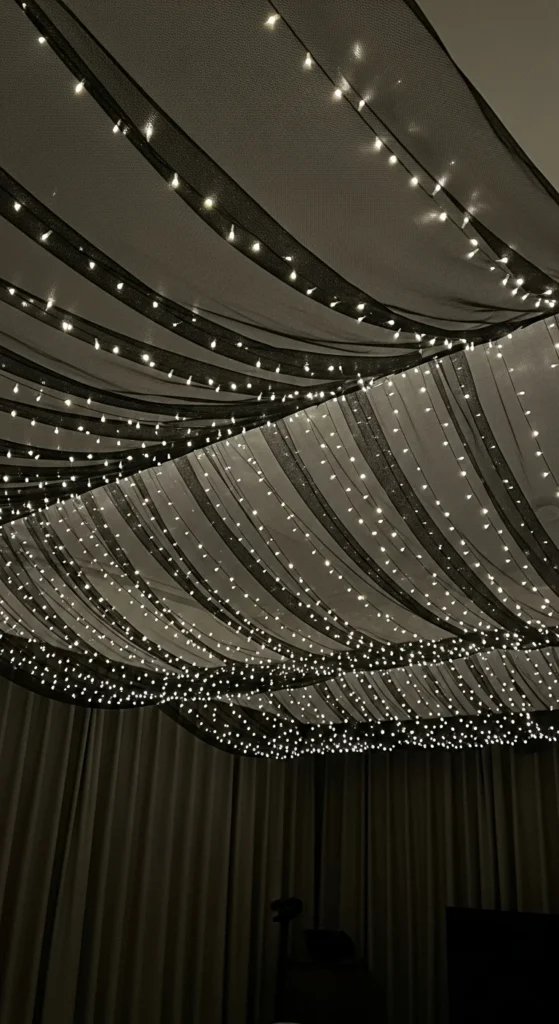
Mesh fabric is light and easy to install. Thread micro LEDs through the mesh and hang it like a soft canopy. This creates a floating star-map effect. Keep the lights spaced irregularly to mimic the sky. You can add a second layer of mesh for extra depth. This method works well for renters and large rooms since it covers wide areas with little effort.
8. Floating Star Droplet Installation
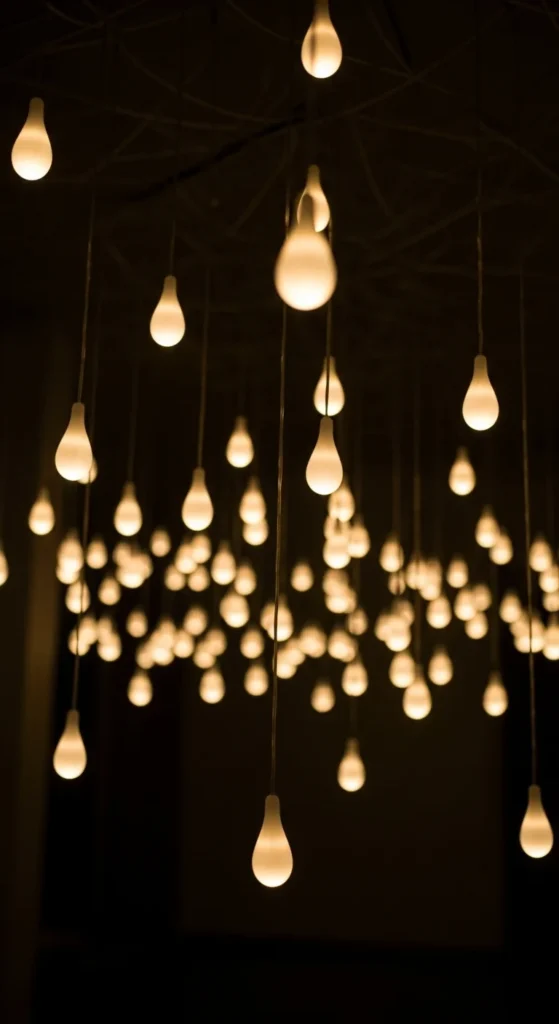
LED droplets hanging from fishing line create a hovering effect. Use mini LED bulbs attached to transparent strings. Hang them at uneven heights for a scattered-sky look. Keep them near the ceiling so they feel like part of the star map. This works beautifully over dance floors or open spaces. A low-cost tip: use battery micro-bulbs to avoid long wires.
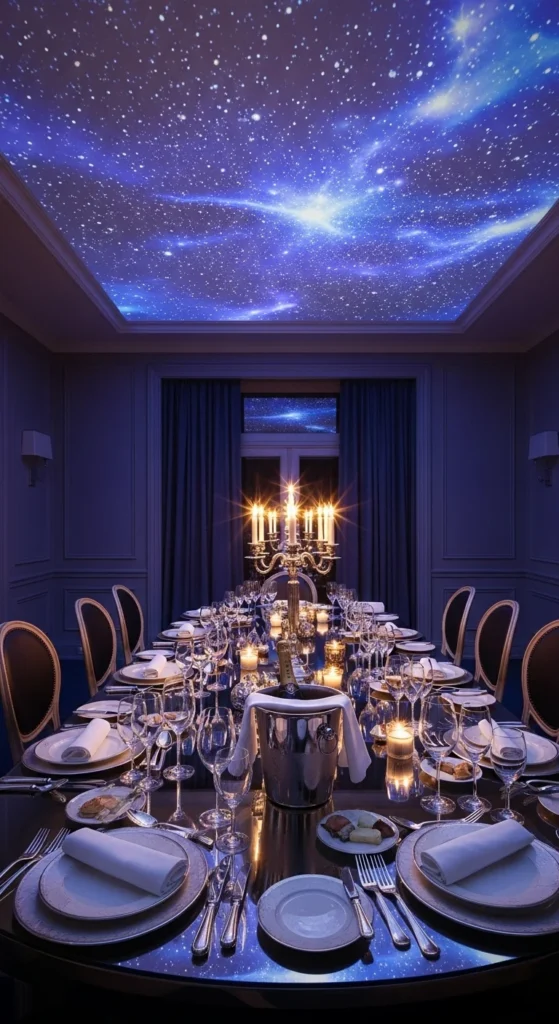
9. Soft Blue Cosmic Ceiling Layer
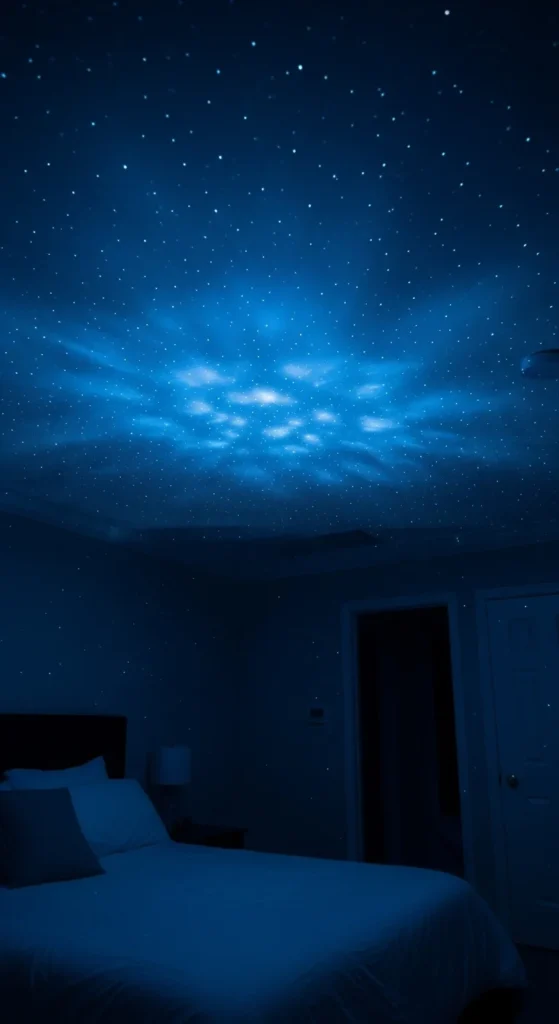
A soft blue wash paired with scattered LEDs gives a calm cosmic feel. Use LED strips around the ceiling edges and micro LEDs in the center. A dimmer helps control the mood. Add reflective items like metallic balloons or mirrored trays below to bounce the light back upward. This setup is simple and works in small rooms where complex installations are difficult.
10. Fiber-Optic Stars With Mirror Accents
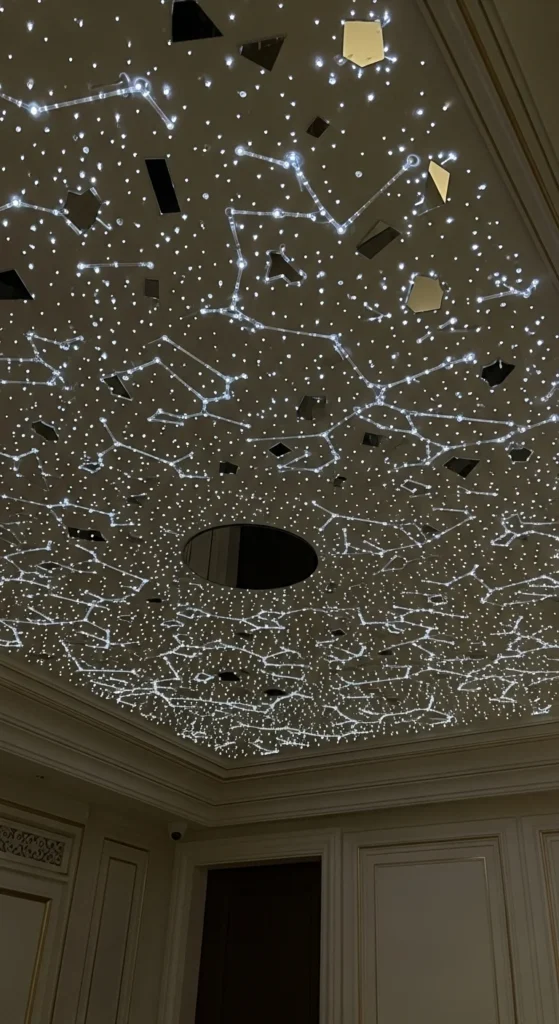
Micro mirrors add sparkle to fiber-optic stars. Glue small reflective squares around the star points. When lights hit, the room feels brighter. Keep the mirror count low to avoid clutter. Install the star panel above food or drink stations to catch guest attention. This project is affordable since most supplies come from craft stores.
11. LED Star-Map With Soft Curtain Backdrop

Curtains soften the glow of LEDs. Hang sheer panels along the walls so the ceiling lights reflect downward. This creates an immersive sky effect. Choose white or beige fabric for gentle diffusion. The setup is low-cost and renter-friendly, perfect for temporary holiday styling. Add small candles or lanterns below for warm reflections.
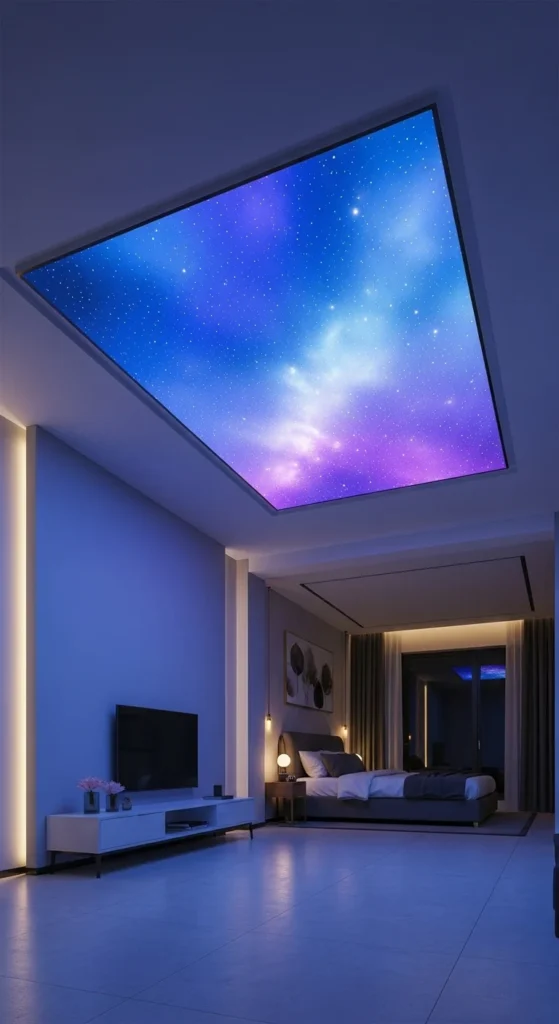
12. Floating Nebula Cloud Lights
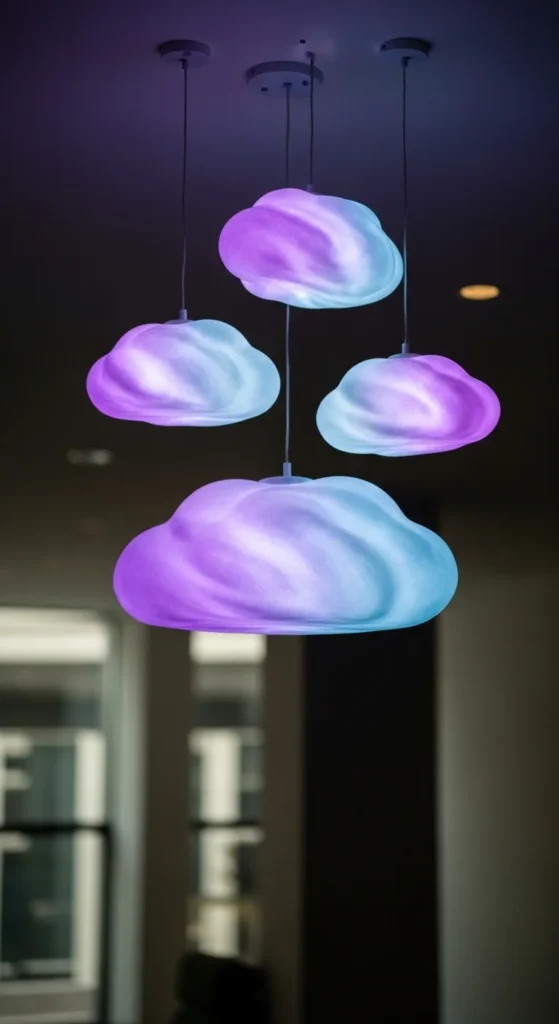
Cloud lights bring color and shape to the star-map. Use poly-fill wrapped around LED strips to form light clouds. Hang them near the ceiling but leave gaps to show the star points behind. This gives a layered night-sky effect. You can choose different colors, but cool purples and blues work best. This setup is very budget-friendly since poly-fill is inexpensive.
13. Star-Map Ceiling Over a Home Bar

A home bar becomes more atmospheric when a star-map sits overhead. Use warm LEDs to complement bottles and glassware. Keep the star pattern loose so the glow feels natural. Add a simple black foam board behind the lights for contrast. This works especially well in smaller areas where lighting defines the space.
14. Dual-Tone Star Map (Warm + Cool LEDs)
Using two LED temperatures adds dimension. Combine warm-white and cool-white dots to create a richer star field. Keep the spacing wide so the effect doesn’t feel crowded. Add one or two LED strips in the corners to ground the design. This idea works perfectly for rooms with mixed décor tones.
15. LED Star-Map Above a Dining Table
Placing a star-map above a dining table creates a memorable atmosphere. Keep the pattern centered for balance. Use dimmable LEDs so guests feel relaxed. Pair the setup with glass plates or transparent décor that reflects the sky. You can build a removable panel that sits just above the table, making it simple to install and store.
16. Recessed Ceiling Stars With LED Strips
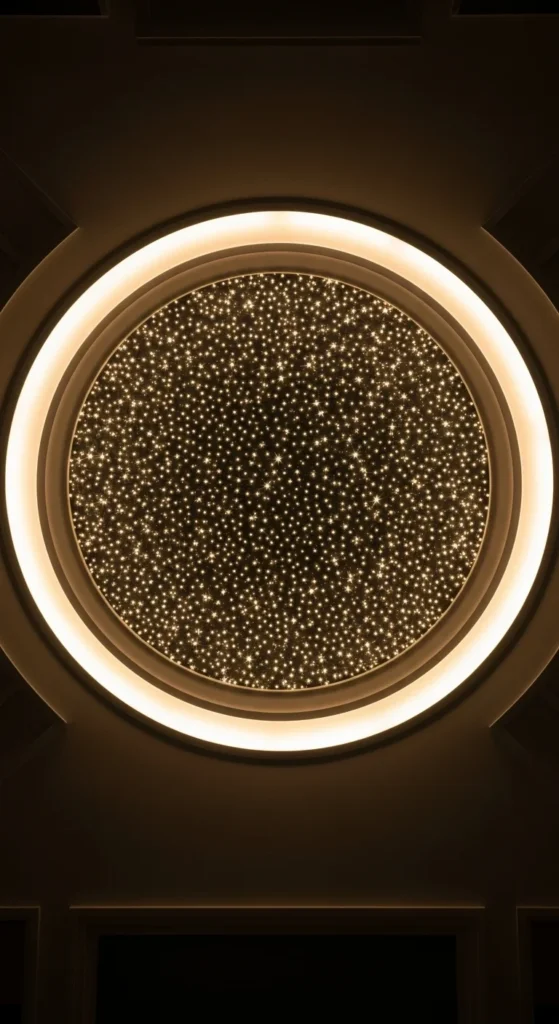
A recessed section gives the star-map a cleaner look. Use LED strips around the edges and scatter micro LEDs inside the recess. Matte black paint keeps the lights prominent. If you can’t modify your ceiling, create a faux recess using thin wood frames attached with removable adhesive. This adds dimension without permanent changes.
17. DIY Punched-Panel Star Map
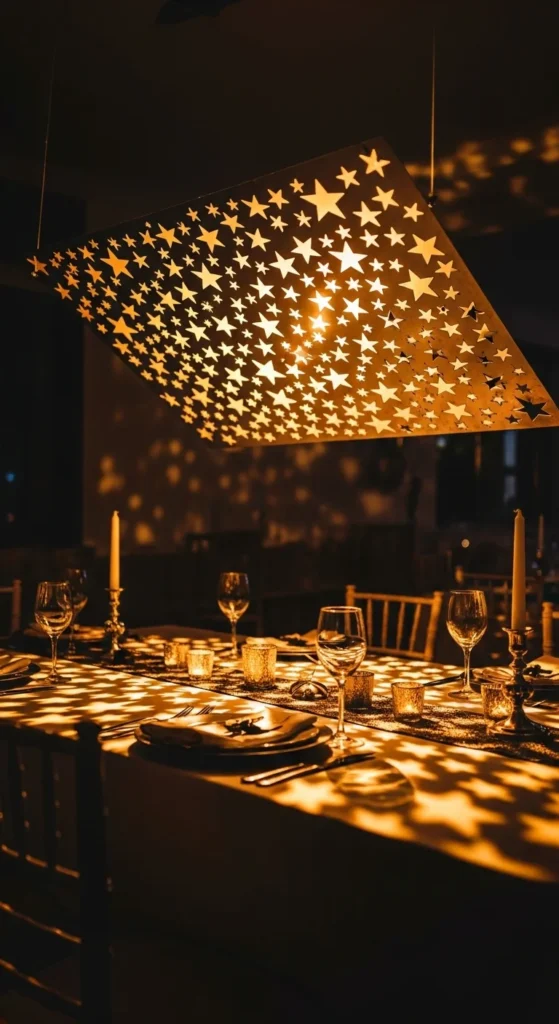
This is one of the simplest DIY setups. Take a foam or cardboard sheet, paint it dark, and punch small holes for light. Place LED strips behind it so the glow shines through each opening. Keep the holes irregular for a natural look. This is inexpensive and easy to customize. Add a few reflective items below the panel to enhance the shining dots.
18. LED Star-Map With Hanging Metallic Orbs
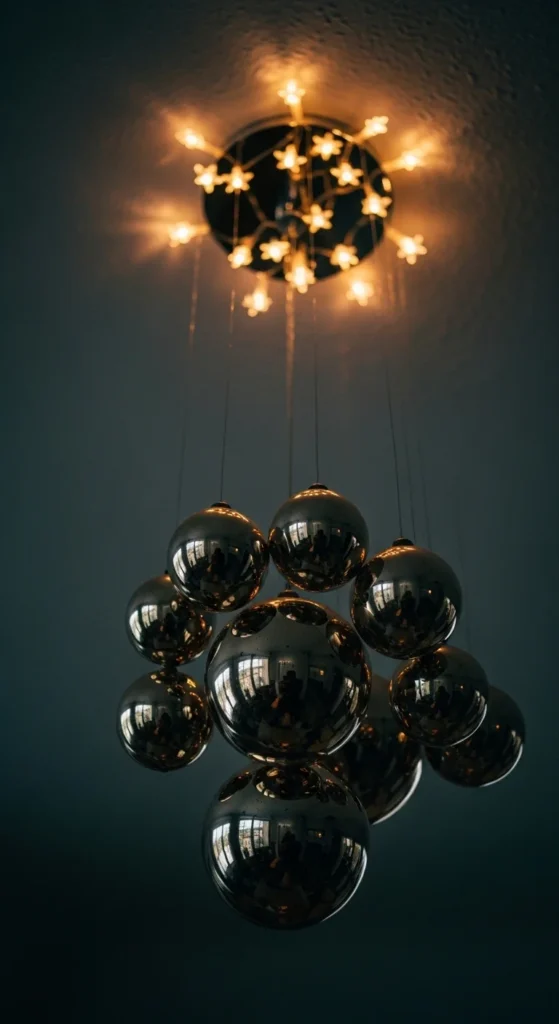
Metallic orbs catch and scatter starlight. Hang mini orbs or glitter spheres on thin string near the ceiling. Keep them at varying heights for depth. Position the LED star-map above them so the reflections shimmer. Use lightweight foam or plastic balls for an affordable option. This idea works especially well in party rooms where movement creates gentle glimmers.
19. Color-Changing LED Star Pattern
Color-changing LEDs let you shift the mood throughout the night. Choose slow-fade colors for a calm effect. Keep the star spacing wide so each color shift stays clear. Add neutral décor so the lighting remains the main feature. This setup works well for large gatherings where lighting sets the tone.
20. Mini Star Projectors With Ceiling Texture Panels
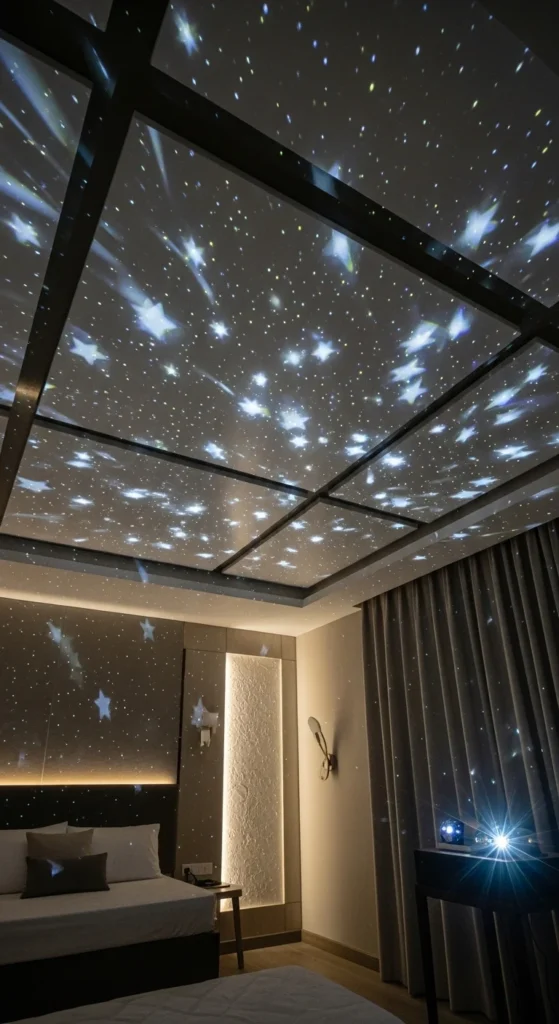
Star projectors are quick to set up and work best when paired with textured panels. Cut simple foam pieces with uneven shapes and attach them to the ceiling. When the projector shines, the texture creates deeper shadows and more interest. Keep furniture minimal so the ceiling stays the focus. This option is renter-friendly and very low-cost.
21. Star-Map Ceiling With Paper Lantern Planets
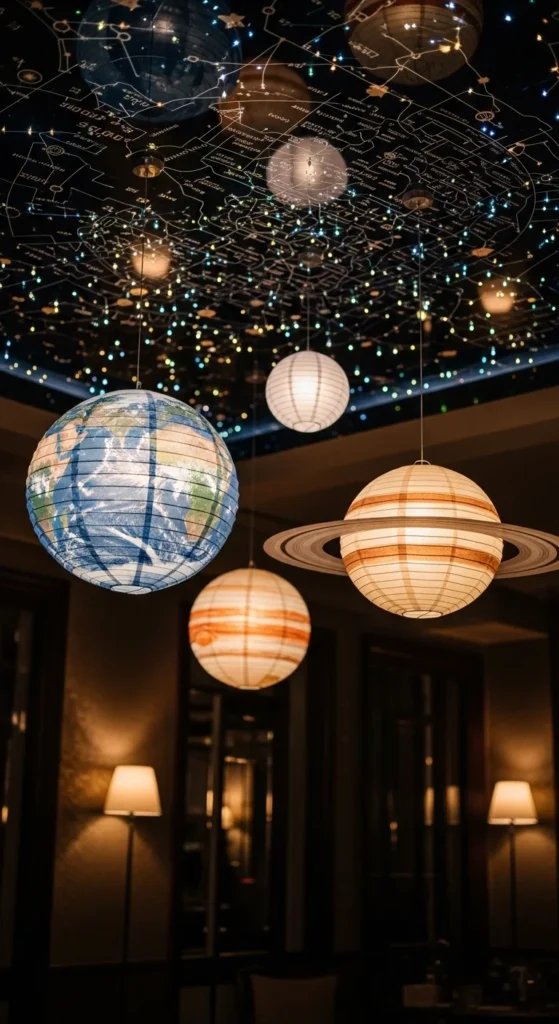
Paper lanterns shaped like planets add fun variety. Hang them slightly below the star-map so both layers shine together. Use cool colors like blue and lilac to keep the look cohesive. Add micro LEDs inside the lanterns for gentle internal glow. This approach is affordable and great for themed parties or family events.
22. Sculpted Ceiling Clouds With Hidden LEDs
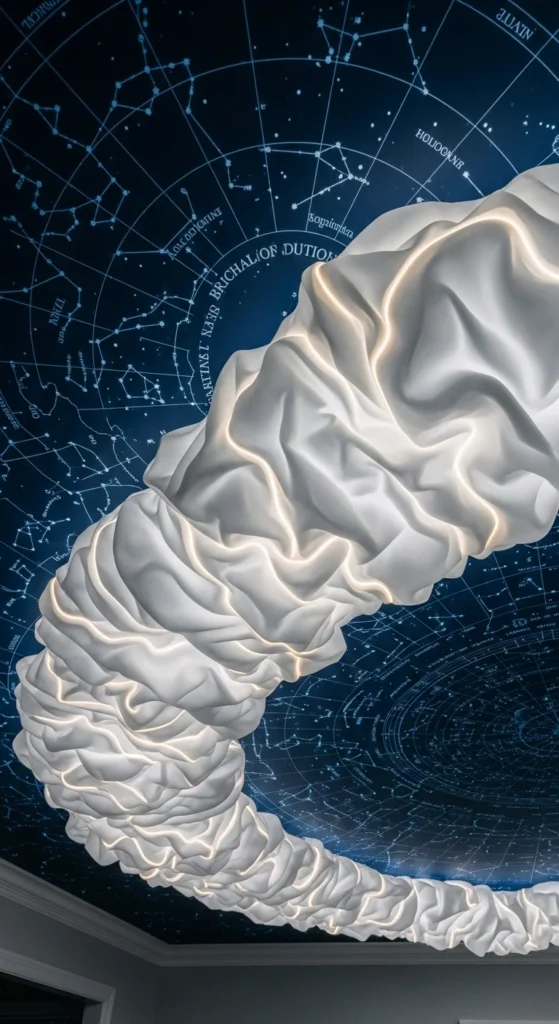
Sculpted foam clouds make the ceiling feel dimensional. Shape lightweight pieces and attach them in soft clusters. Hide LEDs behind them so the edges glow. Keep the clouds minimal so the star-map remains visible. This idea works well in rooms where you want a layered, dreamy look. Use removable adhesive strips for easy cleanup.
Conclusion
LED star-map ceilings help transform New Year celebrations into memorable night-sky moments. With simple materials, creative layouts, and practical DIY steps, you can shape any room into an atmospheric scene filled with glowing stars. Pick the ideas that fit your space and lighting style, and enjoy creating a ceiling that feels magical from the moment guests walk in.
Leave a Reply