
New Year’s dessert tables feel extra special when the cake stand looks as stylish as the cake itself. Mirrored-acrylic stands catch the light, double the sparkle of decorations, and give even simple bakes a polished finish. They also pair easily with metallic accents, glassware, and candles, so you can build a full scene around them without a lot of effort. This guide walks through creative ways to style, layer, and customize mirrored-acrylic cake stands so your New Year desserts sit center stage, while still keeping the process affordable and doable at home.
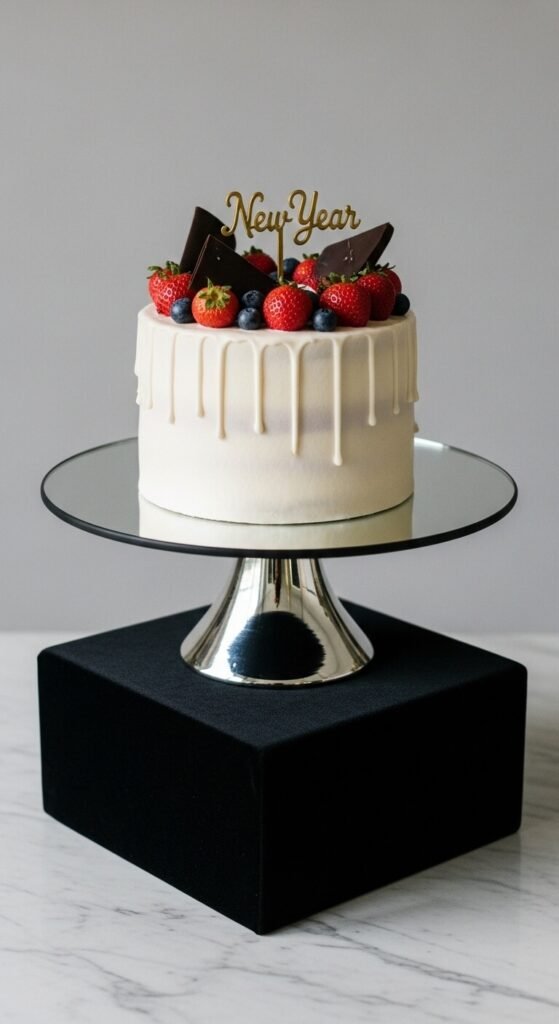
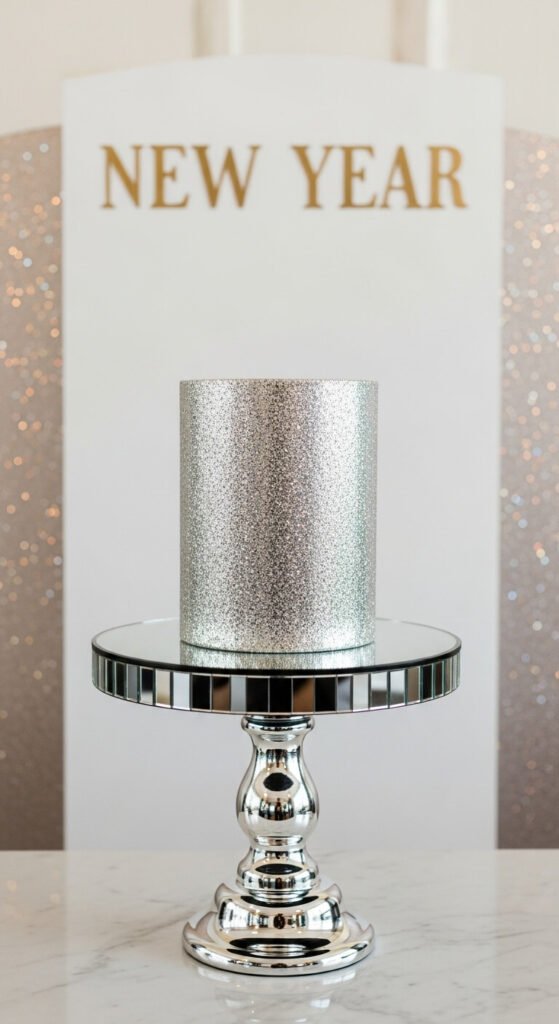
1. Tall Mirrored-Acrylic Pedestal for a Statement Cake
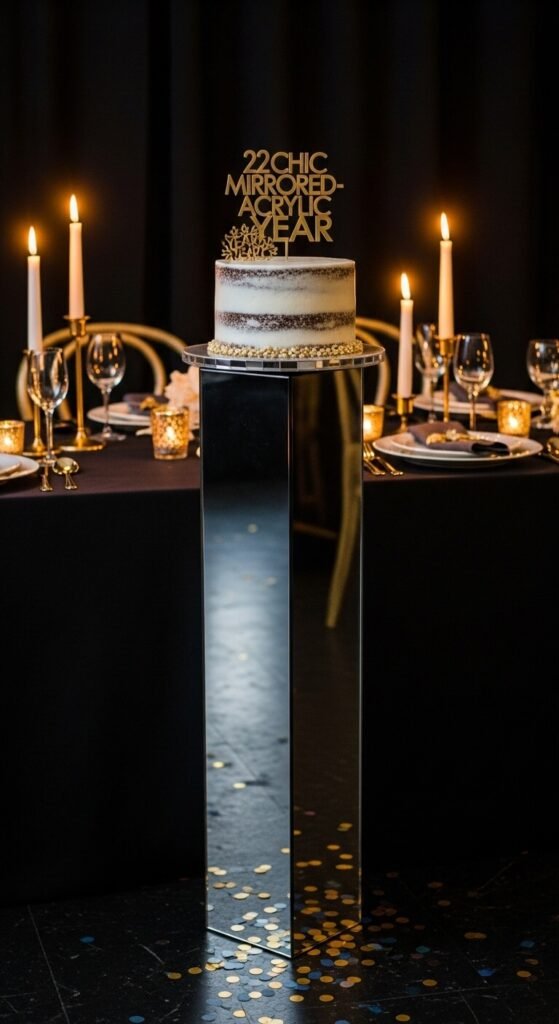
A tall mirrored-acrylic pedestal instantly makes one cake feel like the star. Go for a simple cylinder or square design with a clean edge. Place it at the center of your dessert table so the reflection shows off frosting details and metallic sprinkles. Keep the cake board just slightly smaller than the stand for a neat outline. For a budget option, wrap a sturdy box in mirrored vinyl or acrylic panels. Add a dark tablecloth so the shine stands out even more. Scatter a few silver confetti pieces around the base, but keep the area mostly clear. This approach works especially well with smooth buttercream cakes or drip cakes where reflections really show the texture.
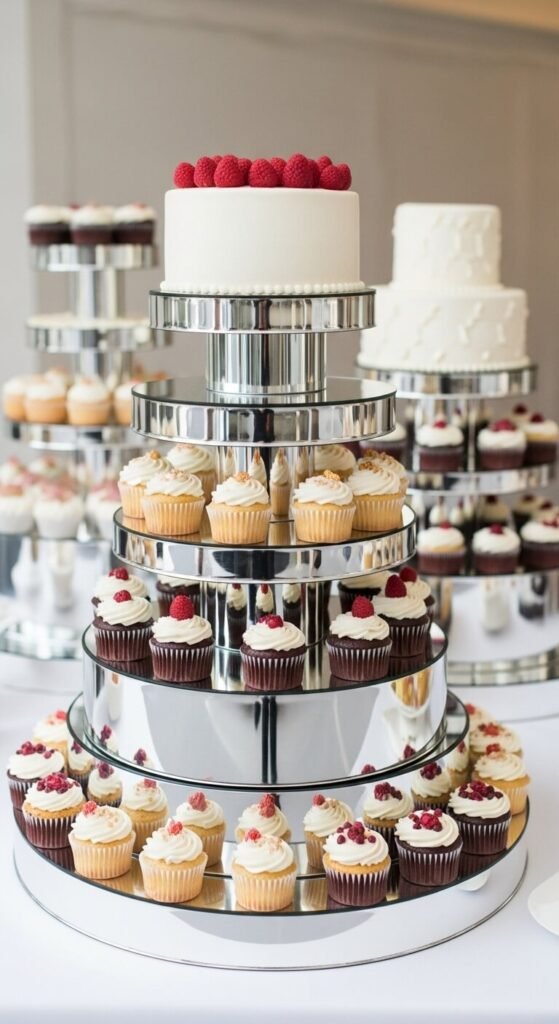
2. Tiered Mirrored Rounds for a Layered Dessert Display
Stack mirrored-acrylic rounds in different diameters to create a tiered display. Place the largest stand on the bottom, then a medium, then a small one. Put your main cake on the top tier and surround the lower levels with cupcakes, macarons, or mini cheesecakes. The mirrored surfaces reflect each dessert, making the table look full without extra props. If you’re watching costs, buy one high-quality mirrored stand and pair it with clear acrylic risers wrapped in mirrored film. Keep decorations simple—maybe just metallic sprinkles and a few star picks. This layout sits nicely at the center of a buffet or on a kitchen island and works especially well when you want everything within easy reach for guests.
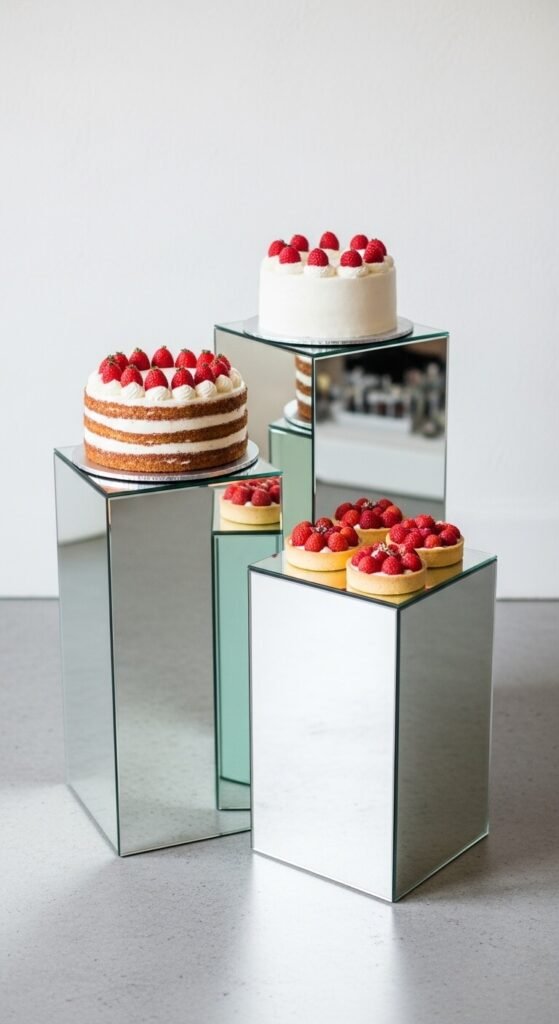
3. Low Mirrored Plinths Grouped in a Dessert Trio
Instead of one tall stand, try a trio of low mirrored plinths. Arrange them in a triangle, each at slightly different heights. Place a cake on one, a tart or cheesecake on another, and a plate of petite desserts on the third. The reflections create a sense of depth while keeping everything easy to slice and serve. You can DIY plinths using sturdy wood blocks wrapped in acrylic mirror sheets or laminated mirror-finish contact paper. Add small rubber pads under each base so they stay steady on smooth linens. Keep the color palette simple—silver, white, and one accent tone like navy or deep emerald. This grouping works well in smaller rooms where a towering display might feel too tall.
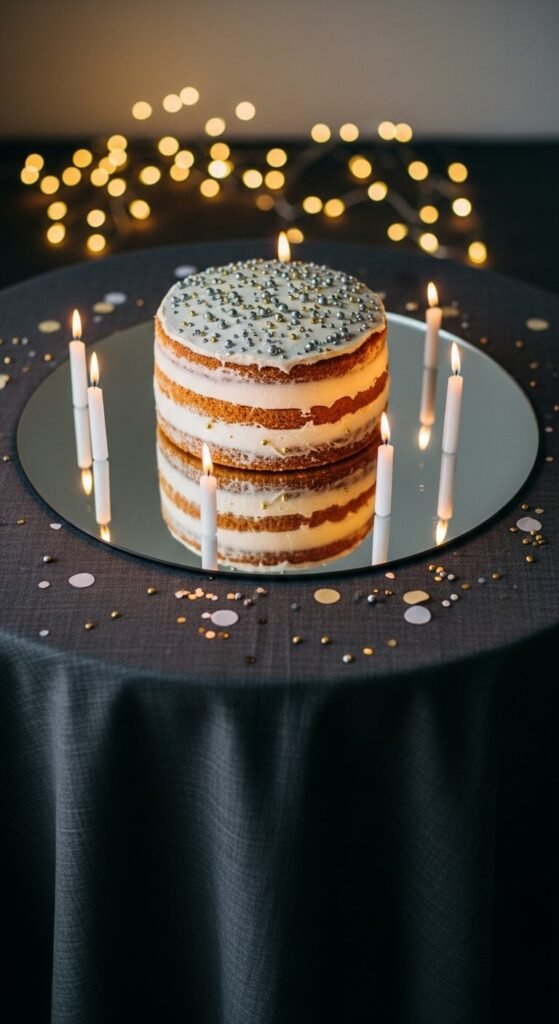
4. Mirrored-Acrylic Stand with Soft Under-Glow Lighting
Slip a small LED strip or puck light under a mirrored-acrylic stand to create a soft under-glow around the cake. The light bounces off the reflective surface and makes the dessert look almost floating. Choose warm white if your table has candles and gold accents, or a cool white for a modern silver theme. For a budget-friendly approach, use battery-powered push lights placed under a hollow stand or within a clear riser. Just make sure the base is stable before adding a heavy cake. Keep the surrounding décor minimal so the glow stays clear. This idea shines at evening parties where lights are dimmed and guests gather around the dessert for photos.
5. Confetti-Filled Mirrored Base with Clear Acrylic Top
Create a fun layered look by pairing a mirrored base with a clear acrylic top that has confetti trapped underneath. Use a shallow clear riser or tray over a mirrored plate, then sprinkle silver and gold confetti inside before sealing with the top. Place your cake directly on the clear surface, and the reflections will show the confetti from above and below. This gives you sparkle without loose pieces near the dessert. For an inexpensive version, use clear plastic plates and a mirrored charger. Tape the edges underneath so the confetti stays in place. Keep the cake simple—maybe a single-color frosting with a few metallic sprinkles—so the base can shine without competition.
6. Square Mirrored-Acrylic Stand for a Clean Modern Look
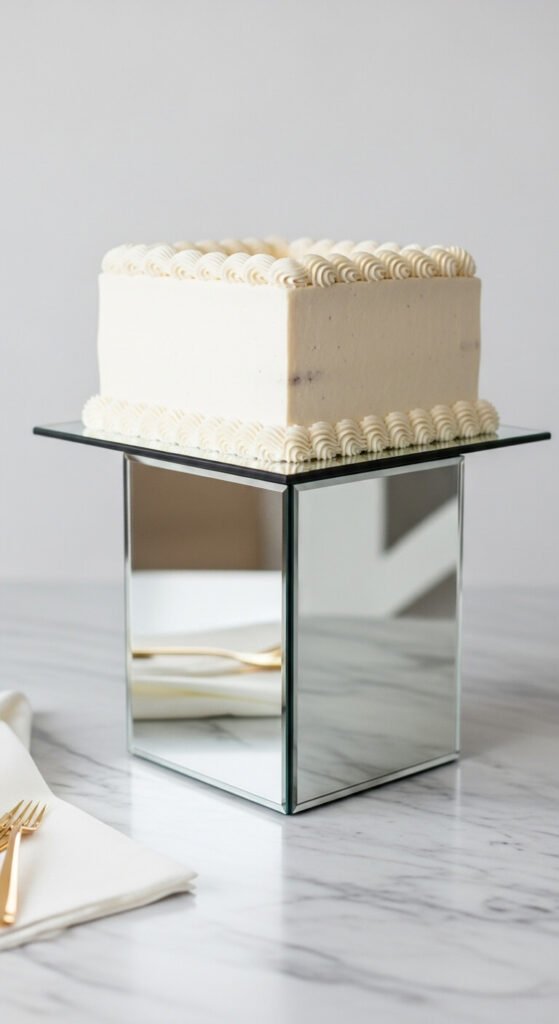
A square mirrored-acrylic stand instantly gives your dessert table a modern edge. It pairs beautifully with sharp-edged cakes, geometric toppers, and minimalist frosting styles. Place the stand on a dark cloth or matte runner so its reflective sides catch the light. You can DIY a square stand using sturdy cardboard boxes wrapped tightly in mirrored adhesive film, then topped with a food-safe board. Keep decorations straight-lined—think rectangle confetti, stripe candles, or block-style number toppers. This shape works especially well when your table features other square elements like platters, trays, or small cube vases, creating a cohesive layout without extra effort.
7. Mirrored-Acrylic Stand with Etched Star Motif
Add a subtle star pattern to your mirrored-acrylic stand for a New Year theme that still feels refined. You can achieve this with frosted vinyl star stickers or a light etching cream on the edges of acrylic. Place the cake so the stars frame the base rather than hiding under it. Use coordinating star picks on top of the cake so the details connect. For a low-cost approach, cut your own star shapes from frosted contact paper and apply them around the sides of a mirrored charger. Pair with star-shaped confetti scattered sparingly nearby. This style looks great on dessert tables that feature night-sky or midnight color palettes.
8. Mirrored Stand Topped with a Glass Cloche Dome

Pair a mirrored-acrylic stand with a glass cloche for a display that feels polished and practical. The mirror reflects the dome and cake, while the glass keeps desserts covered until serving time. Choose a cloche slightly wider than the cake so frosting and toppers have room. For a DIY option, look for affordable glass domes at thrift stores or repurpose a large glass bowl turned upside down. Add a simple ribbon around the base of the cloche or a small New Year charm at the top. Keep decorations inside minimal—maybe a few edible glitter accents—so condensation doesn’t compete with detail. This combination works especially well for smaller gatherings or dessert tables near busy kitchens where coverage matters.
9. Double-Tier Mirrored-Acrylic Stand with Mini Desserts Below
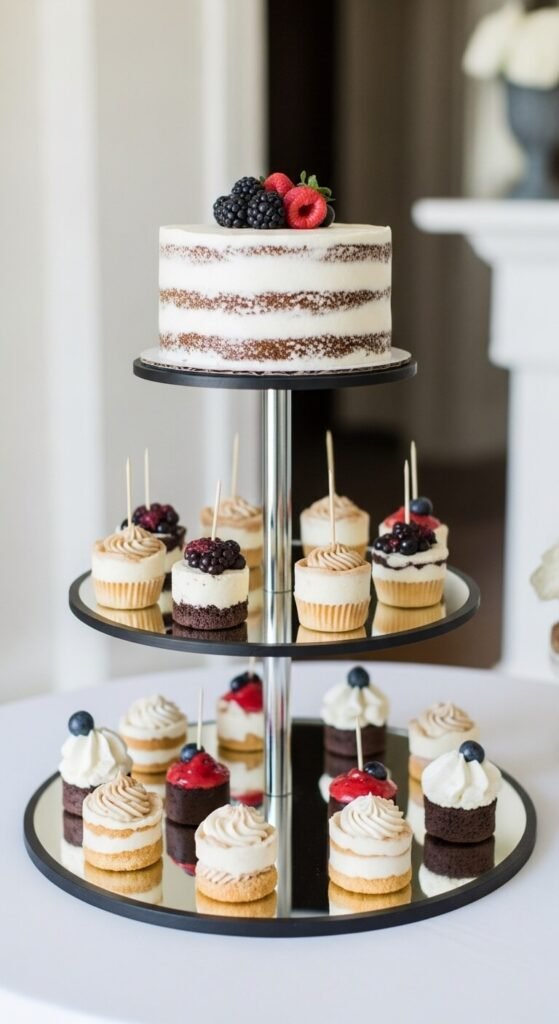
Use a double-tier mirrored-acrylic stand to combine your main cake and mini desserts in one tower. Place the main cake on the upper tier and surround the lower tier with macarons, chocolate-dipped strawberries, or mini cupcakes. The mirror doubles everything, making the display feel rich without many pieces. If you don’t want to buy a single unit, stack a smaller mirrored stand on a larger one using clear acrylic risers or sturdy shot glasses between them. Just secure everything with non-slip pads before adding dessert. Keep the colors coordinated across all tiers—maybe all white with one accent metallic—so the reflection reads as one cohesive scene.
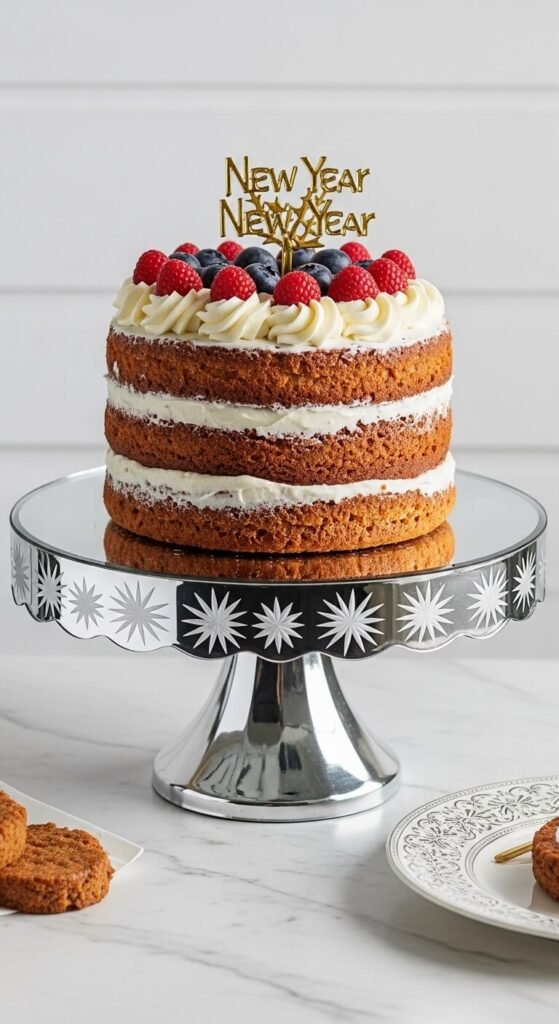
10. Mirrored-Acrylic Stand on a Sequin Table Runner
Set your mirrored-acrylic stand on a sequin runner to amplify the shine without adding more objects. The sequins catch candlelight and reflect onto the stand, giving the base a soft sparkle. Choose a runner in silver, champagne, or black with metallic accents. If you’re working with a tight budget, use a sequin fabric scrap folded neatly under the stand instead of a full runner. Keep the rest of the table simple: plain plates, clear glassware, and a few tea lights. This approach works well for long rectangular tables where you want a defined “dessert zone” down the center.
11. Mirrored Corner Stand for a Small Space Dessert Nook
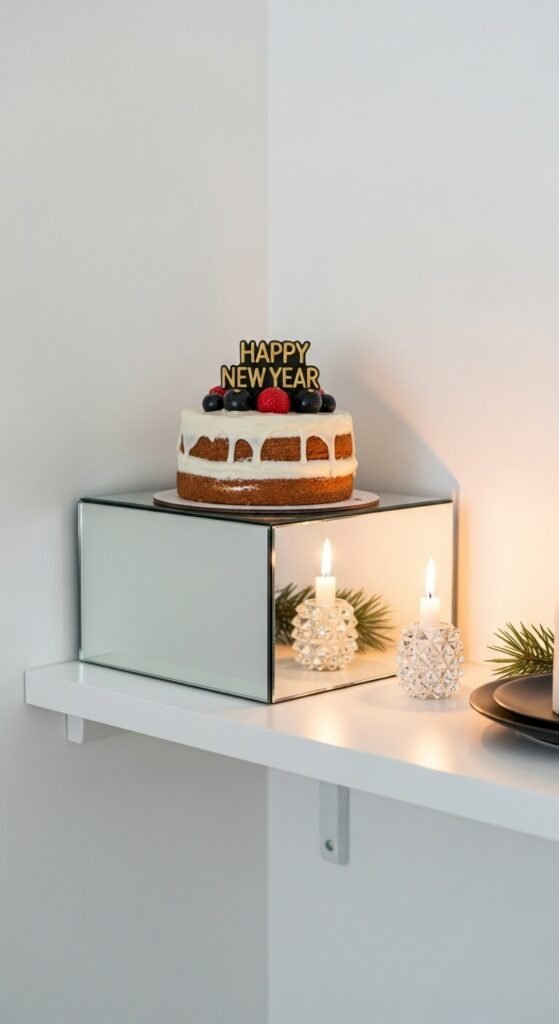
If your space is tight, create a dessert nook in a corner using a mirrored stand on a small shelf or accent table. The reflective surface helps that little area feel brighter and more intentional. Place your cake on the stand, then add one or two small candle holders beside it. For a low-cost setup, use a mirrored tray from a home store as both stand and surface. Keep the wall behind the stand simple—maybe just a strand of fairy lights or one New Year banner—so the reflection doesn’t feel busy. This idea works well in apartments or crowded party rooms where you still want one special dessert focal point.
12. Mirrored-Acrylic Stand Encircled by a Greenery Wreath
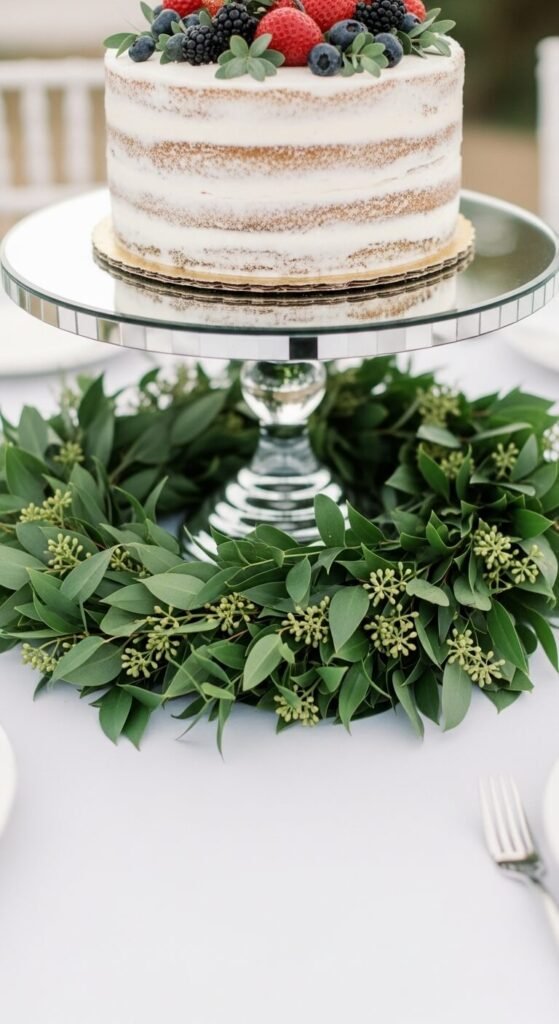
Combine glossy acrylic with soft greenery for a balanced look. Place a faux or real greenery wreath around the base of the mirrored stand, letting a few leaves spill onto the table. The reflection makes the wreath appear fuller without extra stems. Add tiny fairy lights or a few silver berries within the greenery for New Year flair. You can repurpose a holiday wreath you already own and simply trim off any overly festive details. Keep the cake design simple—white or pale icing with a subtle greenery accent—to match. This setup sits nicely in rustic, farmhouse, or natural-style homes where you still want some shine.
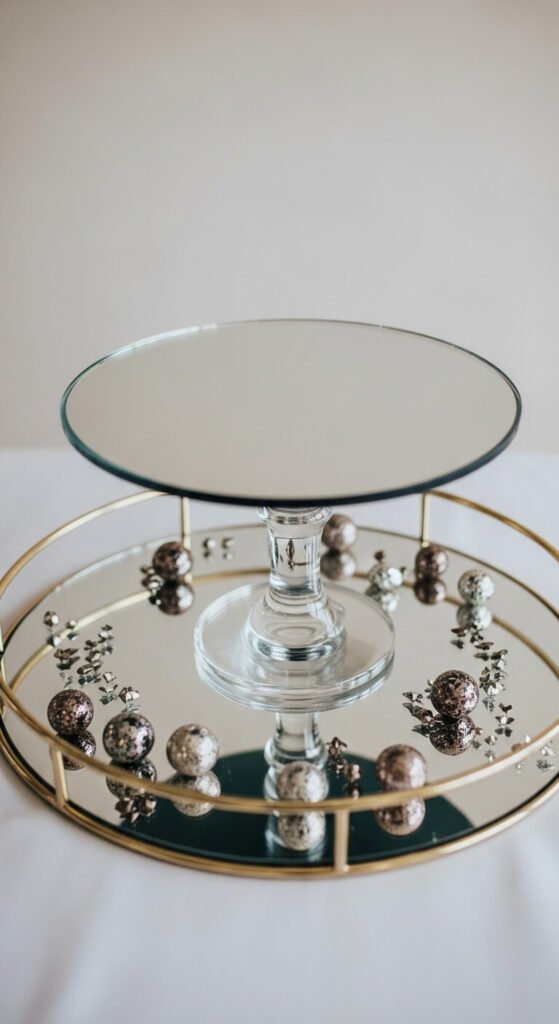
13. Mirrored Stand with Disco-Ball Accents
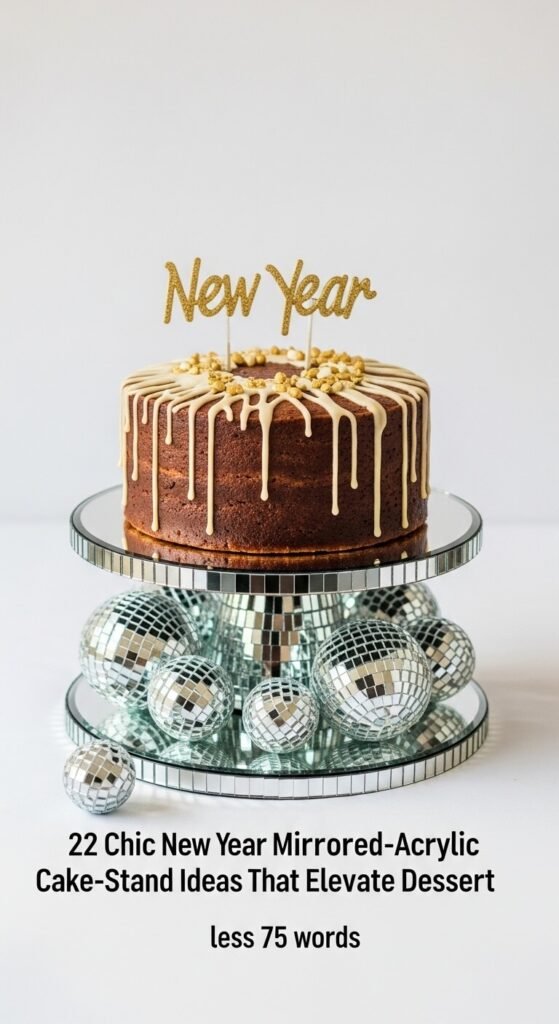
Lean into a party vibe by placing small disco balls around your mirrored cake stand. The combination of mirror on mirror throws tiny light spots across the table when candles or LEDs hit them. Use a few different sizes and cluster them at one side of the stand so guests can still get close for slicing. For a budget approach, buy mini disco ornaments after holiday sales and remove the hanging strings. Keep the cake simple—maybe white frosting with silver sugar—and let the light play be the main feature. This look fits especially well with dance-heavy New Year parties or living rooms with lots of music and movement.
14. Mirrored-Acrylic Stand Framed by Tall Candle Holders
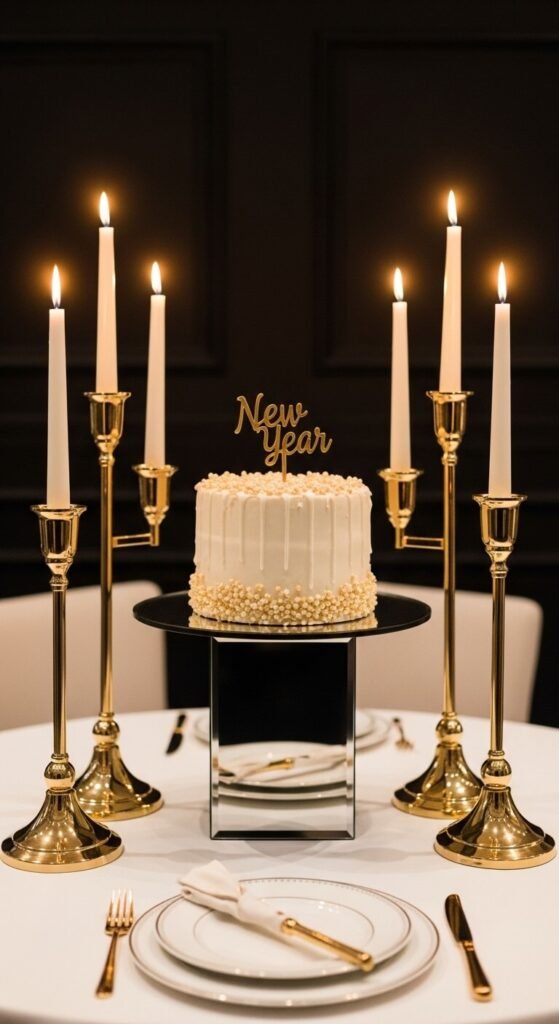
Place your mirrored stand between two tall candle holders to create a simple frame around the cake. Use taper candles or slim glass cylinders with LED candles inside. The reflections on the stand will catch the candlelight from both sides, making the dessert feel central without extra decorations. If you’re watching your budget, use mismatched candlesticks spray-painted in one metallic color so they read as a set. Keep the tablecloth matte so the candlelight and mirror stand out. This arrangement looks great on a console table or buffet where guests approach from the front.
15. Cluster of Mini Mirrored Stands for Individual Cakes
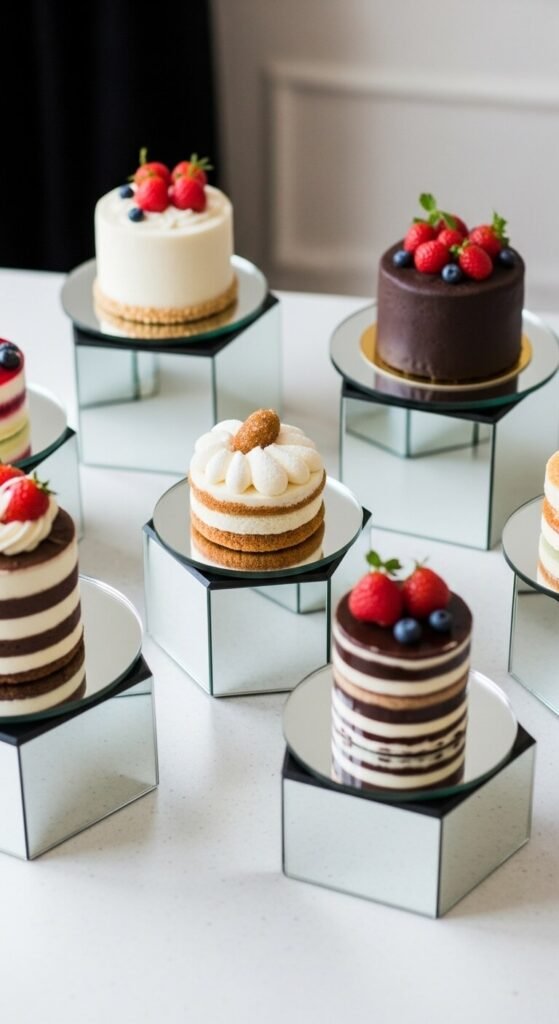
Swap one big stand for multiple mini mirrored stands, each holding a small cake or dessert. Arrange them in a loose cluster along the table. This lets guests admire different flavors and styles up close. You can buy mini stands or DIY them with mirrored coasters glued to short glass candle holders. Use small, simple cakes or dome-shaped mousse desserts. Keep decoration coordinated—like all white frosting with different metallic toppers. The reflections make the group feel rich even if each cake is small. This setup also works nicely if you want to send individual cakes home with guests after the party.
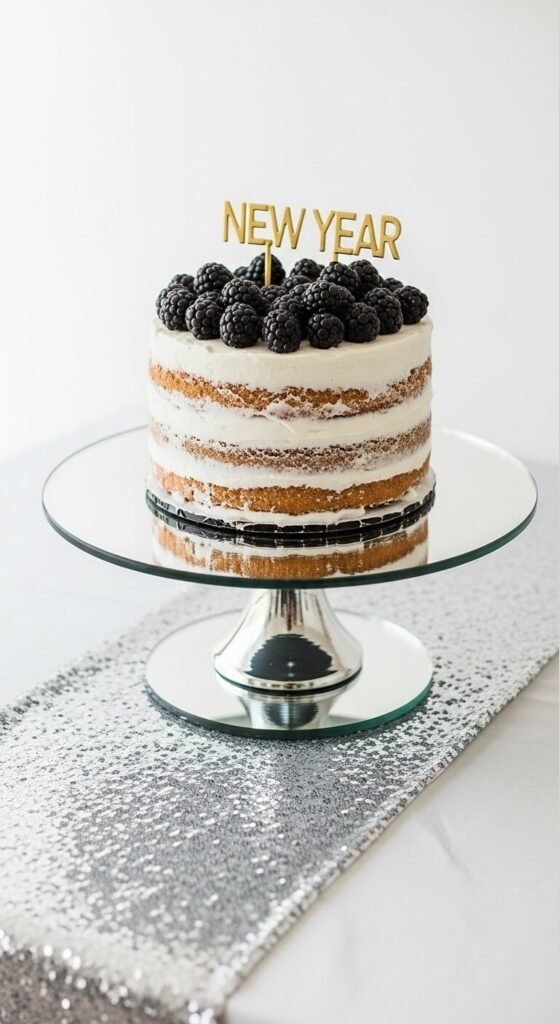
16. Mirrored-Acrylic Stand with New Year Number Toppers
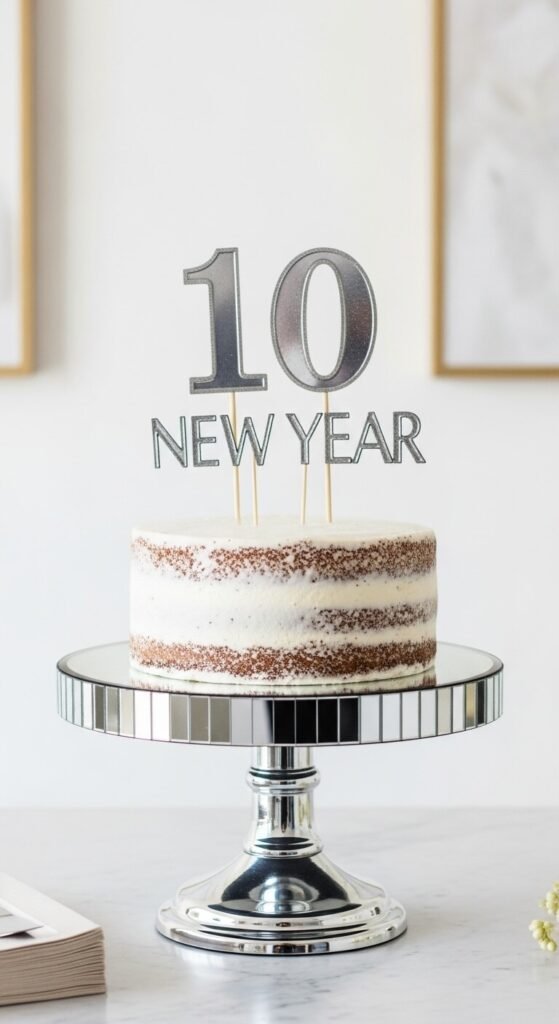
Highlight the year by pairing a mirrored stand with bold number toppers on the cake. Choose metallic acrylic or glittered cardboard numbers that catch light from across the room. When placed on a mirrored base, the numbers reflect below, doubling the effect. For a low-cost version, cut numbers from thick cardstock and cover them with metallic foil. Stick them into the cake with cocktail sticks or skewers. Keep the cake design simple—maybe smooth icing with a single band of sprinkles near the base—so the numbers and mirror stay in focus. This idea works well for countdown moments when everyone turns toward the dessert table.
17. Clear Column Filled with Beads Under a Mirrored Top
Support a mirrored top with a clear column filled with beads for a showy stand that can still be built cheaply. Use a clear vase or acrylic tube, fill it with metallic beads, glitter, or curled ribbon, then attach a mirrored tray or plate on top. Secure with strong adhesive or non-slip pads. Place the cake directly on the mirrored surface. The filling adds texture and color while the mirror keeps the top clean and reflective. You can match bead colors to your party palette—silver and black for modern, or gold and champagne for warmer palettes. This stand works nicely as a single focal piece at the center of a dessert spread.
18. Mirrored-Acrylic Stand on a Dark Velvet Base
Set your mirrored stand on a small square of dark velvet—navy, black, or deep emerald—to create contrast. The soft fabric catches light differently than the acrylic, making the stand pop without extra decoration. Cut the velvet slightly larger than the base so a slim border shows on all sides. If you’re saving money, use velvet ribbon arranged in a square outline instead of a full piece. Keep surrounding items simple: one or two low votives and maybe a single metallic ornament. This look suits evening parties where you want the dessert area to feel rich without overcrowding the table.
19. Mirrored-Acrylic Stand Framed by a Circular Tray
Place a mirrored stand inside a larger circular tray to create a framed “stage” for your cake. The tray can hold metallic confetti, faux pearls, or tiny ornaments that stay contained instead of rolling across the table. Choose a tray finish that complements the mirror—matte black, brushed gold, or more mirror. For a budget version, spray-paint an old serving tray and line it with plain paper before adding decoration. Keep the objects low so the cake remains the tallest point. This setup looks especially good from above, so it works nicely for photos and social posts.
20. Mirrored Stand with Matching Mirrored Coasters for Slices
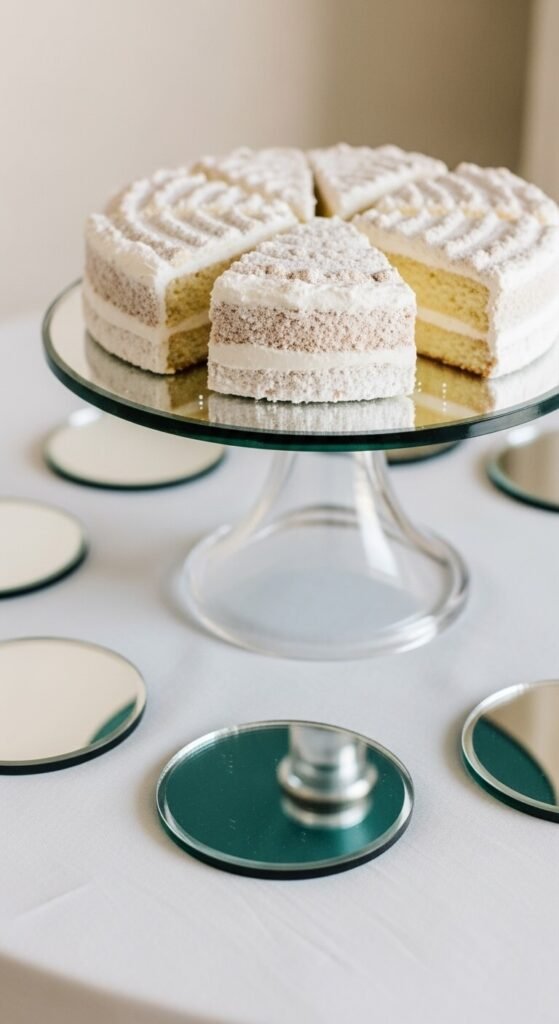
Extend the mirrored look by placing small mirrored coasters or tiles around the stand as spots for cake slices. Guests place their plates on these tiny reflective squares, carrying the theme from center to edges of the table. Use inexpensive mirrored tiles from a craft or hardware store. Arrange them in a ring or loose cluster. Keep plates simple—plain white or clear—so the mirror shows through. This idea makes serving feel more styled without adding complex elements. Just be sure to use tiles with smooth edges, or frame them in thin metal tape for safety.
21. Mirrored-Acrylic Stand as a Dessert Cart Centerpiece
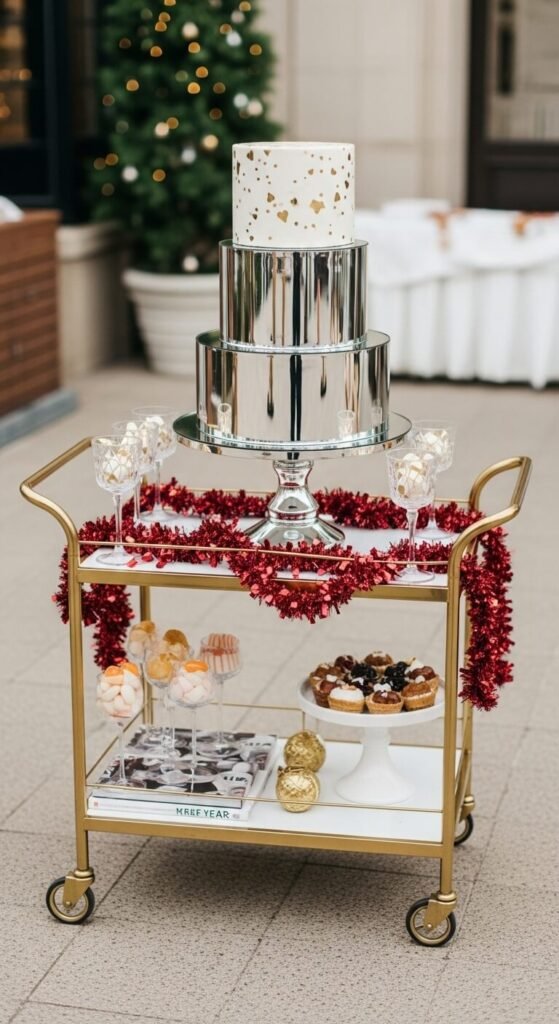
If you have a bar cart or rolling shelf, make the mirrored stand the centerpiece. Place the cake on the top tier, then arrange small dessert plates, forks, and napkins on the shelves below. The mirror reflects bottles, glassware, or decor placed behind it, giving the whole cart a party-ready look. For a budget setup, repurpose a small shelf unit and add removable wheels. Keep decorations balanced: one small garland or a New Year sign at the back, and maybe a candle cluster on the opposite side of the cake. This arrangement lets you move dessert closer to guests when it’s time to cut.
22. Mirrored-Acrylic Stand Framed by a Simple Backdrop Panel
Finish your dessert area with a straightforward backdrop behind the mirrored stand. Use a foam board wrapped in metallic paper, a curtain of tinsel strands, or a plain fabric panel in one deep color. The mirror reflects part of the backdrop, creating layers without more objects on the table. Keep the cake centered with a small cluster of candles or mini vases at the sides. For an inexpensive approach, tape wrapping paper to the wall and cover the tape edges with ribbon. This setup works in dining rooms, hallways, or anywhere you can spare a bit of flat wall behind the dessert table.
Conclusion
Mirrored-acrylic cake stands bring light, reflection, and structure to a New Year dessert spread without requiring complicated setups or expensive décor. By pairing them with simple fabrics, small props, and thoughtful lighting, you can turn even a basic cake into a scene guests want to photograph and enjoy. Choose one idea that fits your space and budget, gather a few materials, and let your New Year dessert table shine with a polished, party-ready finish.
ChatGPT can make mistakes. Check important info.
Leave a Reply