
A silver pegboard makes an excellent New Year photo-display because it offers a clean background, reflective shine, and easy customization. Guests love rearranging photos, adding small props, and interacting with the layout. The metallic finish pairs well with holiday lighting, creating a sharp backdrop for parties, living rooms, or entryway setups. This list gives you practical, creative ideas for layouts, accessories, budget-friendly upgrades, and small DIY touches that help your display feel polished without complicated tools.
1. Minimal Grid Layout with Matching Silver Hooks
Start with a simple grid layout. Use matching silver hooks for a clean, cohesive look. Keep the spacing even so the board feels tidy. Clip photos using metal binder clips or mini pegboard clips. Add a string of soft LED fairy lights around the edges to brighten the metallic surface. If you want a budget approach, spray-paint old hooks with silver chrome paint. This keeps the look consistent without buying new hardware. Keep the photos at eye level so they’re easy to swap. Add small reflective accents like tiny mirror tiles to fill empty gaps. This setup fits well in small spaces and still feels sharp.
2. New Year Countdown Row with Horizontal Peg Strips

Create a horizontal countdown row using peg strips across the board. Assign each slot to a date leading up to New Year’s Eve. Add small printed countdown cards and clip a memorable photo under each. Use thin LED strip lighting along the top peg strip to give the display a soft glow. You can print the cards at home on matte cardstock for low cost. Add metallic confetti pieces in small mesh bags hanging from hooks for extra sparkle. This setup works well in entryways where guests can interact with the display quickly.
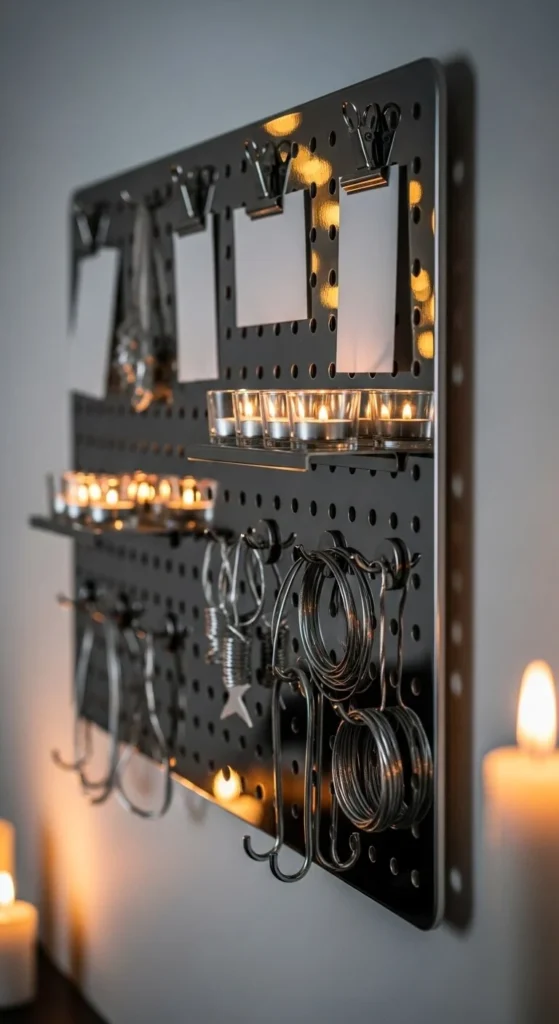
3. Multi-Level Shelf Display with Silver Mini-Shelves
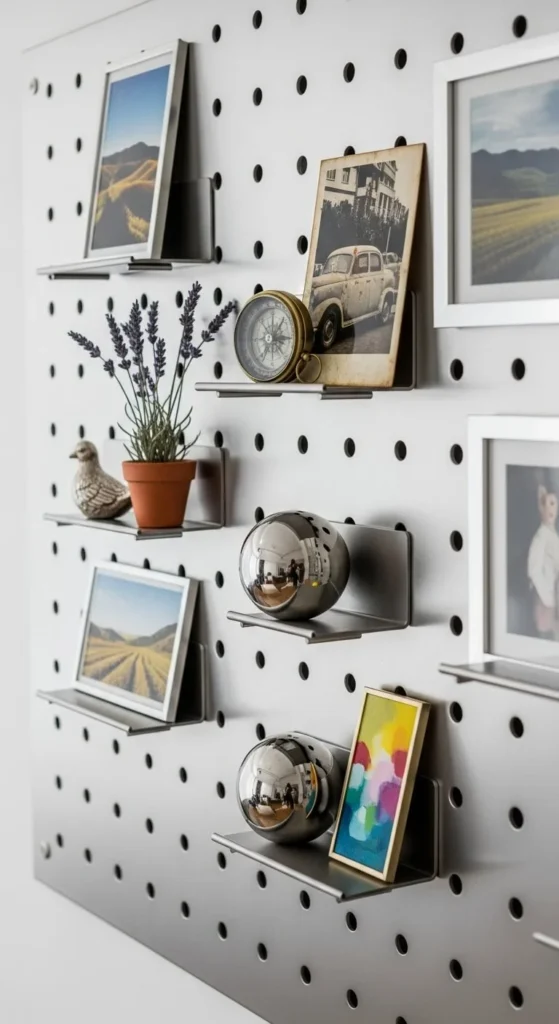
Add mini-shelves to create depth. Choose simple silver shelves shaped for pegboards, or attach adhesive-backed risers. Display New Year props like tiny clocks, candles, and glitter jars. Mix framed and unframed photos for variety. If you want a money-saving idea, cut scrap plywood, paint it silver, and add simple peg hooks to hold the shelf. Keep heavier items near the bottom. Use LED candles instead of real ones to avoid heat. This setup works great when you want the pegboard to feel like both décor and display.
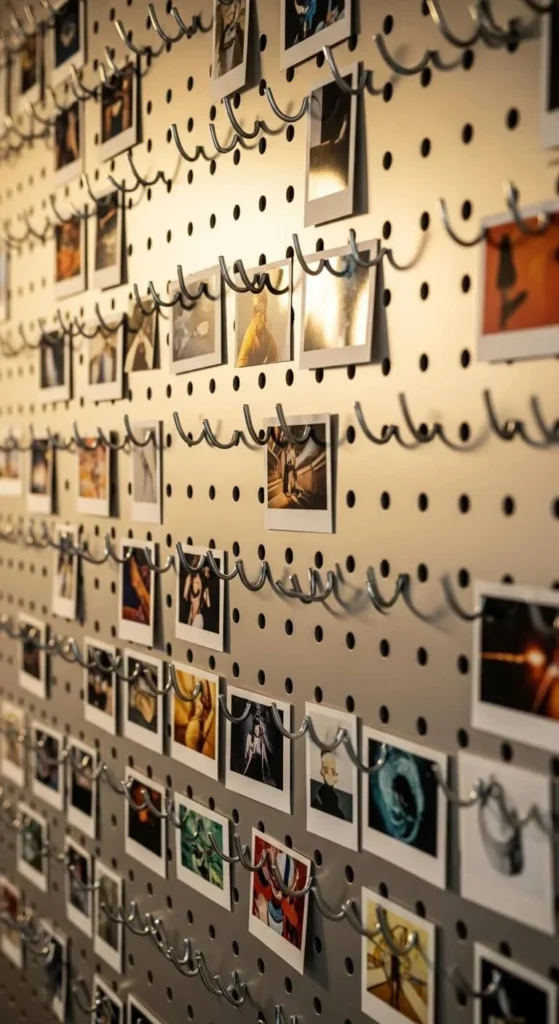
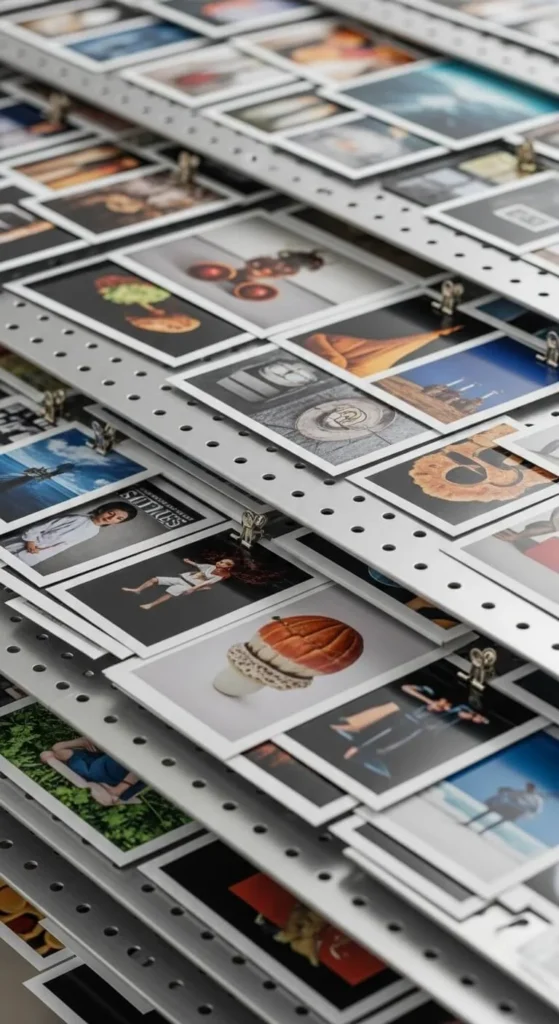
4. Polaroid Photo Wall with Silver Wire Clips
Stretch thin silver wires across several pegboard rows. Clip Polaroid-style photos using mini silver clips. This creates a casual, airy look. Add soft white LED lights woven between the wires for warmth. Print Polaroids at home using photo paper and a simple frame template. Add small decor like star-shaped cutouts on unused hooks. Keep the layout loose so it feels playful. Guests can swap photos easily since the clips slide along the wire.
5. Geometric Pattern Arrangement with Triangular Photo Zones
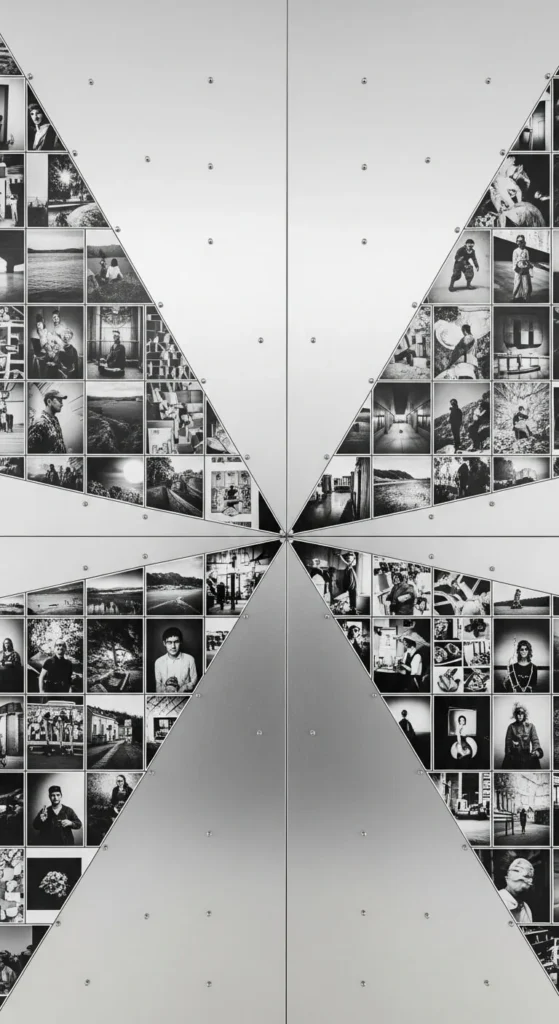
Divide the pegboard visually into geometric shapes—triangles, diamonds, or diagonal sections. Use silver washi tape to mark boundaries without damaging the board. Place photos inside each section to create a structured layout. Add simple pegboard baskets for tiny props like glitter or small ornaments. Keep the colors minimal so the silver background stays clean. This design works best for larger boards where shapes can be clearly defined.
6. Fairy-Light Curtain Drape Over Photos

Drape a fairy-light curtain over the board to create a soft, festive glow. Clip photos on top of the lights using metal clips. The lights add warmth to the silver surface without overpowering the images. Use battery-powered lights to hide cables. Add tiny silver bells or charms on extra hooks for texture. This idea works well for bedrooms or small living rooms where you want cozy lighting.
7. Pegboard with Hanging Mini-New Year Props
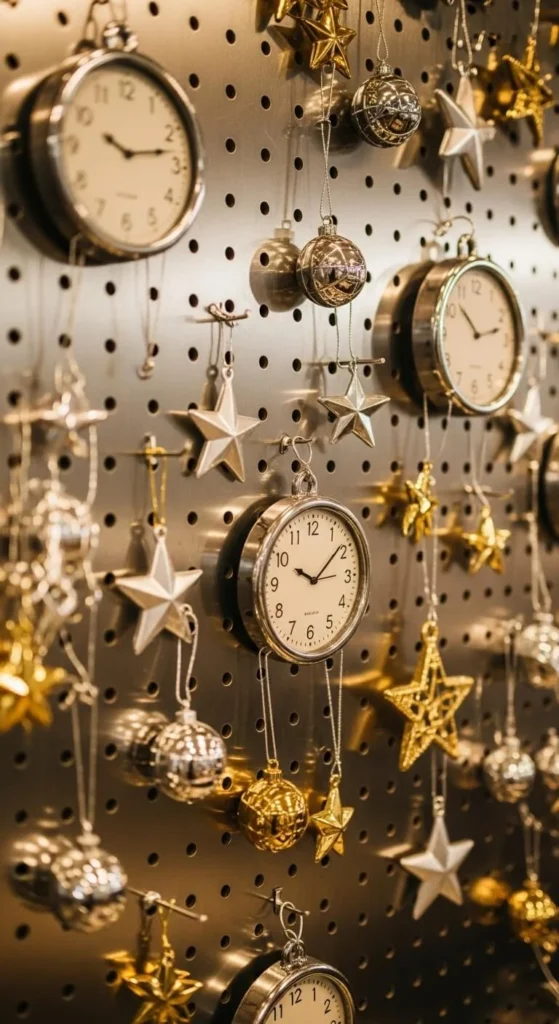
Hang mini New Year props between photos to make the display feel dynamic. Use small ornaments, mini clock cutouts, or metallic star shapes. Arrange them between photo rows so they don’t block images. Add a narrow LED spotlight from above for a mild shine. If you’re on a budget, cut shapes from silver cardstock. This keeps the layout fun without adding clutter.
8. Oversized Center Photo with Surrounding Mini Shots
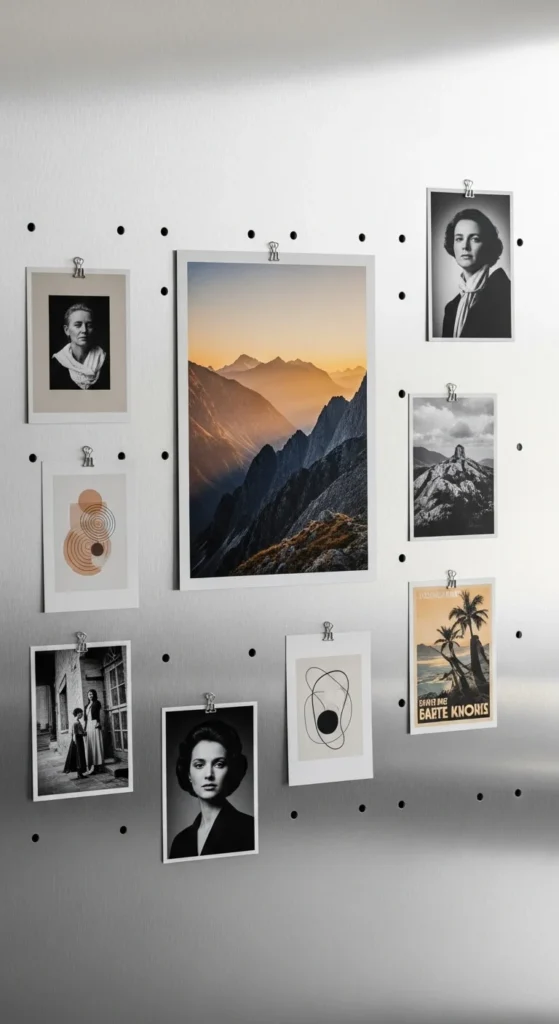
Place one oversized feature photo at the center. Surround it with smaller prints to form a frame. Use matching silver or chrome clips for consistency. Add thin pegboard borders using silver tape to create a focal point. If you want to personalize it, add a small handwritten tag under the main photo. This layout is simple and feels clean for tight spaces.
9. Zig-Zag Photo Layout for Movement
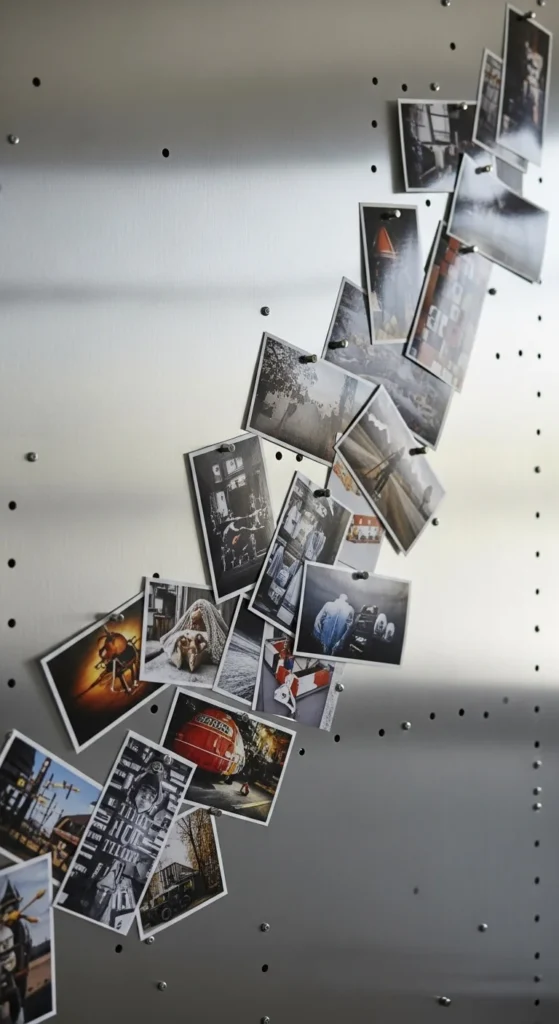
Arrange photos in a zig-zag path across the board. Use similar-sized prints so the lines stay neat. Add soft LED dots between each photo for glow points. You can add small decorative arrows made from silver paper to mark the path. This layout creates a sense of movement and keeps the display visually interesting.
10. Split Board Divider with Two Themes

Divide the board into two themes: maybe “Moments from Last Year” on one side and “New Year Goals” on the other. Use silver tape to mark the middle point. Add small baskets under each theme to hold extra prints or props. Keep the photos evenly spaced. This works well for family gatherings or office parties where multiple people contribute.
11. Clip-On Mirror Tiles Between Photos

Add small mirror tiles on empty hooks to create sparkly highlights. Position them between photos so they bounce light around the board. Use lightweight acrylic mirrors for safety. This adds shine without clutter. Keep the mirror quantity moderate so the display doesn’t look busy. Add a soft side spotlight to enhance reflections.
12. Mini Shelf for Instant-Print Camera Station
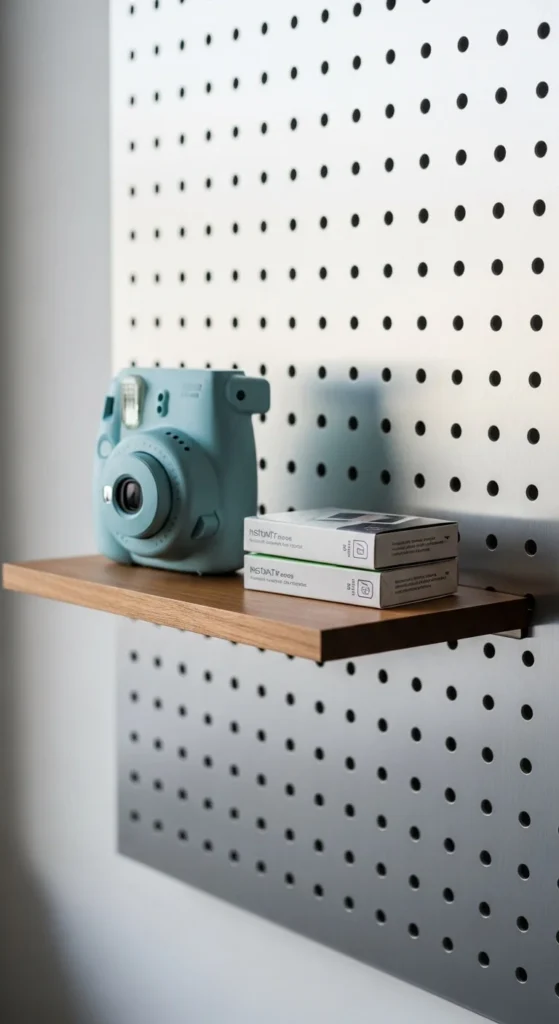
Install a mini shelf on the pegboard to hold an instant camera. Guests can print photos on the spot and clip them to the board. Add a small jar of silver clips and leave space open for new prints. Use an LED strip under the shelf to brighten the area. If you’re saving money, use a small wooden block painted silver as a DIY shelf. This idea creates engagement at parties.
13. Ribbon-Tied Photo Rows with Metallic Ribbon
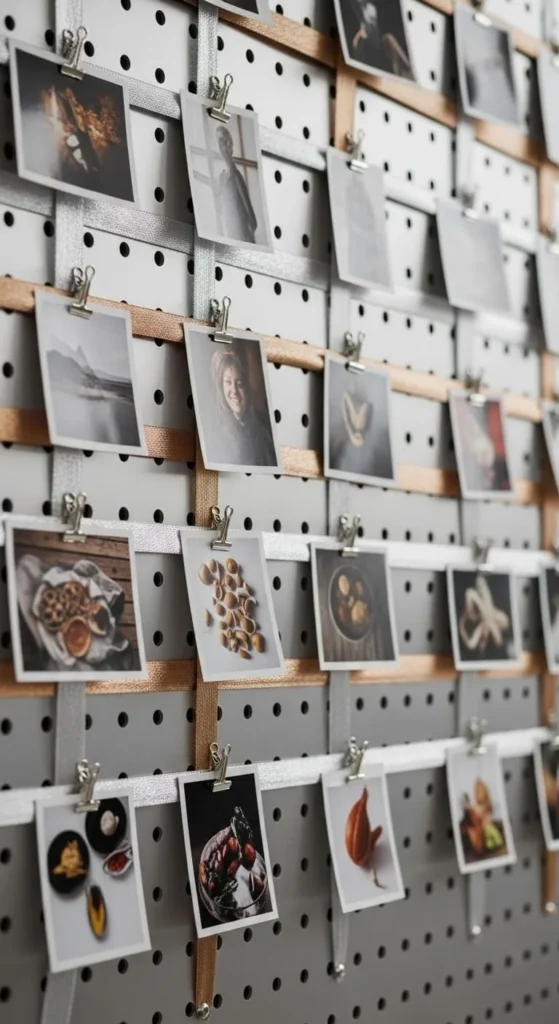
Thread metallic ribbon through several peg holes to create rows. Clip photos directly to the ribbon. This softens the look and adds movement. Use thin ribbon so it doesn’t cover the photos. Add small star charms at each end to keep the ribbon steady. This design works well when you want a festive feel without extra hardware.
14. Neutral-Themed Black-and-White Photo Display
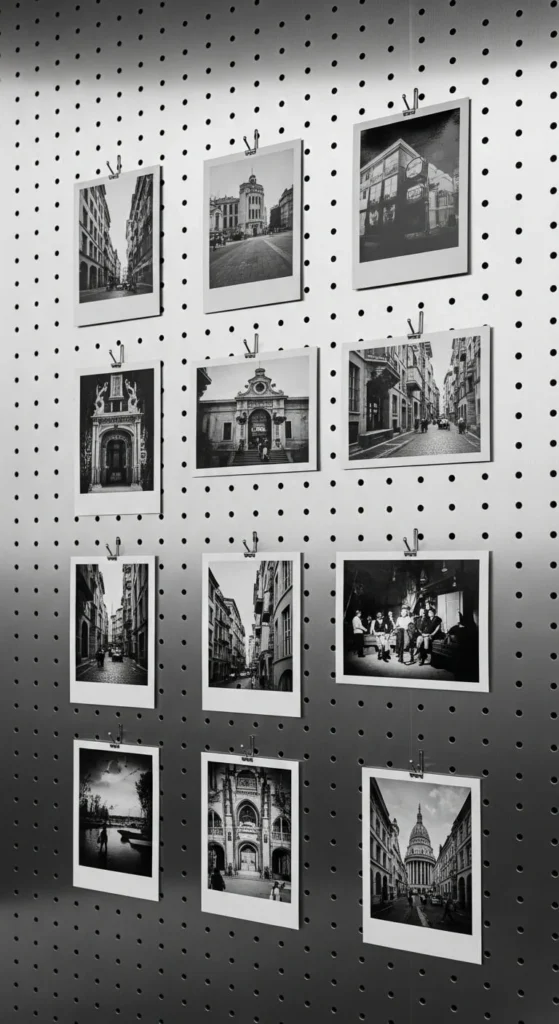
Use black-and-white prints to create a sharp contrast against the silver surface. Add chrome clips for a clean look. Keep the spacing even so the display feels balanced. Add one mini shelf with a simple candle or small plant to soften the metallic texture. If printing at home, choose matte paper for less glare. This layout feels calm and stylish.
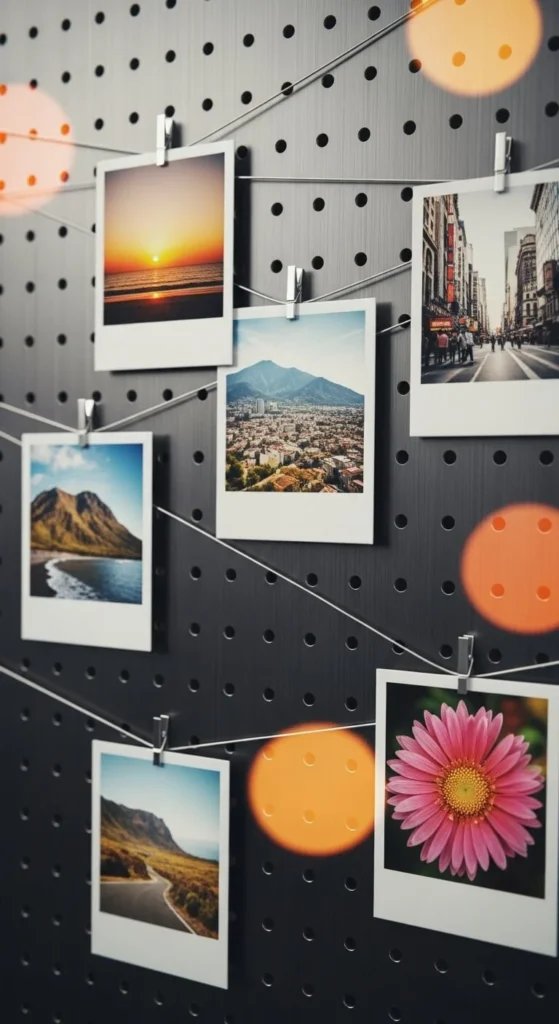
15. Diagonal Ribbon-Weave Display
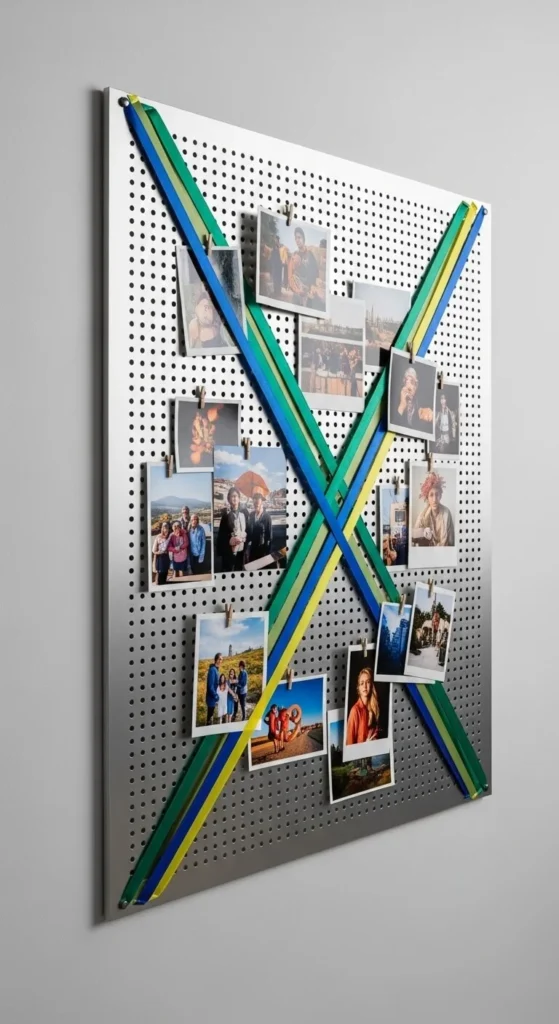
Weave thin ribbons diagonally across the board. Slide photos under the ribbons or clip them on top. Use silver or white ribbon to match the board’s tone. Add small LED pin lights between the ribbons for soft sparkle. Keep the weave loose so it doesn’t feel stiff. This setup works great for large boards where diagonal lines can stand out.
16. New Year Memory Board with Event Tokens
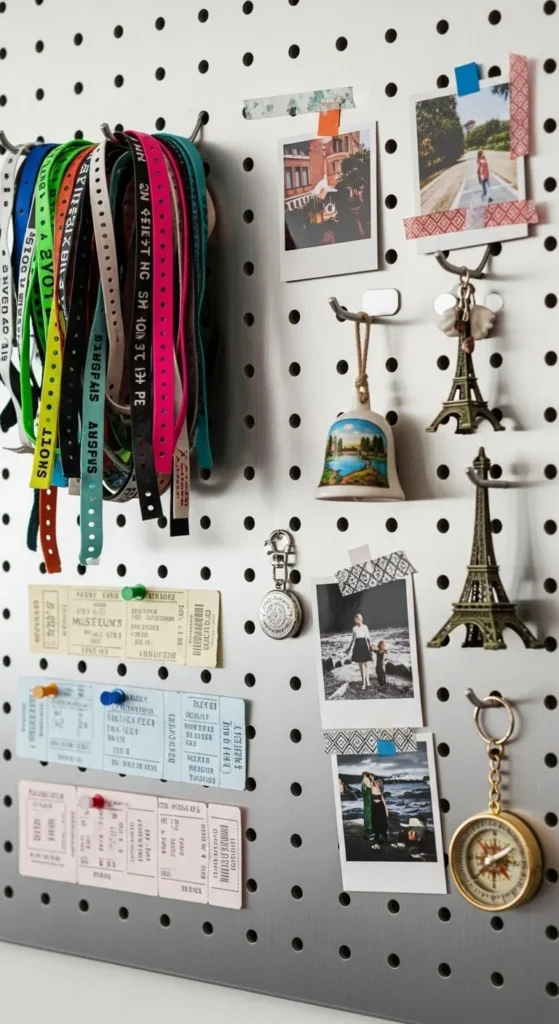
Mix photos with small memory items like ticket stubs, wristbands, or tiny souvenirs. Use peg hooks and mesh cups to hold the items. Keep heavier items at the bottom. Add one LED spotlight from above for contrast. This creates a meaningful layout without crowding the board. If you’re on a budget, use small paper envelopes clipped to hooks for tiny items.
17. Subtle Glitter-Spray Finish for Extra Shine
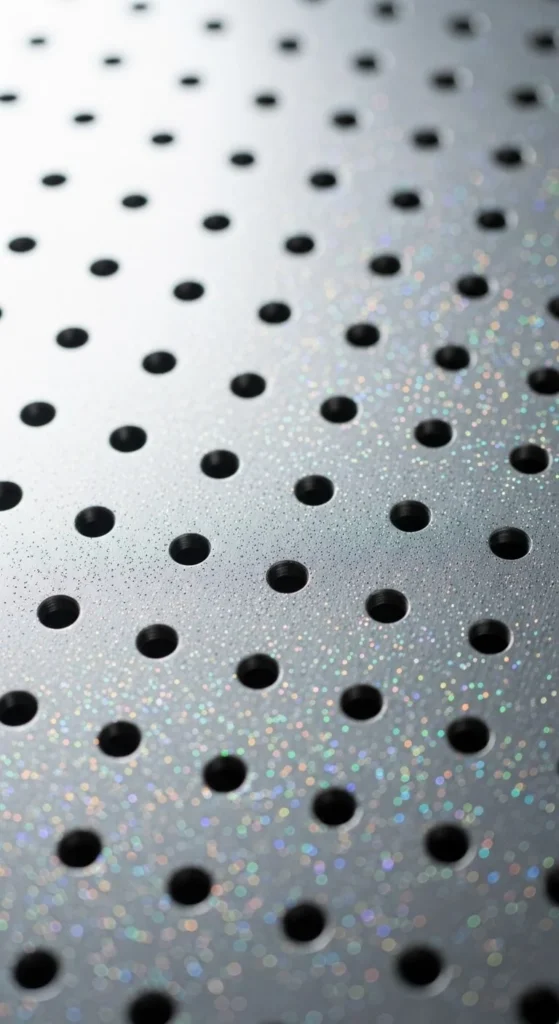
Lightly spray the board with a subtle glitter finish. Keep it minimal so the board doesn’t look busy. Clip photos using matte silver clips for balance. Add a small string of warm lights along the top edge to highlight the glitter. If you want a low-cost version, mix glitter into a clear coat spray and apply lightly. This idea works when you want shine without clutter.
18. Photo Corners Forming a Diamond Shape
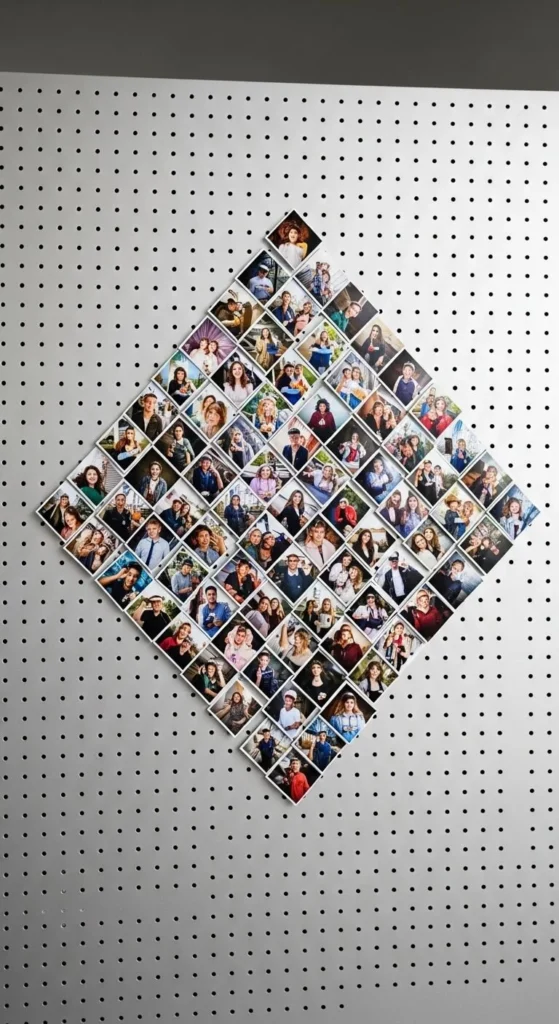
Arrange photos to form a diamond pattern in the center. Use equal-sized prints for a clean shape. Add a soft border using chrome clips or silver tape. Keep the background minimal so the shape stands out. Add a few LED dots inside the diamond for mild glow. This layout works well for photo-heavy boards where structure helps.
19. Mixed Texture Layout with Fabric Swatches
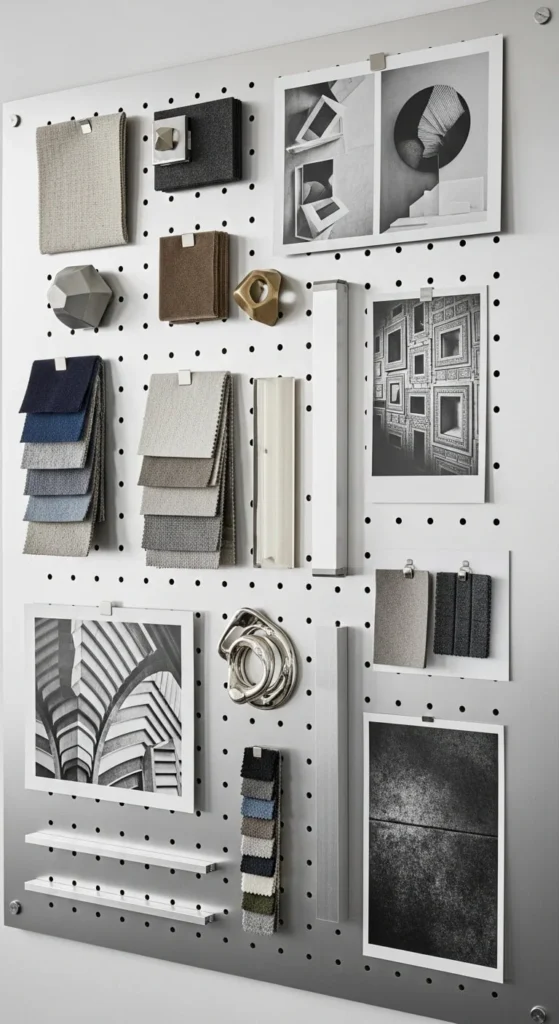
Mix in fabric swatches with your photos to add texture. Choose fabrics that match your New Year colors—silver, black, champagne. Clip them next to related photos to create mini story sections. Use peg baskets to hold spare swatches. If you want a low-cost method, cut fabric from old décor items. This adds visual depth without extra tools.
20. Mini-Plant Accents with Silver Pots
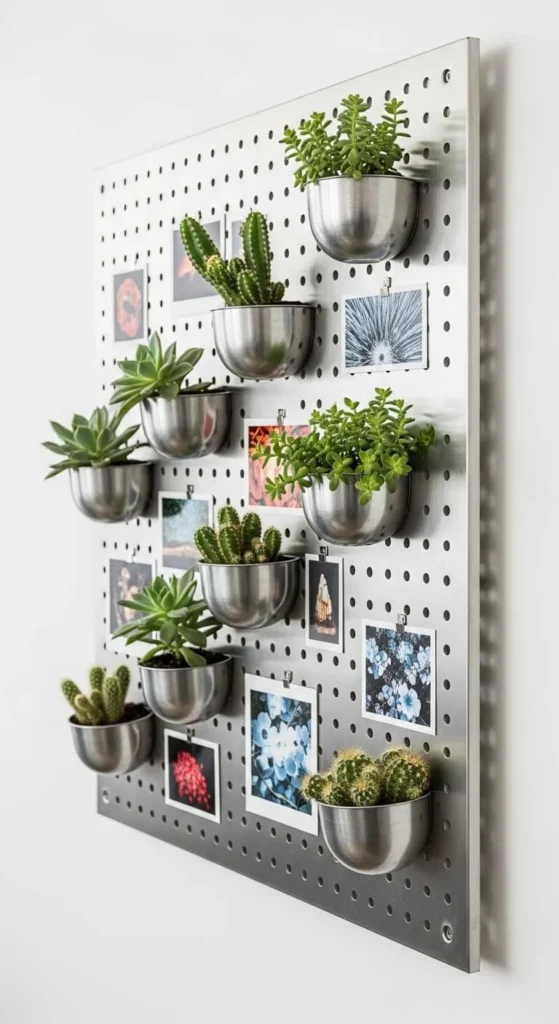
Hang tiny silver pots with faux plants on the pegboard. Place photos between the plant pots to create a lively layout. Keep the plant sizes small so they don’t overshadow images. Use lightweight pots to avoid strain. Add a single LED clip light near the top to brighten the greenery. This setup softens the metallic background.
21. Year-in-Review Columns
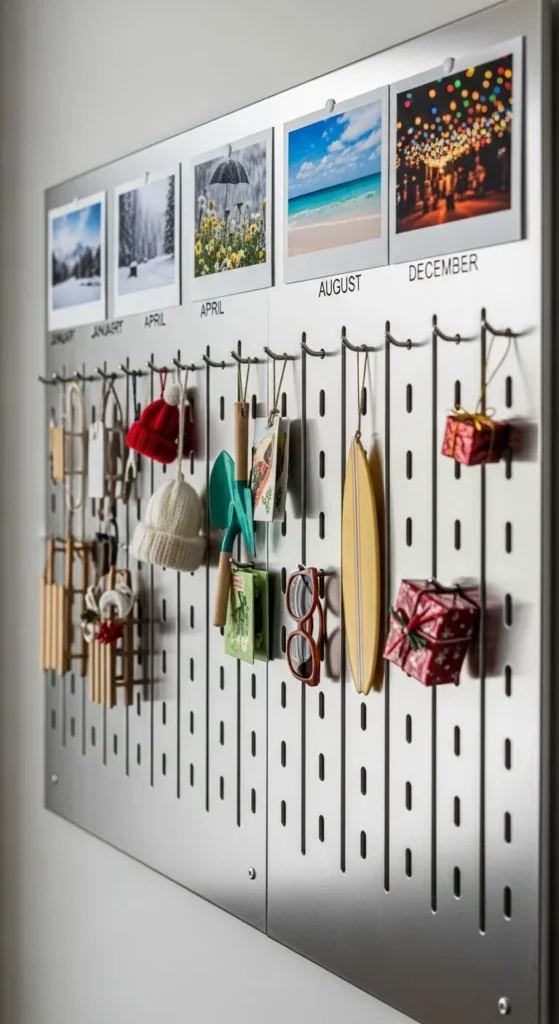
Organize the board into vertical columns. Each column represents a month or memory theme. Use silver tape to create straight borders. Clip photos in chronological order. Add small baskets under each column to hold extra prints or props. Keep the spacing tight so the columns feel cohesive. This setup works great for family events.
22. Shadow-Box Style Pegboard Framing
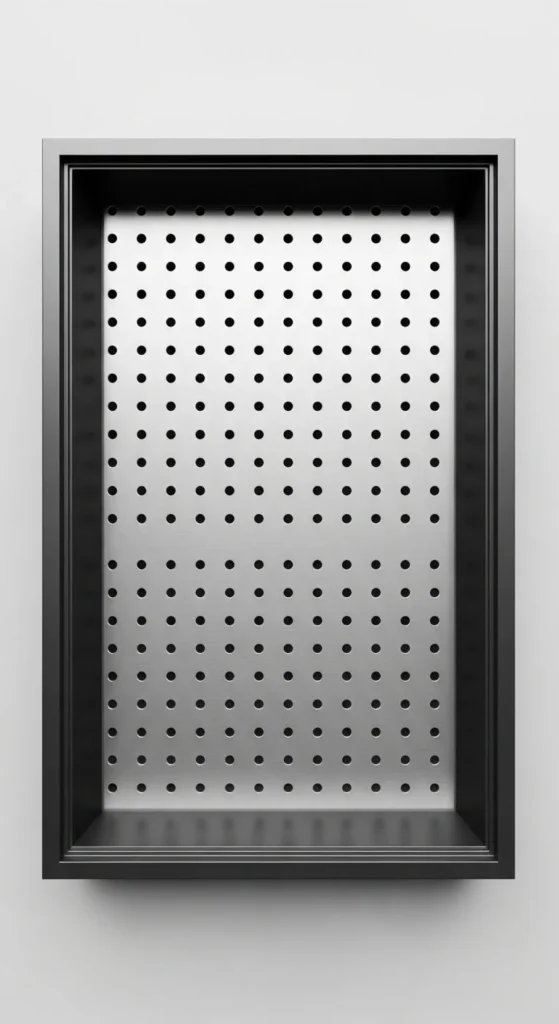
Create a shadow-box look by adding a wide silver frame around the pegboard. This helps the display feel structured. Add LED strips behind the frame for a soft outline. Clip photos evenly inside the frame. If you’re on a budget, paint a wooden frame silver. Keep the decor minimal so the framed effect stands out.
23. Wide-Spread Collage Look with Layered Rows
Go for a collage-style layout by layering photos in slightly overlapping rows. Use matte clips so the silver background stays visible. Keep the layers consistent so the board doesn’t feel messy. Add a small LED spotlight angled from the side for mild contrast. This setup works well when you have many photos and want a casual but sharp look.
Conclusion
A silver pegboard offers endless ways to display New Year memories with clean lines, reflective shine, and easy customization. These ideas help you mix textures, lights, props, and smart layouts without complex tools or high cost. Choose one layout or mix several, and your display will feel sharp, personal, and engaging for guests throughout the season.
Leave a Reply